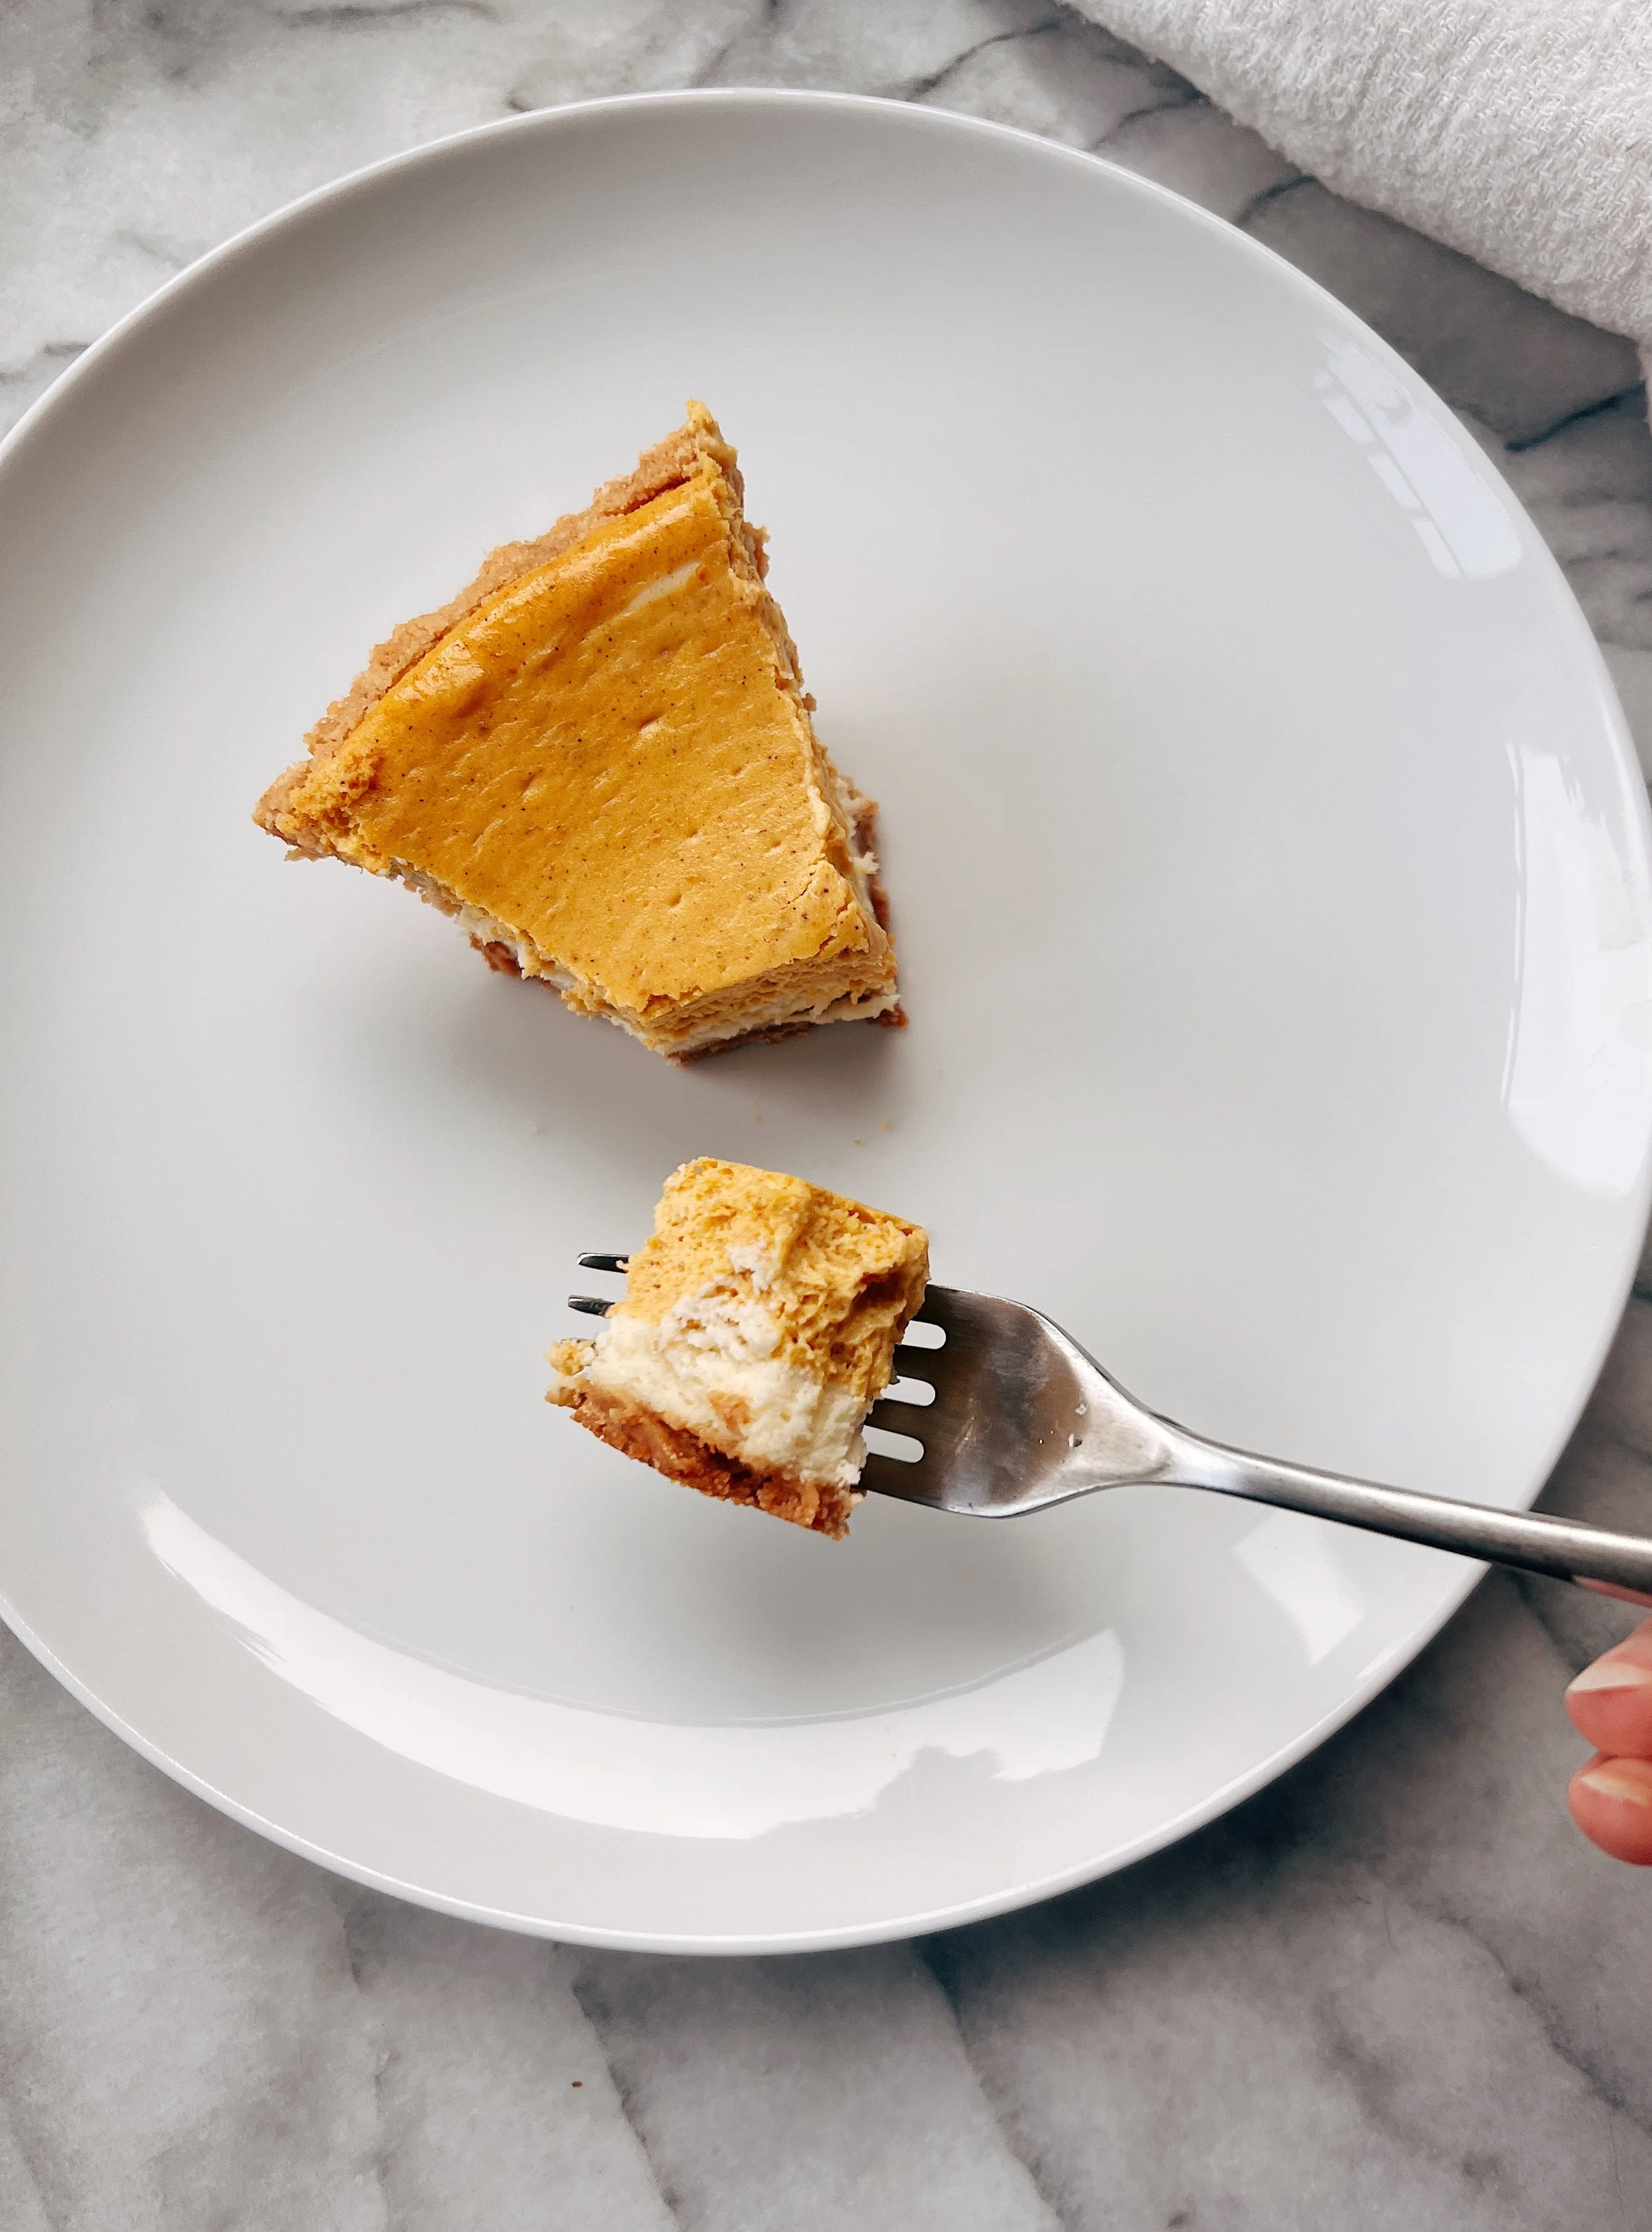
LAYERED PUMPKIN CHEESECAKE


Fall sure if taking its time to hit the PNW this year with the temps still in the mid 80s. Sweating at the pumpkin patch reminded me of being in LA in October which I didn’t love. But nonetheless, we can channel Fall flavors with delicious and COLD Layered Pumpkin Cheesecake! This is a super easy to make and could be made with store bought graham cracker crust if you’re in a time crunch. Or just lazy. No judgement.

WHAT YOU’LL NEED

16oz room-temp cream cheese
1/2 cup white sugar
1/2 teaspoon vanilla extract
2 eggs
1/2 cup pumpkin puree
1/2 teaspoon Pumpkin Pie Seasoning
1/2 teaspoon Ground Cinnamon
Pinch Nutmeg
Graham Cracker Pie Crust (I used store bought)

DIRECTIONS

Pre-heat oven to 325°.

Cream together cream cheese, sugar and vanilla using either a hand mixer or stand mixer until totally creamed and smooth. I gradually worked my way up in speed to ensure all lumps are out.

Add in ONE egg at time - mixing throughly before adding the other.

Pour about half of the batter into a graham cracker pie crust.


Add in the pumpkin puree and seasonings and mix again.

Pour remaining batter into pie crust.


Place on a foiled backing sheet and bake on middle rack for about 35-40 min. Sides should be set and center just a little jiggly.

Let cool on counter for 2-3 hours before covering and placing in fridge for at least 8 hour. I usually wait 24hrs.

Could add a dollop of whipped cream but rich and delicious as is.

Enjoy with your friends and family!

Follow

CRUSTY ROASTED GARLIC ROSEMARY BREAD


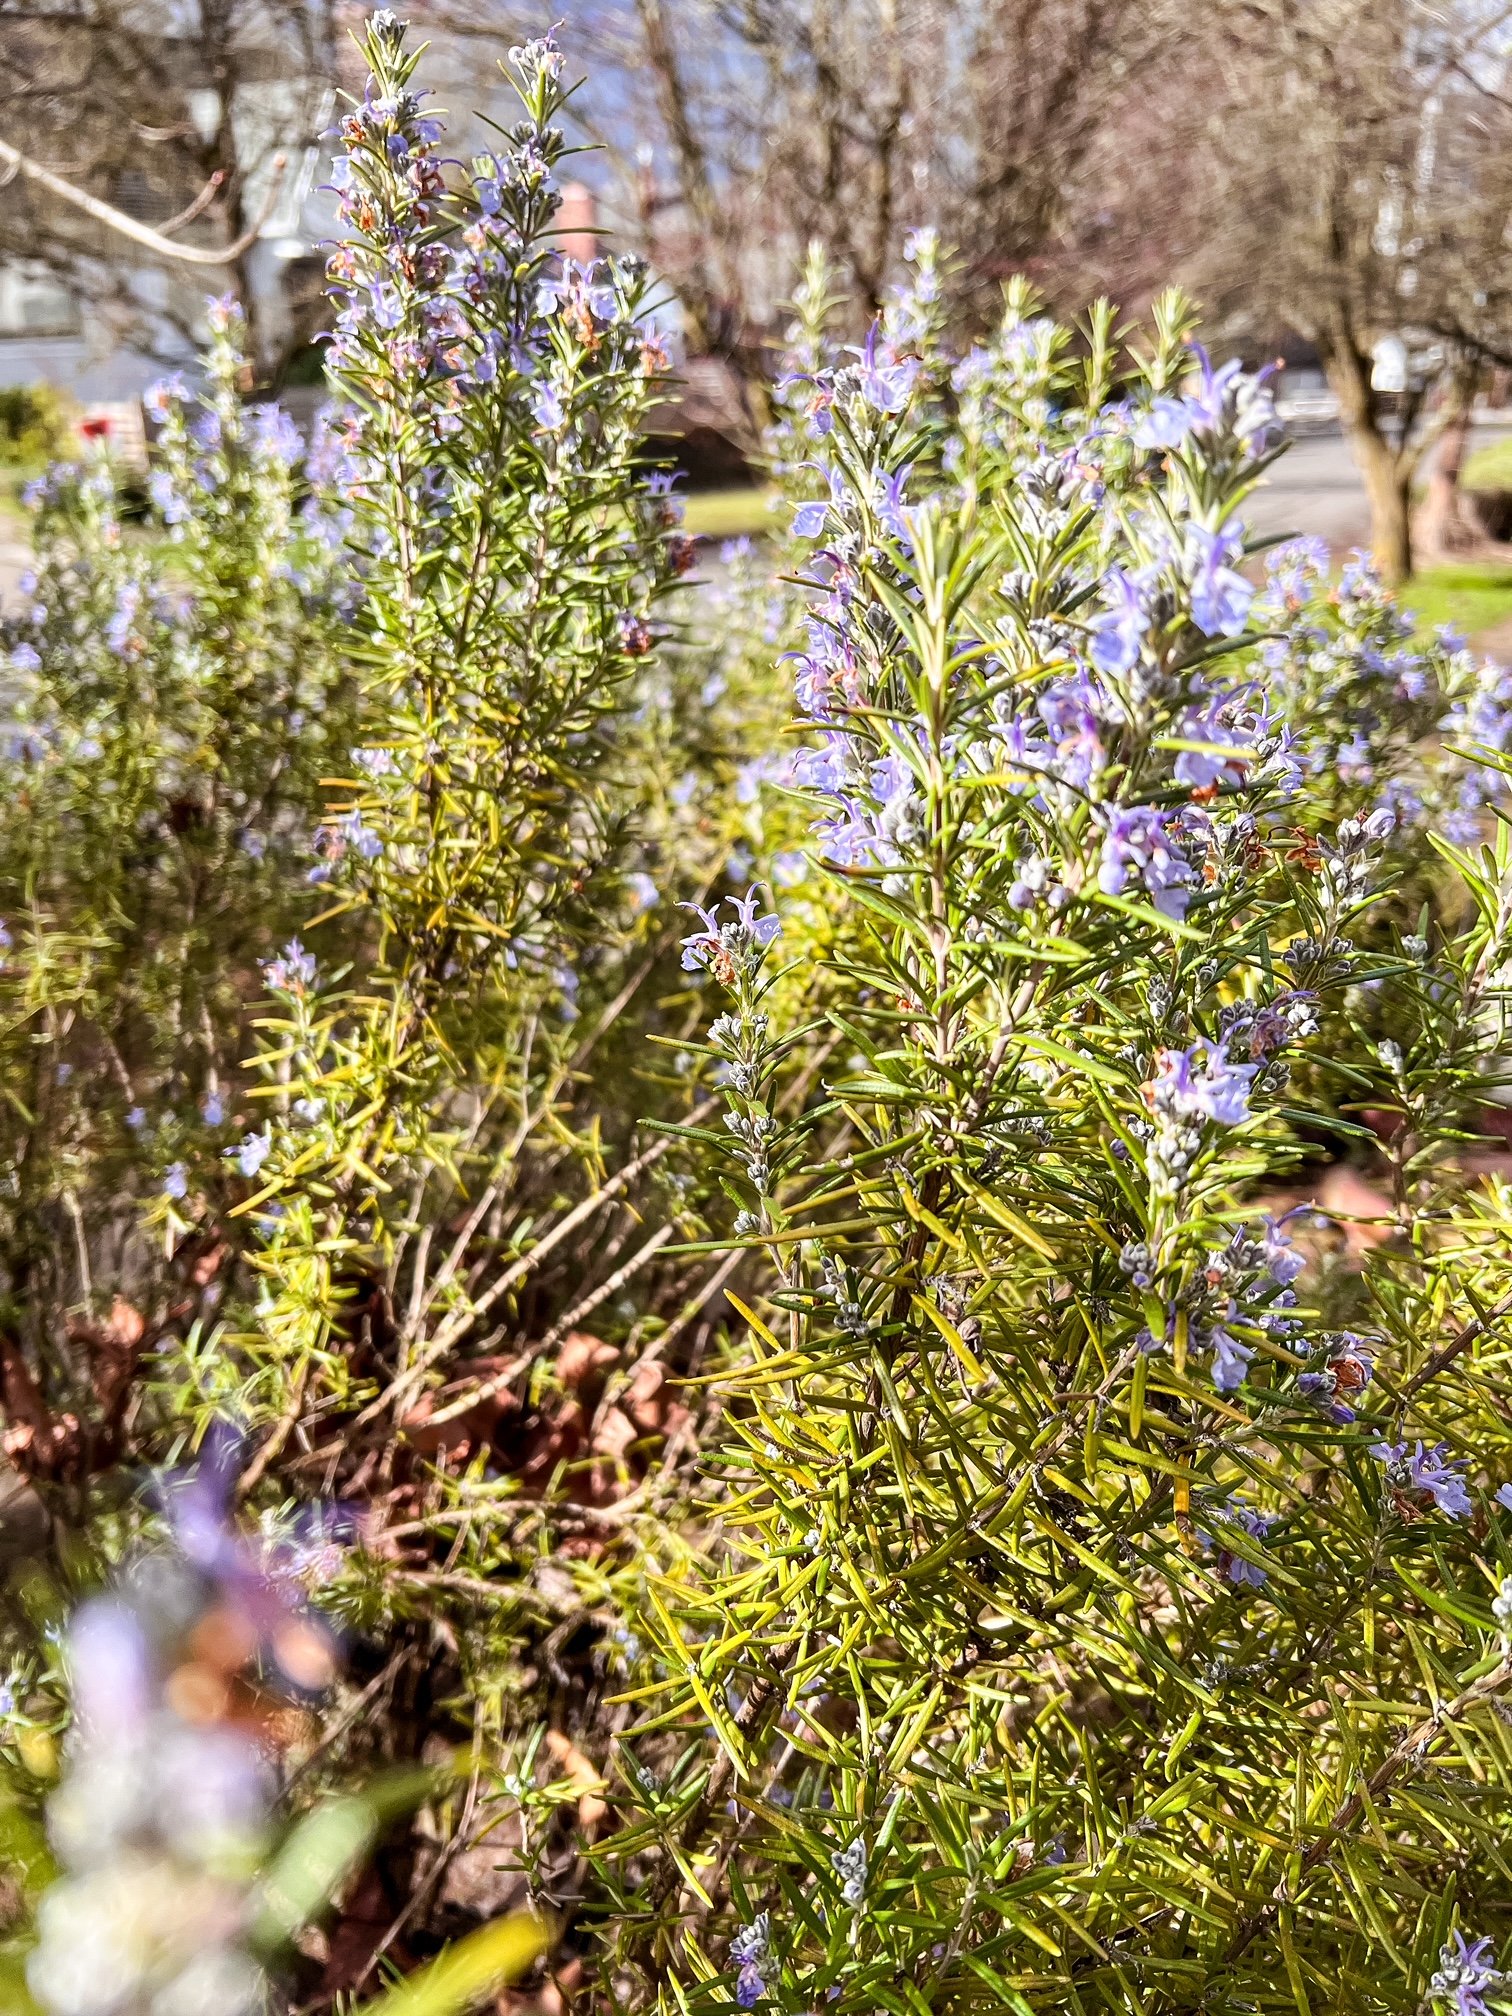
Last week we had Portland’s “February Fake Out” of sunshine and mid-60s which sent our garden into Spring mode with the peonies and tulips coming up and the crocus and rosemary blooming. Now we are heading back into the freezing temps for a few days so I’m baking some bread!

I love using home grown ingredients so I snipped a few branches from our gorgeous rosemary bush and threw a head of garlic in the oven. Roasting a head of garlic takes a little time but the end result is definitely worth it. Slowly roasting garlic will caramelize it bringing out a rich and a mildly sweet flavor and giving it a satisfying chewy texture - perfect for bread - and will leave your kitchen smelling so good. The garlic can be roasted day of or before so plan on this step prior to starting the dough.

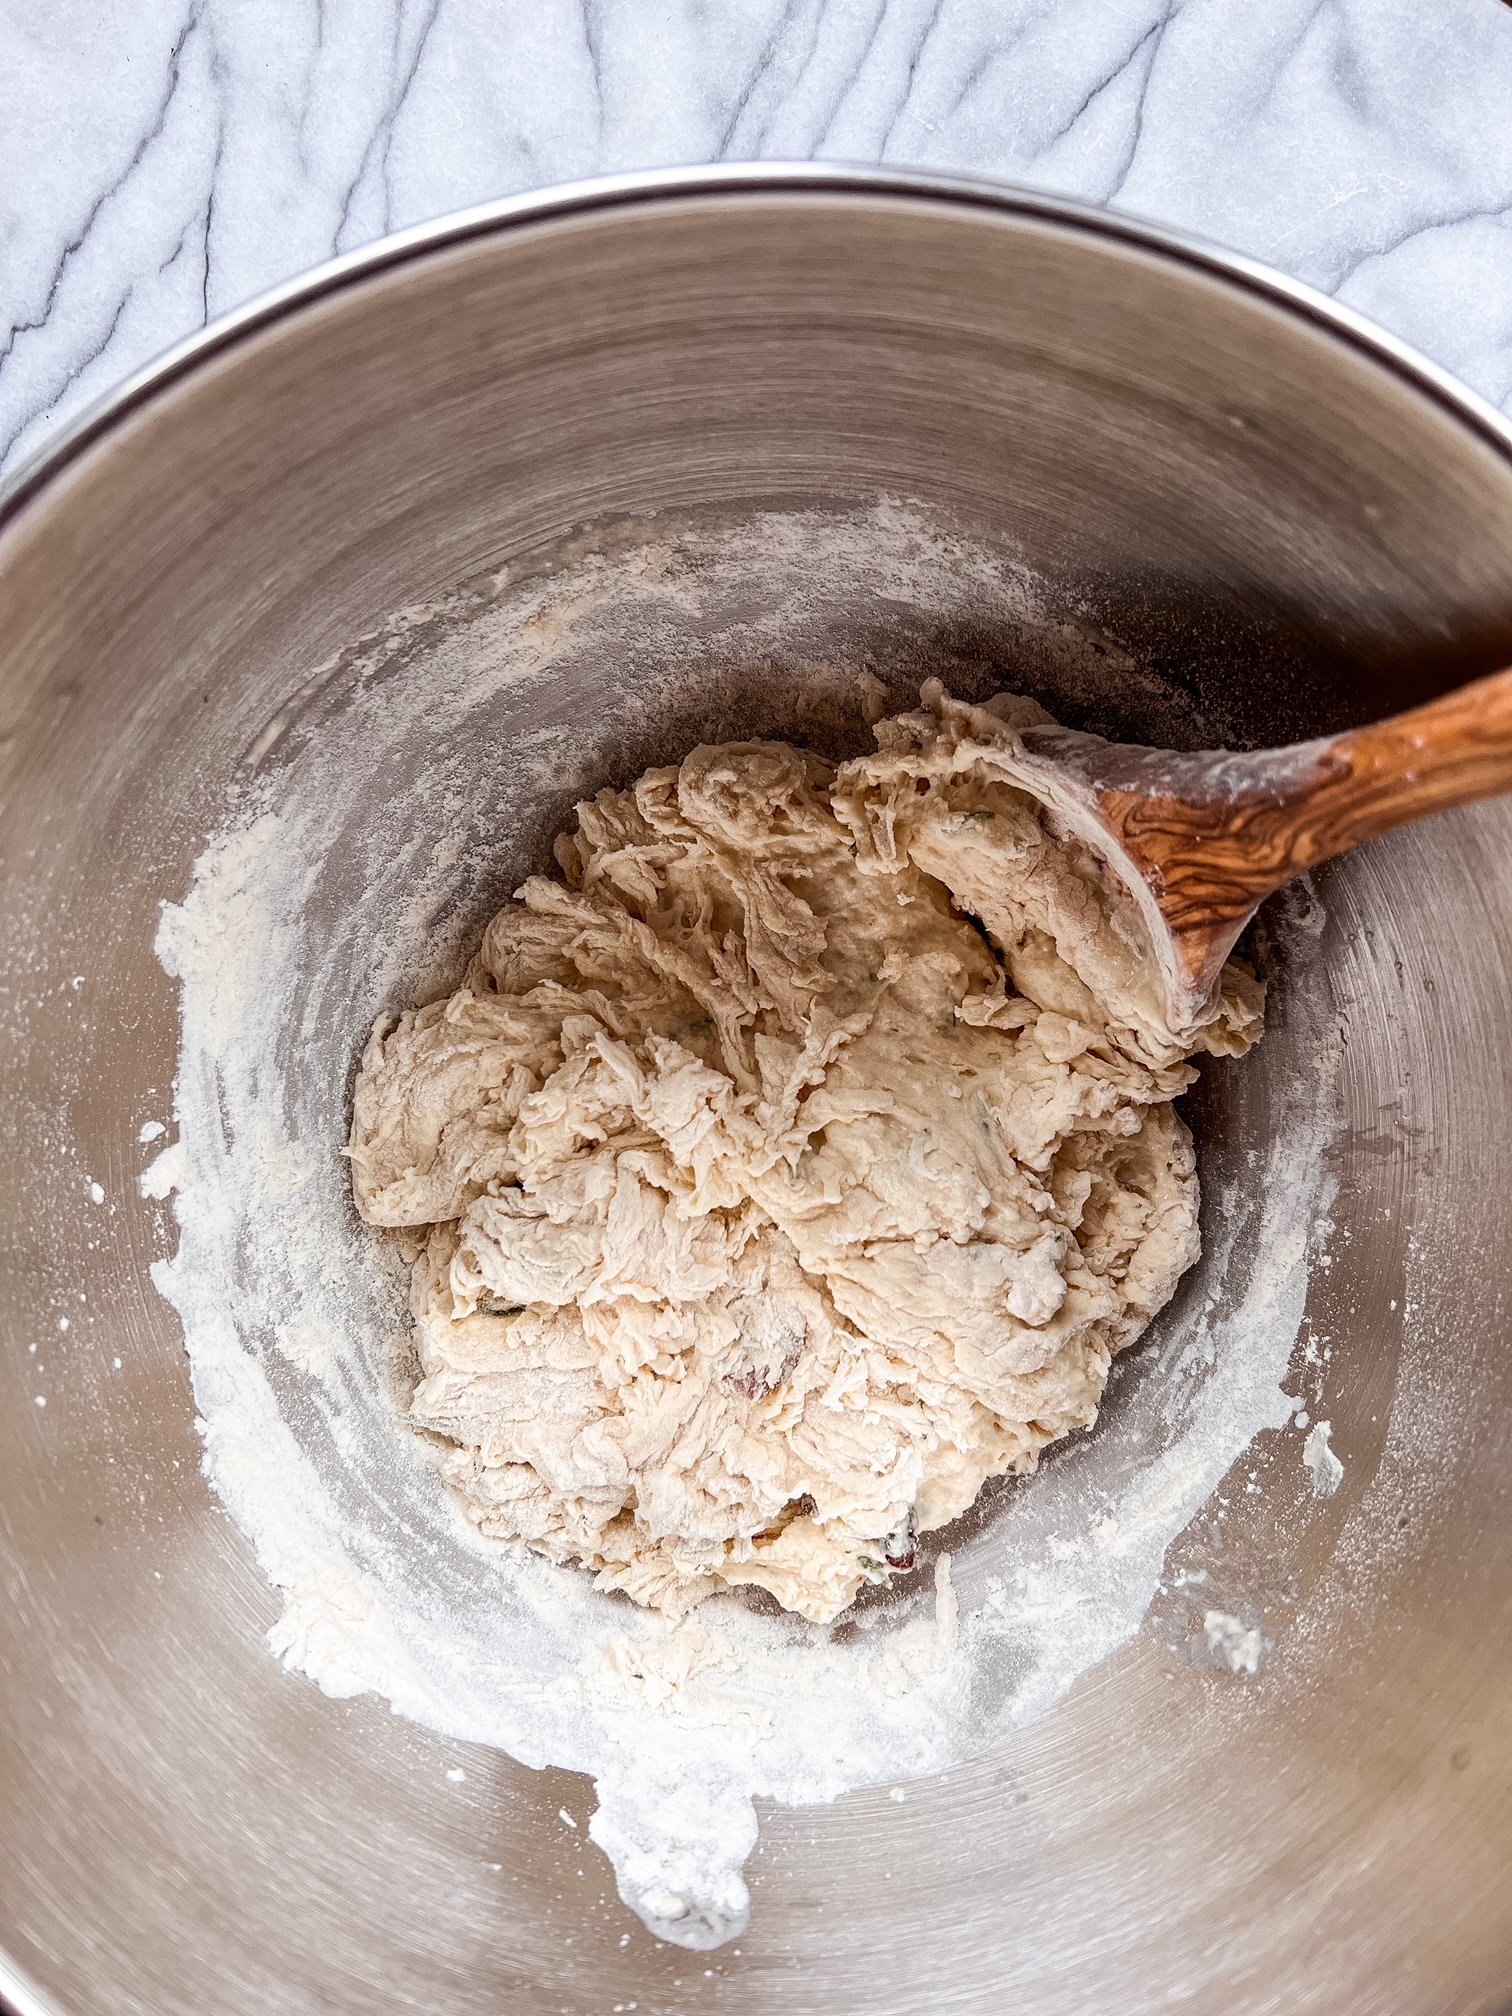
This bread is so easy with NO kneading. I didn’t use my stand mixer for this but will try next time to see if it makes a difference.

WHAT YOU’LL NEED:
1 head of garlic - roasted & chopped
Olive Oil
Salt
Pepper
2 1/2 teaspoons active dry yeast
1 teaspoon honey
1 1/4 cup 100° water
2 teaspoons salt
2 tablespoons chopped fresh rosemary
3 cups flour

DIRECTIONS

Roasting the Garlic:

Preheat over to 400°

Cut the top off the top of an entire head of garlic and place on a sheet of foil.

Drizzle a little bit of olive oil on top and sprinkle a pinch or two of salt and a bit of fresh pepper.

Wrap foil around tightly, pinching at the top, and place on middle rack in oven.

Roast for approx. an hour to hour and half to desired caramelization.

Set aside to cool.

The Dough:

In a large bowl mix together yeast, honey and water. Let is sit for 10 min until foamy.

Mix in chopped rosemary and garlic, and salt.

Slowly add in flour while mixing with a wooden spoon until dough appears to mixed and a bit flakey.

Drizzle olive oil over the top and lightly coat the dough to make sure all sides are covered.

Place a clean dish towel over the top of the bowl and let proof for an hour - dough will double in size.

Gently tip the dough out onto a floured surface without smooshing any of the air bubbles out.

Carefully fold in each side, turning, and repeating about 4 times and then place in floured bowl, seam side down.

Cover again and let sit for 30 min while the oven pre-heats to 450° with a dutch oven or oven-safe pot inside.

Place a sheet of parchment paper down and carefully tip the dough seam side up onto the sheet.

Carefully place the parchment paper with the dough into the pot and bake for 30 min, covered.

Remove lid and continue to bake for 20 min or until desired browning.

Let bread cool for at least 20 min and enjoy!

Follow

PNW TURKEY CHILI


Cozy season is here so bring on the comfort meals! This super simple chili recipe has been our forever go-to and more in recent years since moving to Portland. It’s healthy, spicy, filling and makes for great left overs. I have made this for friends and family and it’s always been a crowd pleaser. You can throw this together earlier in the day and let it sit or whip it up to eat right away. We use ground turkey but ground beef, chicken, or even Thanksgiving Turkey leftovers could be substituted. But what make this chili especially delicious and “PNW” is adding in about a can of local favorite, Rainier Beer. Now, this can be made with any beer - I have used the Drive-Thru Amber from TJ’s quite a bit - and it will be delicious. So grab a can of your favorite!


What You’ll Need:

Olive Oil
1 large yellow onion - chopped
1 clove of garlic - minced
5-7 mini sweet bell peppers - chopped
1lb ground turkey
30oz (2-14.5 oz cans) Diced Fire Roasted Tomatoes
1 can red kidney beans - drained (white beans work, too)
1 12oz can Rainier Beer
Salt
Pepper
Chili Powder
Turmeric
Cumin
Cinnamon
Cayenne (Optional)

Garnish:

Plain Greek Yogurt
Tillamook Cheddar Cheese - shredded
Green Onion - diced
Cornbread

Directions:

Pour a generous amount of olive oil into a large pot on medium - heat until hot.

Add in onions, garlic, pinch of salt and pepper, cook until onions are soft.

Mix in bell peppers and stir occasionally until peppers are also softened but not burnt.

Add in 1lb of ground turkey and use your spatula to break it up. Cook until slightly browned.

Add in about 3 tablespoons of chili powder, 1 tablespoon turmeric, a dash or so of cumin, and a dash of cinnamon. I also add in cayenne pepper to give it more of a kick. Mix until combined and let it cook for about a minute.

Pour in tomatoes, beans, and beer and mix together. I usually pour anywhere from half to 3/4’s the can and then enjoy the rest.

Bring to simmer and let it sit, covered, until ready to be served.
(If you chose to serve later, turn off heat)

Garnish with a dollop of plain greek yogurt (or regular sour cream), a handful of Tillamook Shredded Cheese, green onion, and a slice of cornbread. Enjoy!

I do not make my own cornbread (yet) from scratch but am very fond of TJ’s Gluten-Free Cornbread Mix - which turns out to be a seasonal item in the fall, so stock up.

Leftovers can be stored up to a few days.

*This post is not sponsored by Rainier Beer nor am I affiliated with them.


Follow