SKINNY "PALETAS"


It's SUMMER! And today is the 4th of July!
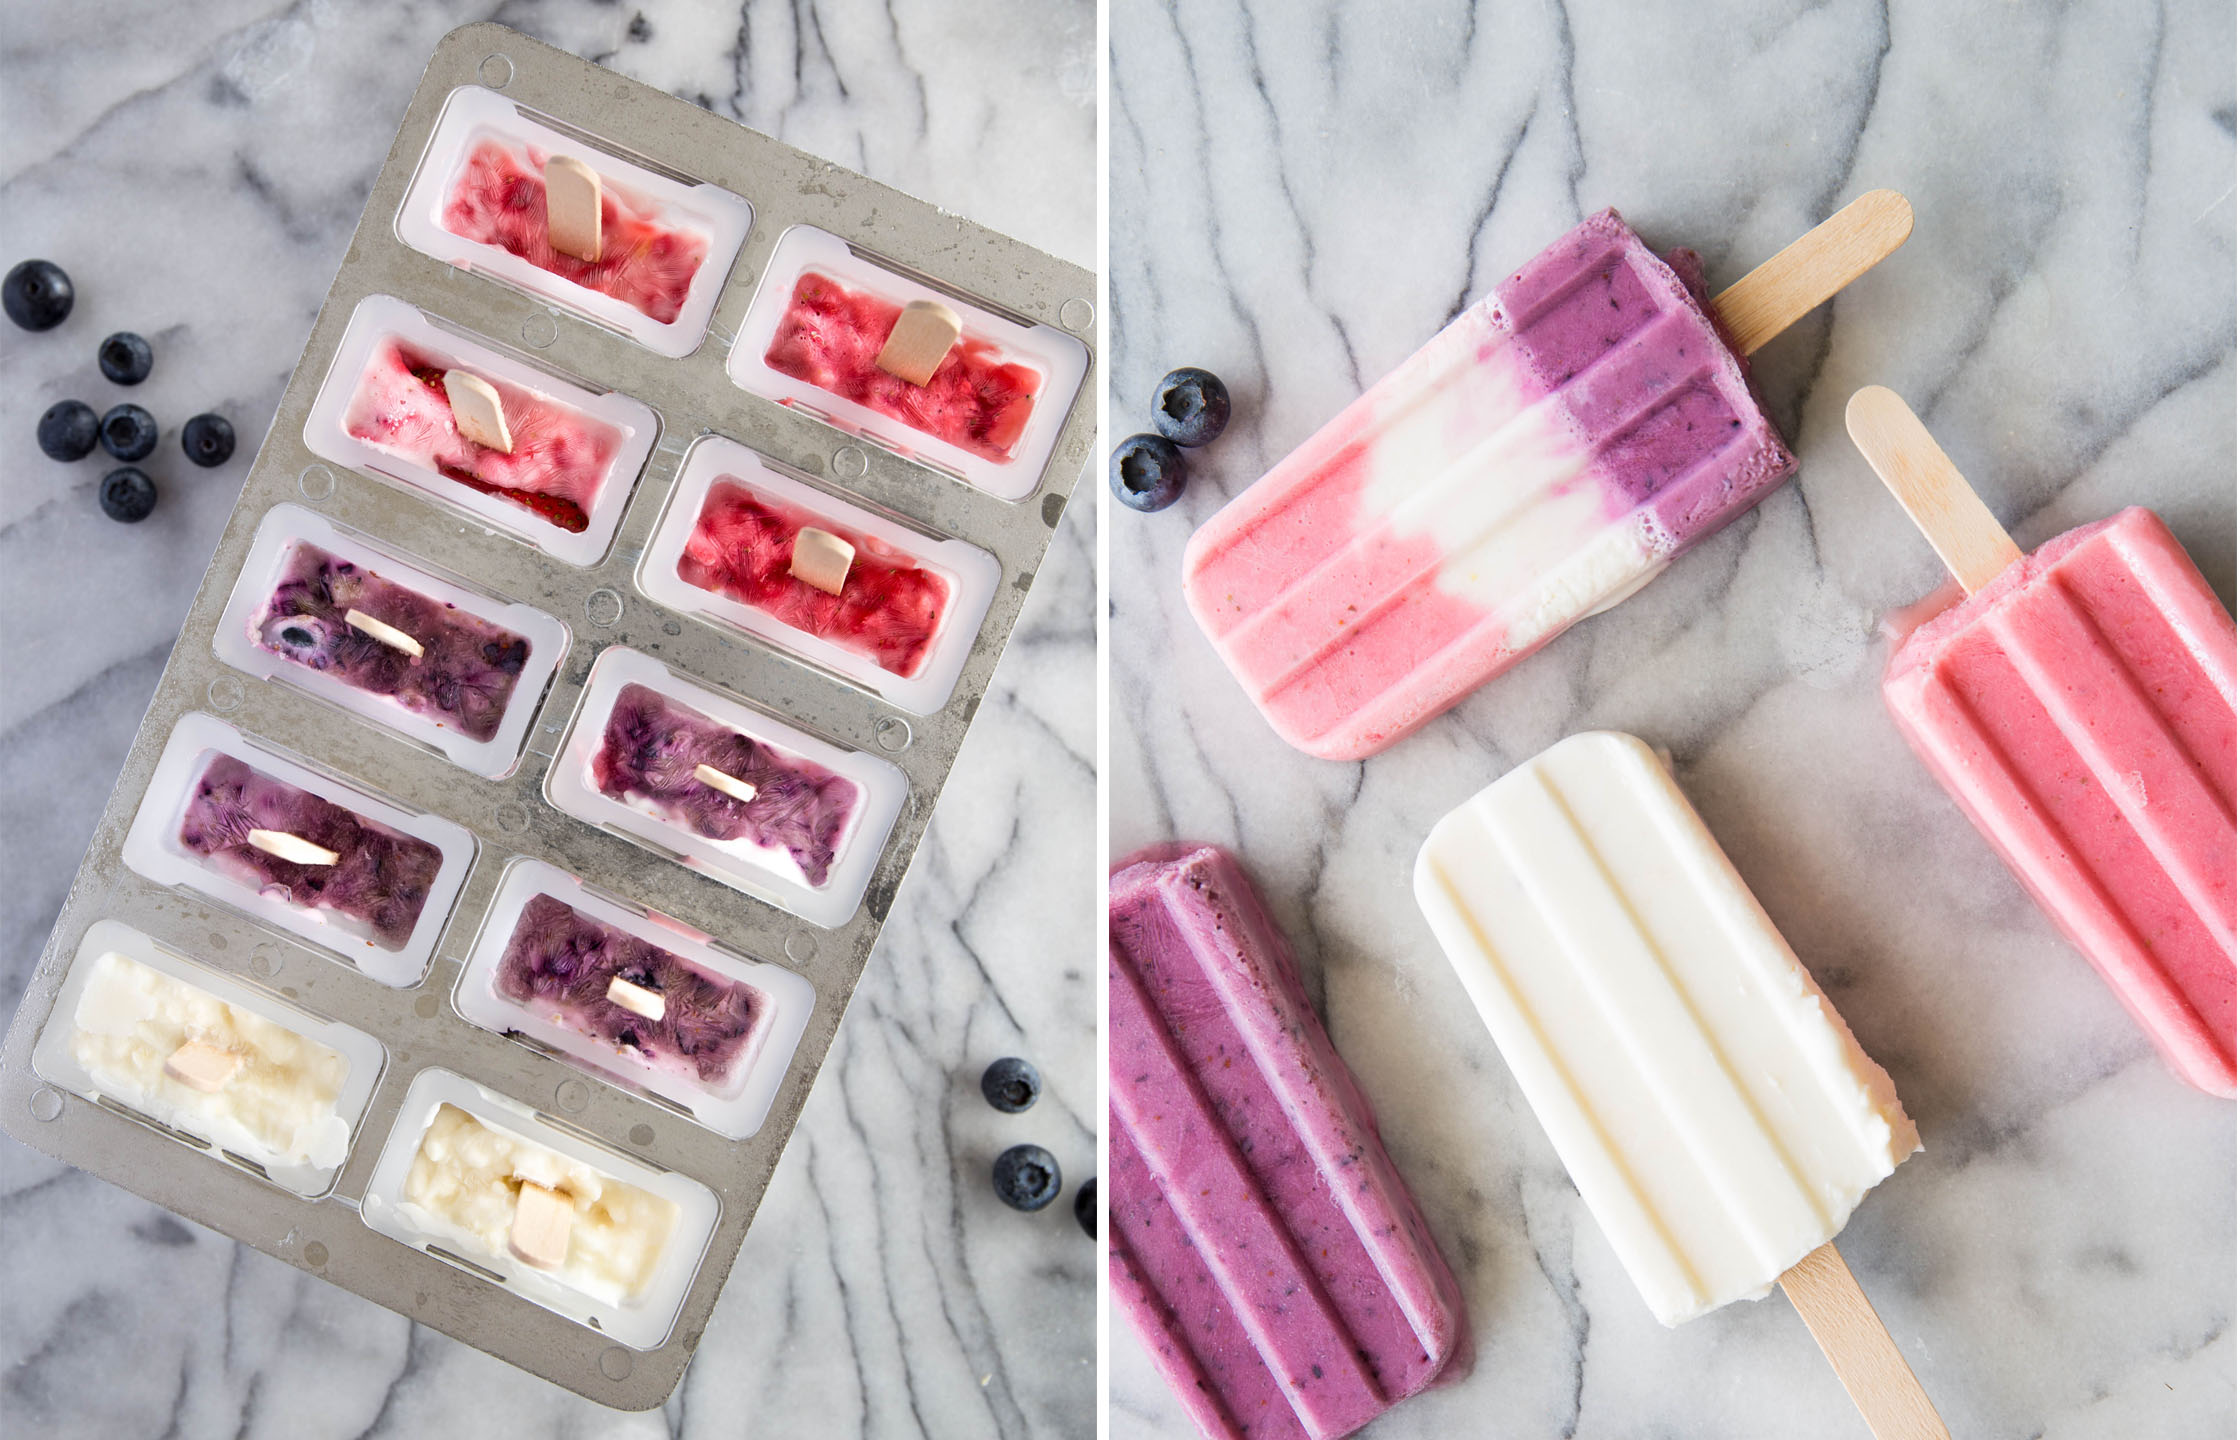
The Paleta. Being from Los Angeles these sweet treats are no stranger.  But knowing now how harmful sugar is, I wanted to make something sweet, fun, and guiltless for this holiday and well.. whenever!  May I present: the skinny "paleta"!

I am so glad these turned out (after a few trials and errors)!  These pops are sweetened naturally with only fruit and touch a honey and made from nonfat greek yogurt!  So you get your probiotic and protein in one!  I think I'll eat these for breakfast!  I made these to be "patriotic" for today but you can make them any way you want!

What You'll Need:
2 cups nonfat plain greek yogurt
Fruit of choice (I used strawberries, blueberries, & nonsweetened coconut)
2 tbs Honey
1/2 Lemon
1/2 c Water

Directions:
In a saucepan, bring 1/2 cup of water to a boil and then add 1 tbs honey and half a lemon's juice and stir until dissolved.  Set aside to cool.

Combine the zest of one lemon and the other tbs of honey to yogurt.

Set up your food processor or blender and combine one fruit at a time with about 3/4 cup yogurt and a few teaspoons of prepared water and blend.  Add more water to get desired consistency. You will want the mix to resembled melted ice cream (or soup).
 

Pour mix into mold leaving a 1/4 inch on top.
Tip:  If you want to make layers, pour each flavor one at time and place into freezer for at least 20 minutes before adding the next layer to prevent mixing.

Place mold into freezer and let sit for about 30 minutes before adding the sticks.

Let freeze 8 hours or overnight.

When ready to serve, remove mold from freezer and let sit for about 10 minutes then runs sides under warm water to loosen up.  

Remove each Popsicle carefully and serve immediately! Enjoy!

Follow

MY BACHELORETTE // IDYLLWILD, CALIFORNIA


This past weekend, eight of my best girlfriends (including my good friend, Kirstin, who came all the way from Chicago!) and I headed northeast from LA to Idyllwild for my Bachelorette - aka Cinco de Andi - aka Andi almost-Askar. I never gave much thought to my bachelorette or had expectations, but this weekend proved to be more than I could have dreamt it would be. 

We rented a Geodesic Dome atop a cliff with 2 hot tubs, fire-pits, trails, and a 360° view of Idyllwild. The weather was in the high 70s, clear-ish skies, and luckily, my gorgeous friend, Miriam Brummel (also our engagement/future wedding photographer) came packing and captured the weekend! Putting on the ridiculous shirt and sash was such a surreal moment and it hit me that I was really getting married soon! 

We bbq'd, jacuzzied, and popped one-too-many bottles of champagne. It was glorious. The girls even surprised me with a new purse from my favorite store, Madewell, monogrammed with my future initials.  

Unfortunately, the dome had issues that were unrepairable, but wow, did it work in our favor. We got moved to the raddest lodge, and the party re-started. Since I don't love being the center of attention, we all dressed in white and took the town by storm. We never got a full group photo but I guess that means we were having too much fun.

Weather predicted snow on Sunday (which is nuts for May) but we had no idea that we would wake up to a winter wonderland! It felt like Christmas! It was truly unbelievable.

It was the best weekend ever. I am so fortunate to have such wonderful girlfriends who love and support me. I couldn't have asked for more.  XO.

Thank you for your photography, Even Keel Imagery, and for keeping me pretty, Lauren Burt.  

Follow

WEDDING PLANNING 101: ORGANIZATION

 
_MG_1353.jpg

Now that we are only a few weeks out, my one word of advice to newly engaged DIY wedding planning couples: ORGANIZATION!

Danny and I got engaged on May 22, 2016 and we couldn't have been happier. I mean, we've been attached at the hip since 2011. Getting engaged is exciting. It's a party. It's an important life chapter. It's cloud nine. Then, there's the wedding planning. 

The first thing we did was to sit down and write out lists of our must-haves. We both knew from the get-go that we wanted to make it very personal, to really describe us as a couple, and to steer from the typical cookie-cutter-foo-foo type of wedding (I highly recommend this step because it will help narrow down location, venue, and vendors tremendously).

As a kid, I always envisioned some large wedding, but as I got older, I realized that I'm not much for crowds, especially when the attention is on me. Luckily, Danny felt the same, and we decided to have a small wedding. "Great, this will make it easy!" I thought. Yeah... not really.

My fiancé happens to come from a v large family, and mine is quite small by comparison. So, we compromised and decided to plan a small, intimate, destination wedding, and then a larger family party after. One thing we didn't fully realize at the time was that we had just signed up to plan two weddings. Two florists, two caterers, two everything. WTF.

We instantly became overwhelmed. Full-on wedding coordinators are very expensive and were out of the question, so we took the planning into our own hands.

It was crucial to stay organized from day one. It's really easy to lose track of all the moving parts that make up a DIY wedding, so we knew we needed to rely on all of the tools a resources we could get our hands on.

before sbs.jpg

First, I went to Target and picked up this cute accordion file which had plenty of tabs to hold all of our contracts and vendor info. It seemed practical at the time, but as it began to fill up and things become more detailed, the file became more difficult to work with. The novelty wore off and I realized I needed to re-evaluate. Plan B: a binder.

I picked up a good ol' white Avery binder, some white tabs, and got to work. Since our wedding is mostly DIY, I thought it would be cute to use the transparency film from one of our invite designs (more to come on that later!) to insert into the view pockets. This made it personal without being too wedding-y. I then divided the binder into two parts: "Ceremony" and "Party", and then organized each corresponding vendor's contracts, menus, copies of payment, floor plans, and emails. Ah, instant wedding organization!

insides sbs.jpg

The binder was a winner! Just make sure to have a 3-hole punch ready, because the need for binder holes may be the only downside to this solution over an accordion binder, which does make page drop-ins quicker.


Lastly, if you're like Danny and I, you believe that paper documents are out (hey, it's 2017!) and are super into sharing Google Docs! This is another great tool for organizing the constantly changing things like to-do lists, guest lists and RSVPs, and is literally accessible anywhere at anytime.  I also recommend having a shared Google Calendar for assigning deadlines and wedding related appointments (time will fly!) There are also apps that can help you stay on track, such as Wonderlist or Evernote, where you can share running to-do lists if spreadsheets aren't your thing.

Organization takes time in the beginning. But it will save you a ton of headaches as you get closer to the end of your planning, when details are becoming crucial. 

Happy Planning!! xo
 

Follow