

So, I finally bit the bullet a few weeks ago and bought myself a shiny, new macbook pro after struggling with my seven yr old model. SUCH a difference! Now with it being slimmer & lighter in weight, it's easier than ever to bring it with me almost everywhere. But I didn't want some boring run-of-the-mill laptop bag or case, but something a little more personal and something that can withstand the beating of commuting in my purse. I did and little research and fell in love with Almost Makes Perfect's awesome DIY. I am typically terrible at doing any DIY but this seemed simple enough. I bought the supplies and got started! Thanks, Molly. You're kinda the best (and congrats on your baby!).
What You'll Need:
1 yard fabric of choice (I chose a faux leather from Amazon, because prime..duh)
Sewing Needle
Thread of choice (Vinyl is also a good, durable option)
Button
Scissors
Exacto Knife
Fabric Glue
Ruler
I ordered a yard of fabric because I wanted extra in case I messed up. And I did.. a lot.
Measure out your size including enough for the flap depending on the size of your laptop.

Cut fabric as carefully as possible.
Clamp top side with binder clip to keep in place.
Place laptop in bag to see if it fits right before sewing. (Yeah... I should've done this..)
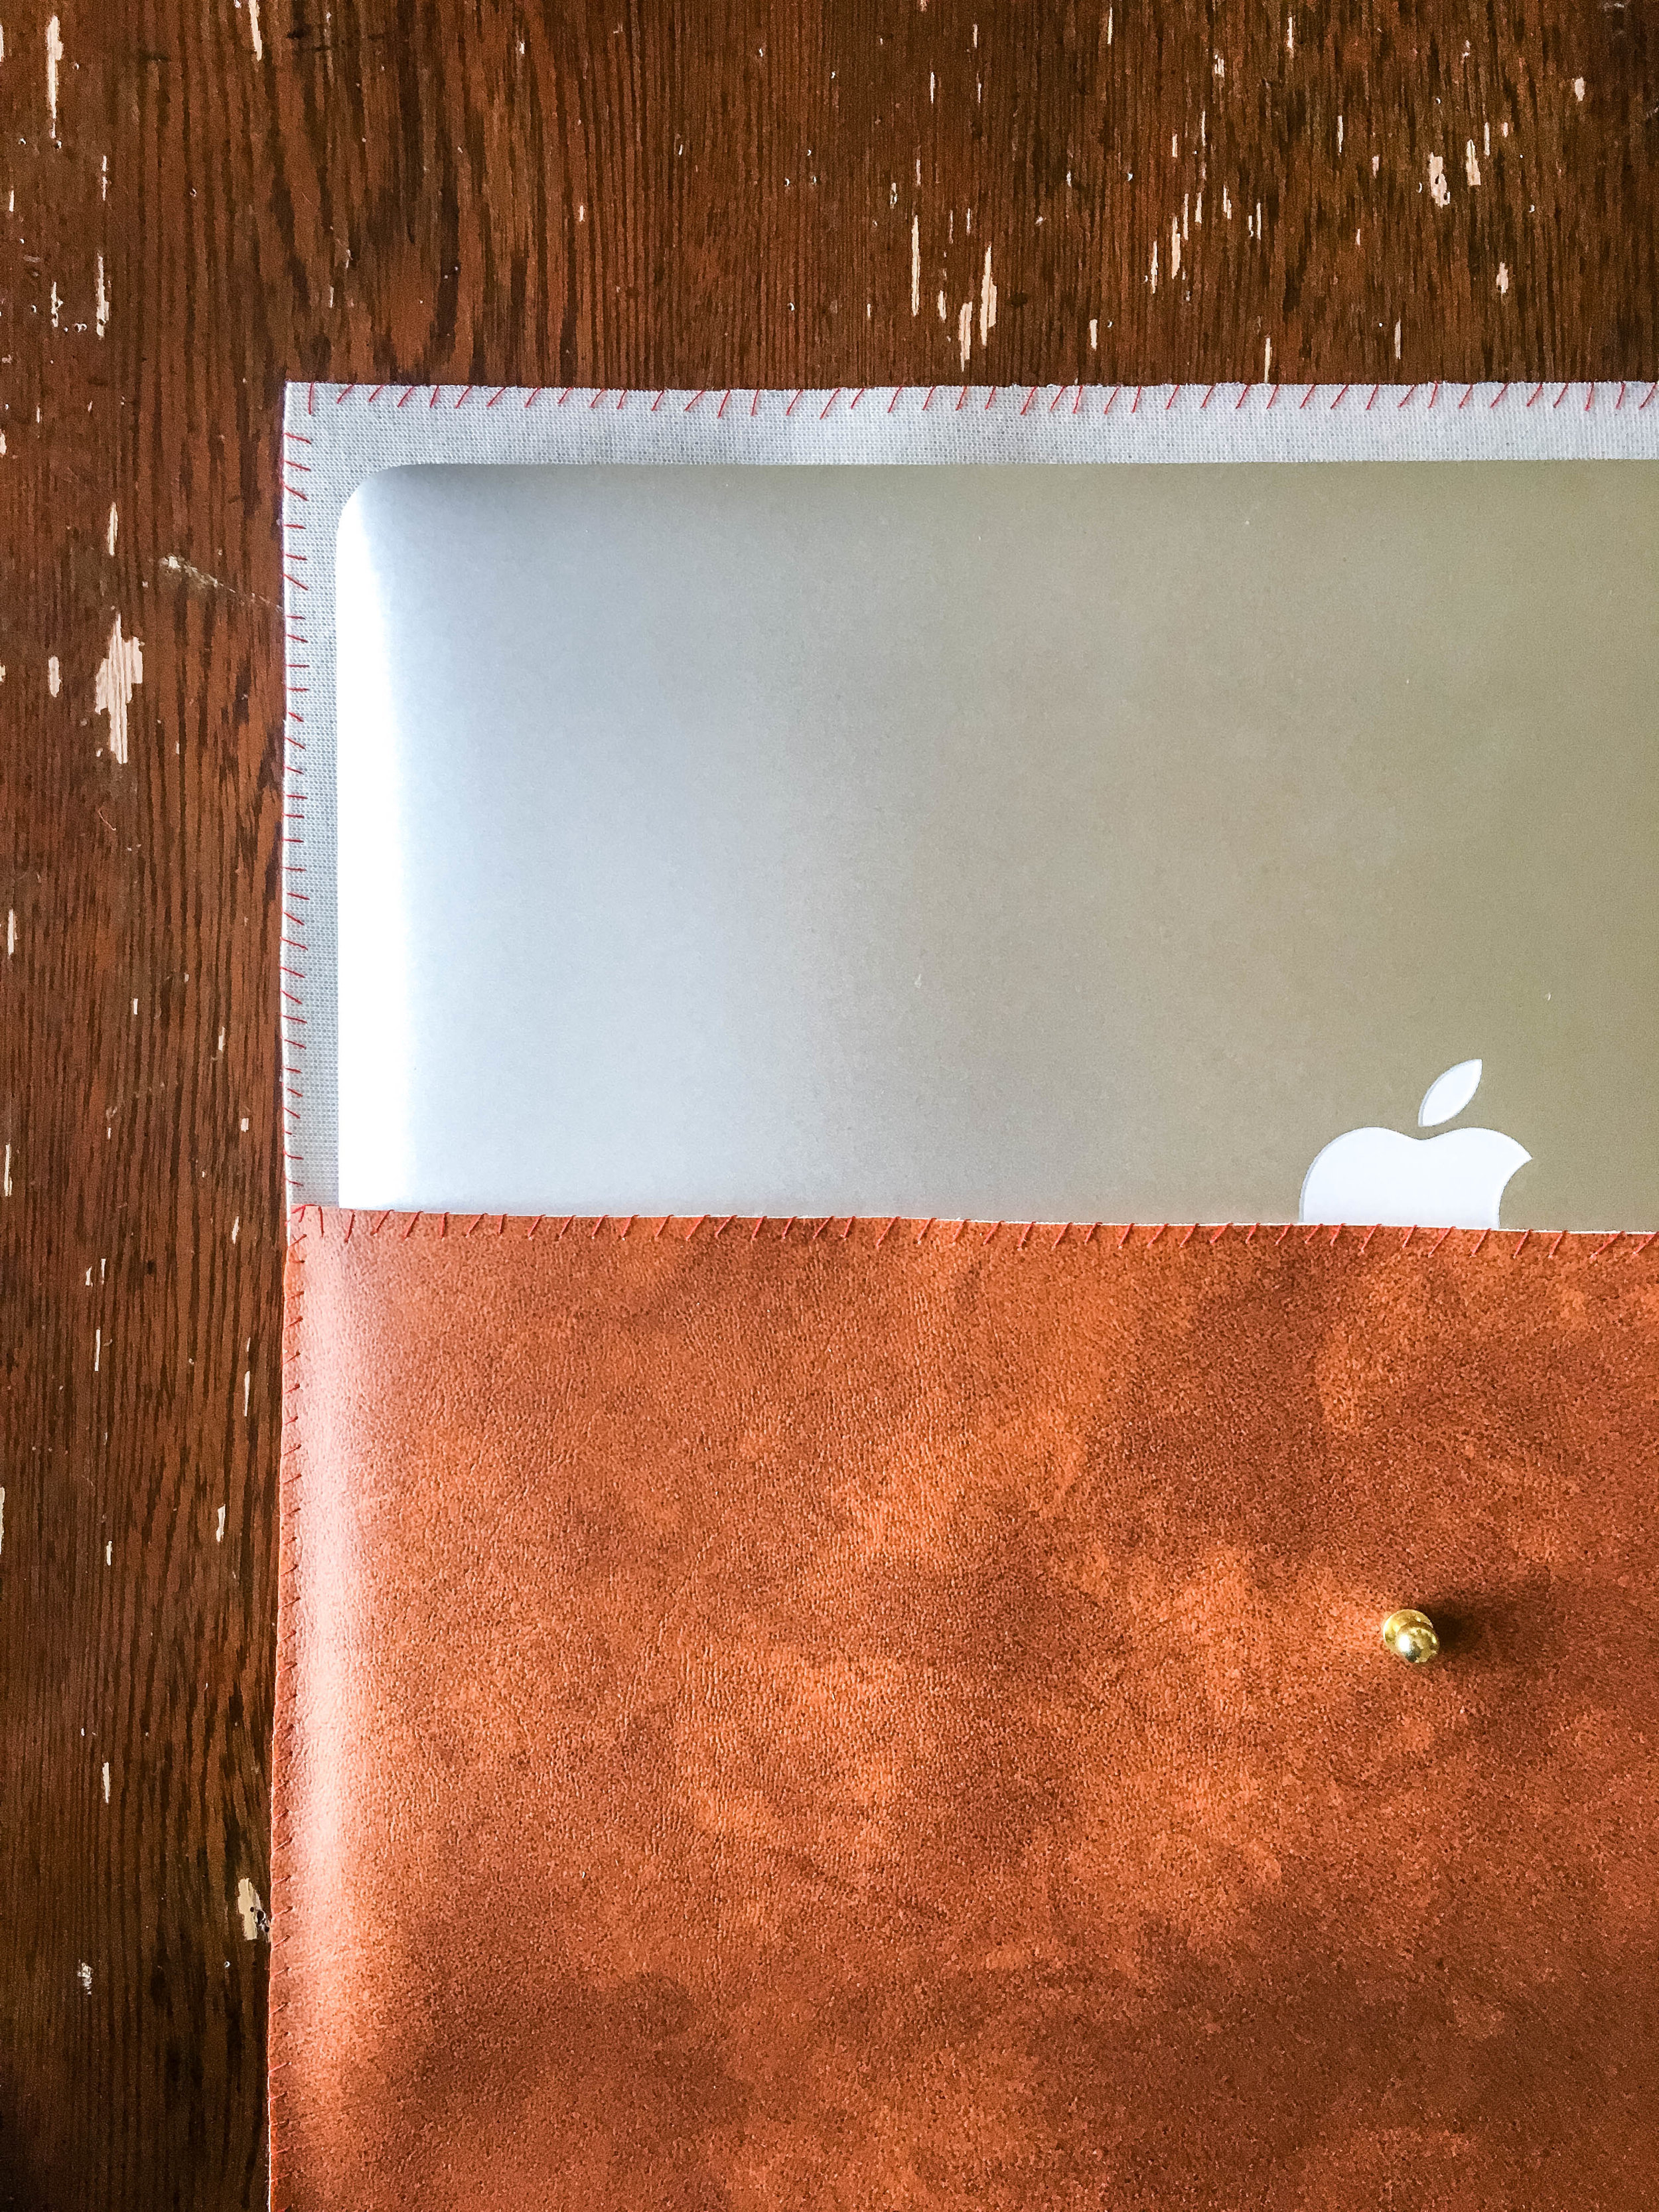
Begin sewing using an overcast stitch.

Repeat on the other side. I sewed the all the edges to give it a more finished look.
Using the exacto knife, cut a small slit in the middle of front and flap where you want your button to be.

Cut a small square of the left over fabric to cover the back of the button to keep it from scratching your laptop and adhere using a small amount of fabric glue.


And you're done!