DIY MID CENTURY INSPIRED HOOP LOG HOLDER

 
IMG_4072.JPG

Now that Danny and I have a fireplace, and actually have weather where it's practical to use it, we have been accumulating tons of firewood and not really having a decent place to put it in the house. So, I have been searching for cute, mid-century-esqe log holders, and, of course, I found one, and, of course, at a price that was NOT practical. So, I did some digging to try and re-create my own.

What you will need:

Steel Log Hoop
Brass Spray Paint
Twine or yarn
Steel wool
Microfiber cloth
Gloves (optional)


IMG_5526.jpg

Place iron hoop on a surface outside that you can get messy. Using a steel wool pad, brush over the hoop to smooth out any bumps or imperfections. Then, wipe down with a microfiber cloth to remove any dust or debris. Make sure your hoop is dry before spray painting.

IMG_5550.jpg

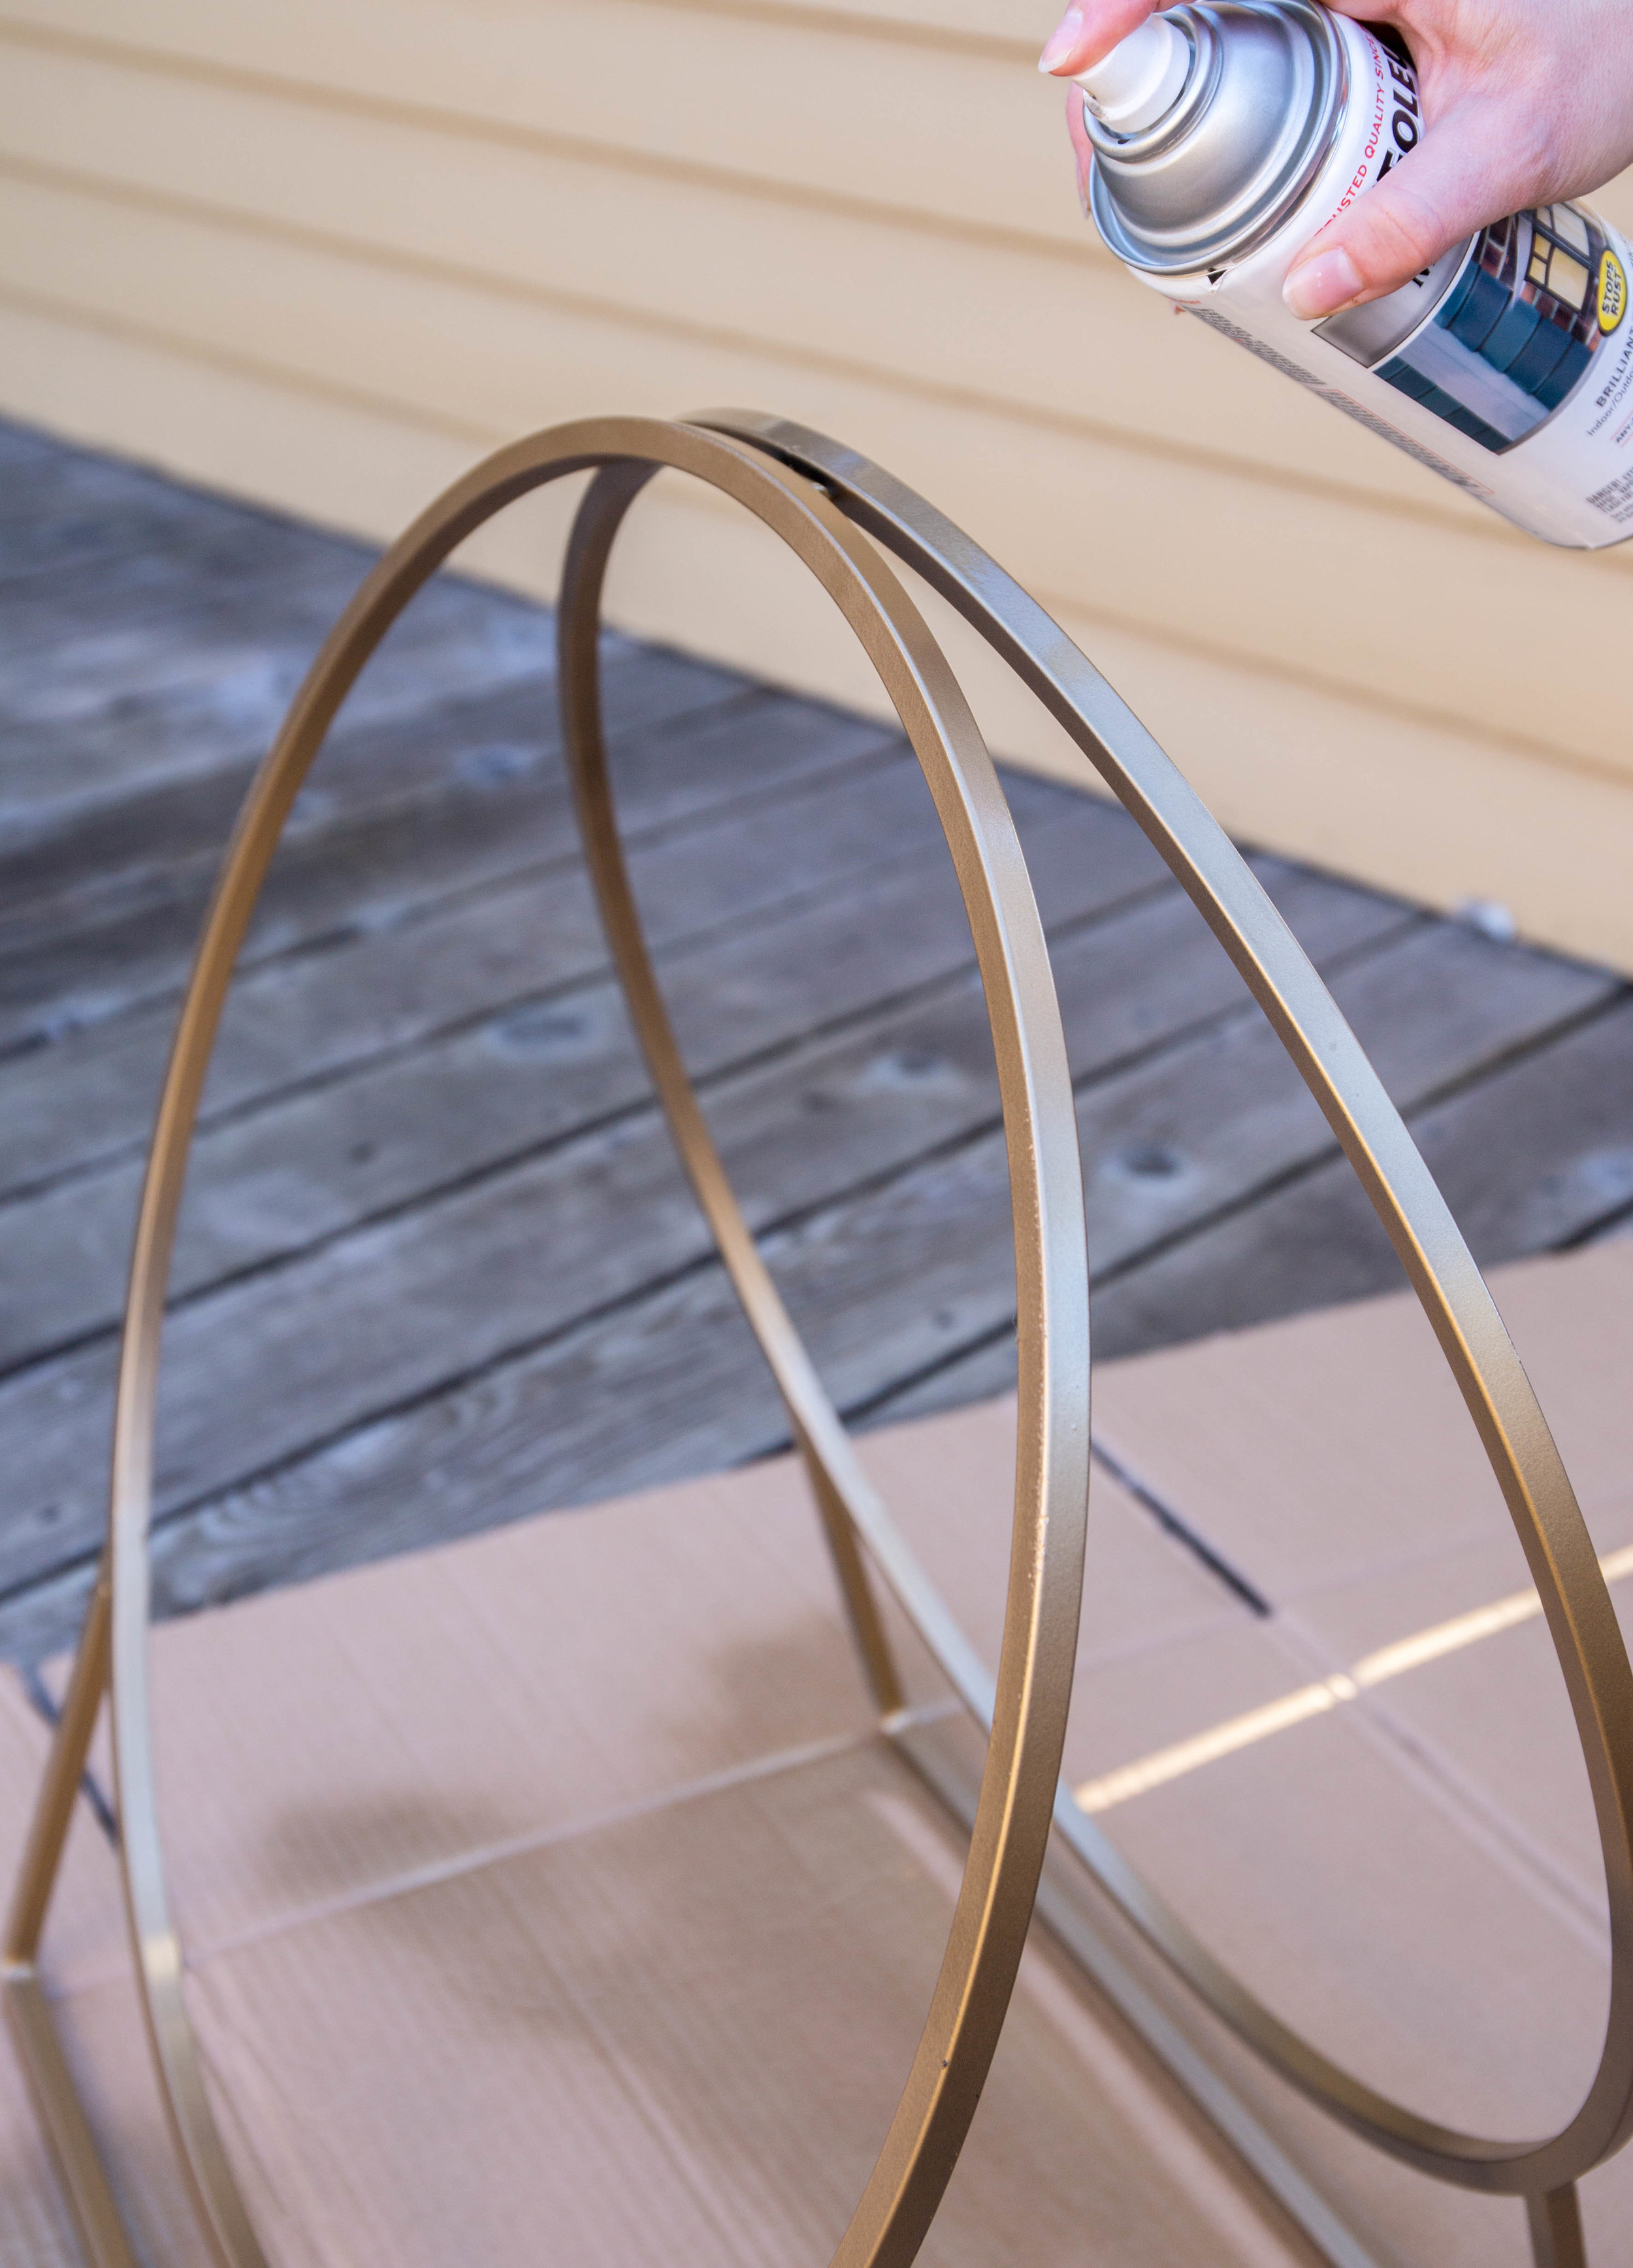
Then, smoothly and, in a steady left-to-right-right-to-left motion, paint the entirety of the hoop, holding the can far enough away from the hoop to avoid any patchiness and dripping. Let dry before flipping over to spay back side. 

IMG_5565.jpg

Once dry, wrap yard or twine around the bottom portion, creating a basket, and secure with small knots on each side.

IMG_5581.jpg
Snapseed.jpg

Wrap a small amount around the handle to tie in the basket design and...

_MG_5604.jpg
_MG_5623.jpg


Look at that! Your own DIY mid-century inspired hoop log holder! 

_MG_5624.2.jpg
_MG_5629.2.jpg
_MG_5634.jpg

Follow


DIY LAPTOP CASE


So, I finally bit the bullet a few weeks ago and bought myself a shiny, new macbook pro after struggling with my seven yr old model.  SUCH a difference!  Now with it being slimmer & lighter in weight, it's easier than ever to bring it with me almost everywhere. But I didn't want some boring run-of-the-mill laptop bag or case, but something a little more personal and something that can withstand the beating of commuting in my purse.  I did and little research and fell in love with Almost Makes Perfect's awesome DIY.  I am typically terrible at doing any DIY but this seemed simple enough.  I bought the supplies and got started!  Thanks, Molly.  You're kinda the best (and congrats on your baby!).

What You'll Need:

1 yard fabric of choice (I chose a faux leather from Amazon, because prime..duh)
Sewing Needle
Thread of choice (Vinyl is also a good, durable option)
Button
Scissors
Exacto Knife
Fabric Glue
Ruler

I ordered a yard of fabric because I wanted extra in case I messed up.  And I did.. a lot.
 
Measure out your size including enough for the flap depending on the size of your laptop.  

Cut fabric as carefully as possible.
Clamp top side with binder clip to keep in place.
Place laptop in bag to see if it fits right before sewing. (Yeah... I should've done this..)
Begin sewing using an overcast stitch. 

Repeat on the other side.  I sewed the all the edges to give it a more finished look.

Using the exacto knife, cut a small slit in the middle of front and flap where you want your button to be.

Cut a small square of the left over fabric to cover the back of the button to keep it from scratching your laptop and adhere using a small amount of fabric glue.

IMG_3383.jpg

And you're done! 

Follow