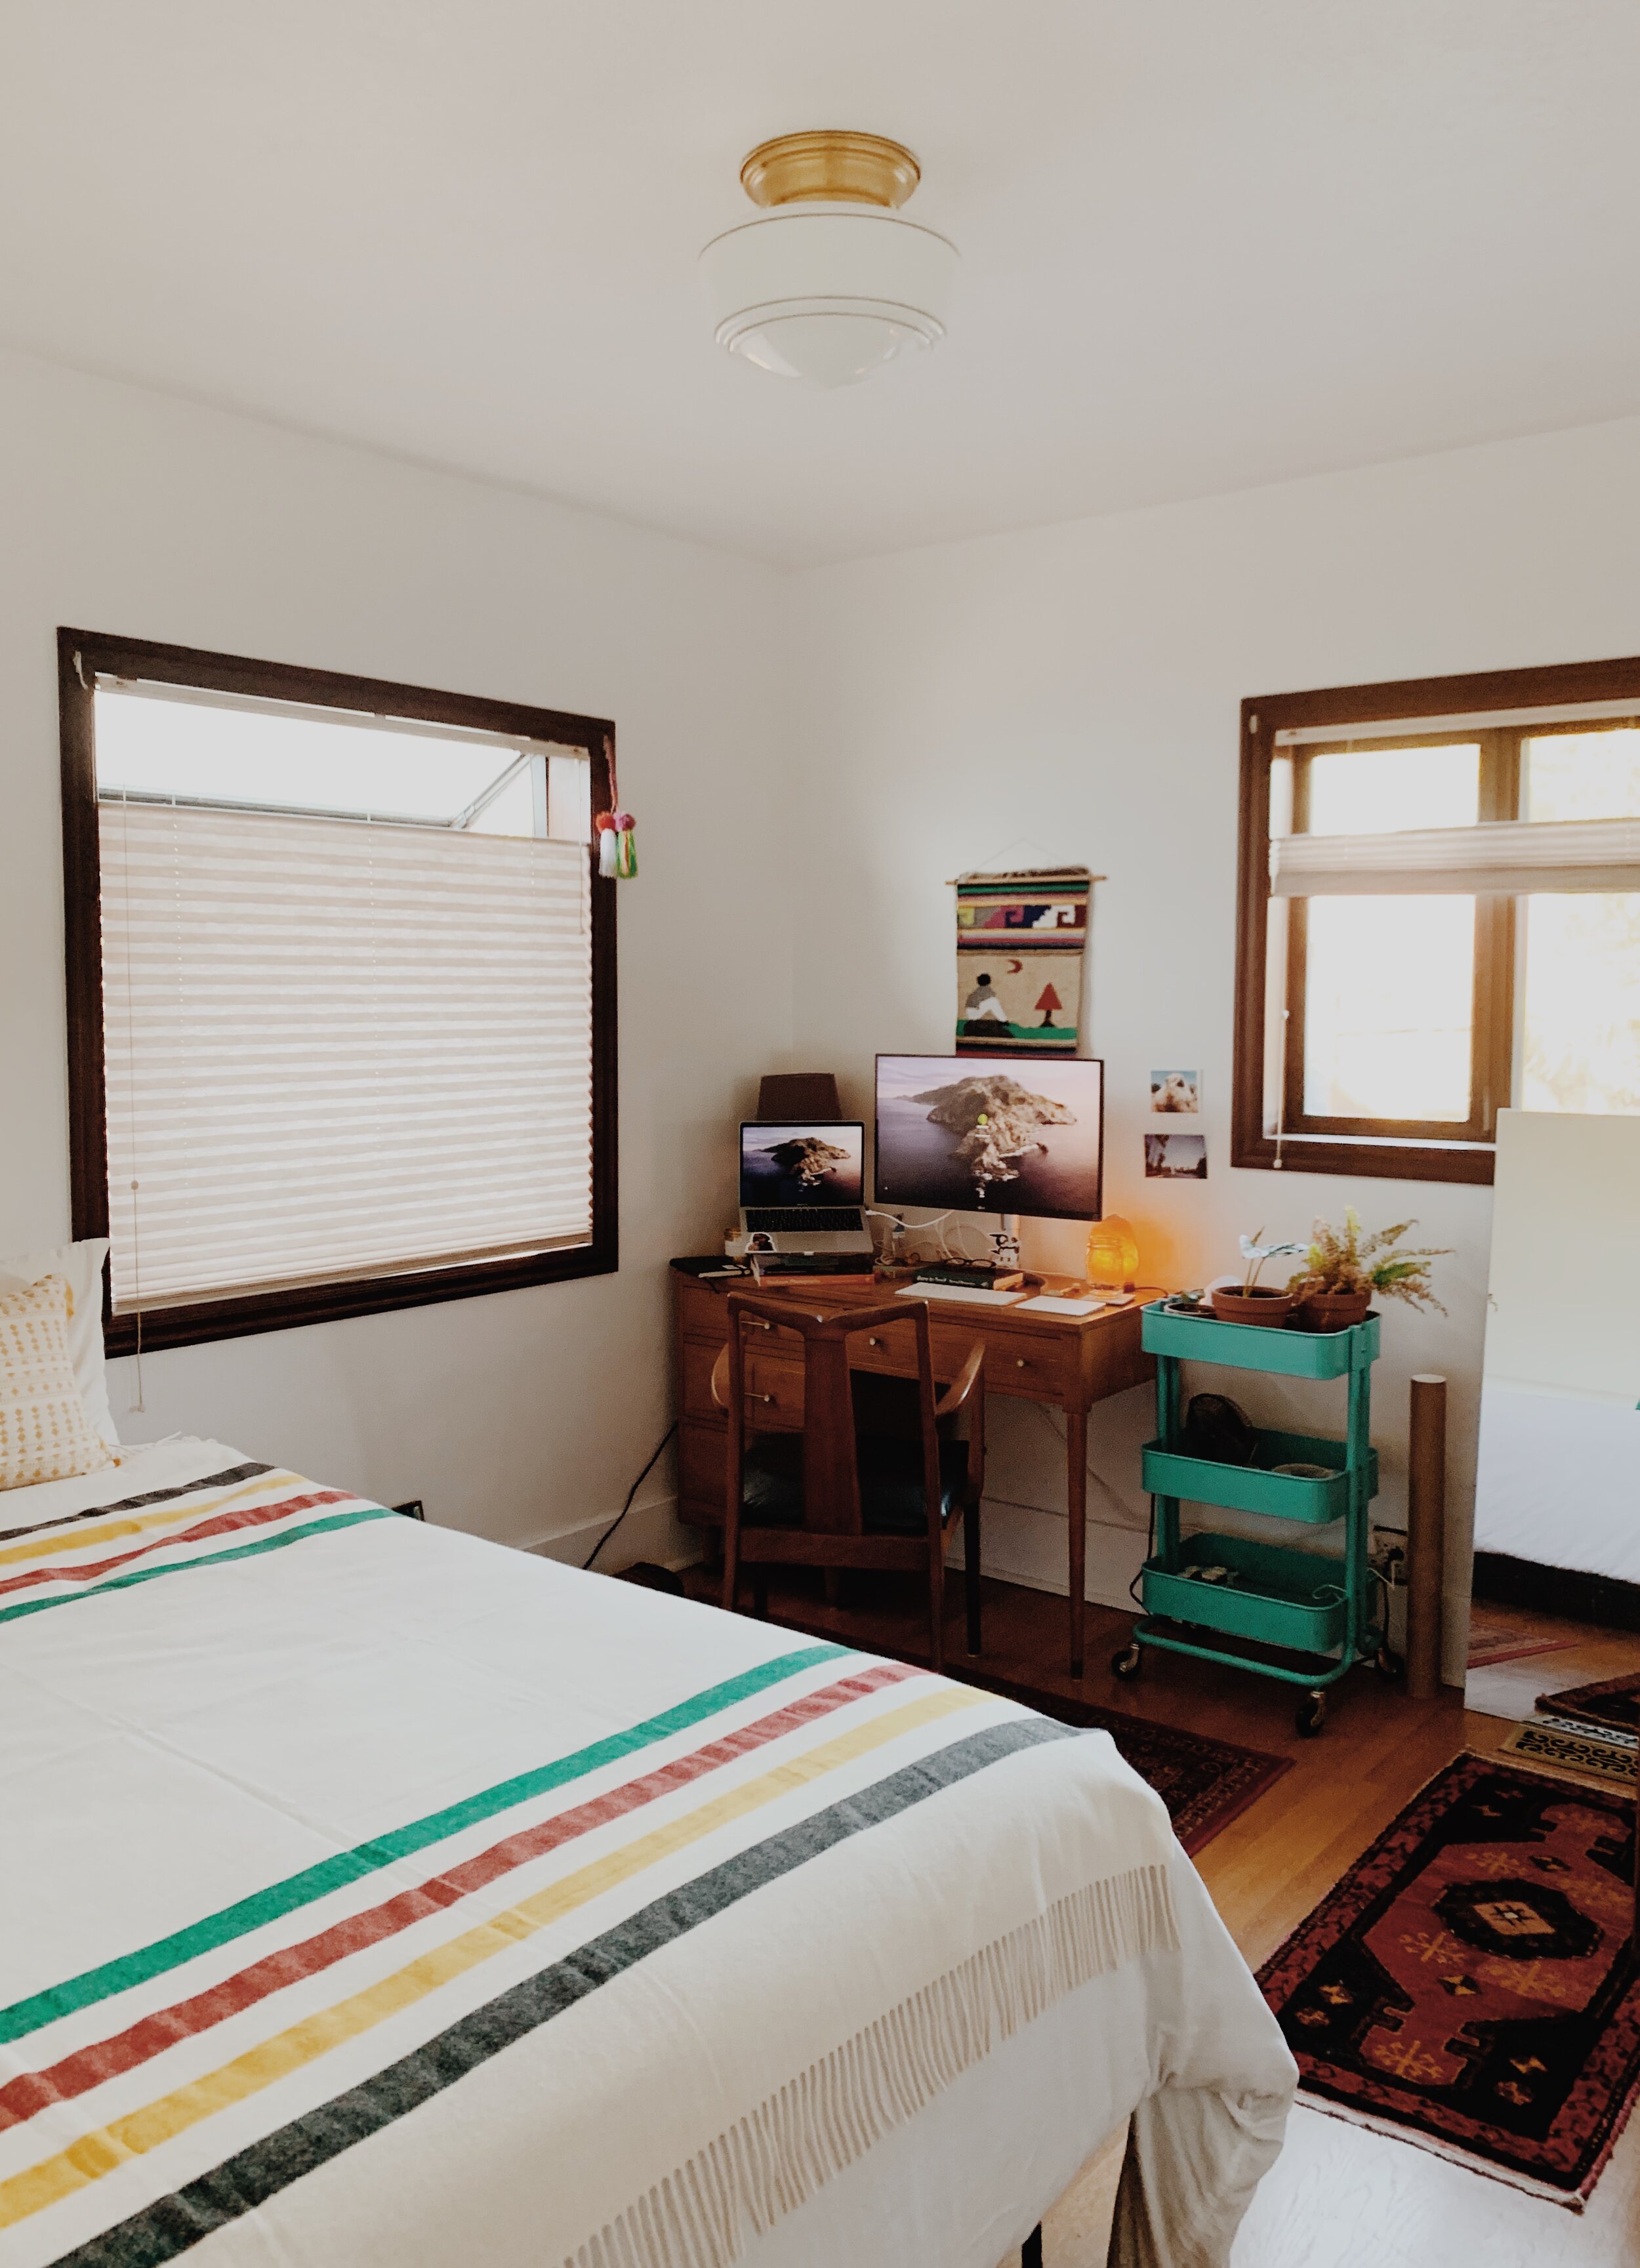
Here we are at the homestretch of 2020 and we are preparing for Home Renovation No. 5: The Office / Guest Room!
I started working full time in here since the pandemic has required us to WFH. The windows in this room are the same as we replaced in our living room, but worse. It didn’t really bother me too much since weather was warming up and drying out but as soon as the rains came back with Fall it was clear: we need to replace these ASAP. The giant garden window not only let cold air in but also leaked creating a perfect storm for mold to grow. So, I am now working from the dining table, again.
Our only spare room in our tiny home was always meant to serve as a guest room. Danny and I used to love hosting our friends and family who would come up from LA quite frequently so having our extra queen bed set up in here was perfect for our parents and friends traveling in twos. But with travel and visitors being on hold and the need for a dedicated space for me to work until further notice, we started to re-evaluate the use of this room and having a giant bed in here just didn’t make sense anymore. So, we decided to lose the bed and invest in a nice sofa sleeper that will still be large and comfortable enough for our guests while also creating a more office-like feel.
Since Danny works out of the detached studio and uses our basement as his music space, this room is MINE. And though we typically always agree on how we decorate and curate our home, this is an opportunity to create a more fun and bold - colored space. With that - I am excited to announce that we have finally purchase the velvet-green sofa of my dreams!!! But since it’s still 2020 and everything is a dumpster fire, the delivery of it has been delayed until March. But, that’s okay - we have work to do….
This renovation stretches farther than this room… We have decided to replace ALL remaining windows in the house which include the two upstairs and the four in our kitchen. We will also be smoothing the ceilings, adding in crown moulding, and replacing the trim in both the office and hallway. And lastly: finishing our “new” closet under the staircase that we have put off for two year… but more on that in another post, soon.
Below is a photo of the room when we bought the house. Since then, we have and changed the lighting to a beautiful surface mount from Schoolhouse Electric. Little changes made a huge impact.
I threw together a mood board for the room to get my vision in line. I will be using a lot of my existing furniture as can see above with adding in a few more accents to make the room both functional and styled. My color palette will be more rich than the rest of our house but still keeping in line with my heavy use of woods and neutrals (using the same paint colors as the living room) to keep my natural inside-outside vibe.


