THE BEST CARROT CAKE EVER

 
IMG_4705.jpg

This cake is very special to me. It's a recipe that my Mom has been making forever. It's so good that she even had this recipe as her wedding cake. It's the cake I always make for my husband's birthday. I was first reluctant to share this "secret", but it's really too good not to. I know that all carrot cakes aren't created equal, but this one really takes the...cake. Plus, there's nothing better than a homemade cake... even if you're not really a cake person, like me. 

Carrot Cake is wonderful because it's an anytime type of cake. It can be for birthdays, weddings, bbq's, or you can even have it for breakfast, if that's your thing. This one is a little different, but hear me out: PINEAPPLE. This is not a pizza, so don't freak out. A little bit of pineapple goes a long way and keeps the cake moist without overpowering. I also add a bit of coconut, which gives a subtle flavor with a little texture, since I prefer to make this without nuts. And lastly... The Orange Cream Cheese Frosting! Adding a splash of fresh-squeezed orange juice and a bit of orange zest is really the show stopper. You and all of your fellow cake-eaters will be hooked.

Now, this is a cake you should make ahead of time. Meaning, if you want to make it for a party, I recommend baking the cake layers the night before and placing them in the fridge or freezer. My theory has always been that cake tastes better the next day - plus, it's easier to frost when the cakes are firm. Don't worry, however, it can be made and devoured in the same day if you're in a rush.

_MG_5701.jpg

WHAT YOU'LL NEED FOR THE CAKE:
2 cups flour, sifted
2 tsp baking powder
2 tsp ground cinnamon
1 1/2 tsp baking soda
1 tsp salt
1 cup canola oil
2 cups sugar
4 eggs
2 cups grated raw carrots (I like to use rainbow)
1/2 cup sweetened shredded coconut
8 oz crushed pineapple, drained

_MG_5713.jpg

Preheat oven to 350 and grease/flour two round nine-inch cake pans, and set aside.

In a medium bowl, sift flour. Add baking powder, cinnamon, baking soda, and salt. Resift. Set aside.

In a large bowl, beat sugar, oil, and eggs.

Begin to mix in flour mixture slowly. Try to not over mix. Batter should be thick at this point.

Mix in grated carrots, coconut, and pineapple.

mixsbs.jpg

Evenly pour the batter into both pans and place into the oven.

Bake for 25 minutes and then check to see if the center has set and toothpick comes out clean. Depending on your oven, you may need a little more time but keep an eye on it. No one likes burnt cake.

Once set, remove and cool. Once cool enough, remove from pans and let cakes finishing cooling on racks. 

Pro-tip: If you are making these ahead of time to freeze, make sure cakes are FULLY cooled before wrapping in plastic/foil and placing in fridge or freezer. Any residual steam will make the cakes soggy.


WHAT YOU'LL NEED FOR THE FROSTING:
1 stick unsalted butter, room temp
1 package regular cream cheese, room temp
1 tsp vanilla extract
2 cups powdered sugar
1 tsp fresh squeezed orange juice
1 tsp orange zest

In a large bowel, mix butter and cream cheese.

Add in vanilla and beat until fluffy.

Gradually add in powdered sugar, orange juice and orange zest and mix until well combined.

Depending on your taste, you can add in extra orange juice and zest.

Pro-tip: Before frosting the cake, I like to line my plate or stand with four strips of parchment or wax paper to keep things clean. Then I place the first layer on top. 

_MG_5760.jpg

Spoon a generous amount of frosting on the top of the cake and smooth out to the edges.

Carefully place second cake layer on top and repeat.

For the sides you can add as little or as much as you want, depending on what style you are going for.

Once you have added the frosting, carefully remove paper from the bottom and throw away.

Lastly, decorate your cake any way you like and you have yourself THE BEST CARROT CAKE EVER! 

_MG_5789.jpg
_MG_5775.jpg
_MG_5772.jpg

Follow


OUR STAIRCASE : THE PLAN

 
855e6a4b1273505e9aacc2fb1fe12e16.jpg
Organization-Ideas-19.jpg

Our almost-100-year-old little bungalow was blessed with a death-trap of a staircase. It's steep, tight, low in areas, and even has carpet from I don't even know when. I've had my share of spills down it, and anyone who is over 5'4 is sure to hit their head on the way up or down. Worse yet, if you're trying to carry anything up, there's a point about half way where you have to lift the item above your head, otherwise you slam right into the stairs above you. They are terrible. The worst. I am not exaggerating. AND, again... they are carpeted! YUCK!

IMG_4392.jpg
IMG_4390.jpg

So, we started to talk about how we can improve these stairs as-is and couldn't come up with any cost-effective way that would actually solve the issue. We had already been entertaining the idea of opening up the wall that separated our living room and the front bedroom. So, why not just move the direction of the stairs while we are it? Genius! 

IMG_4391.jpg

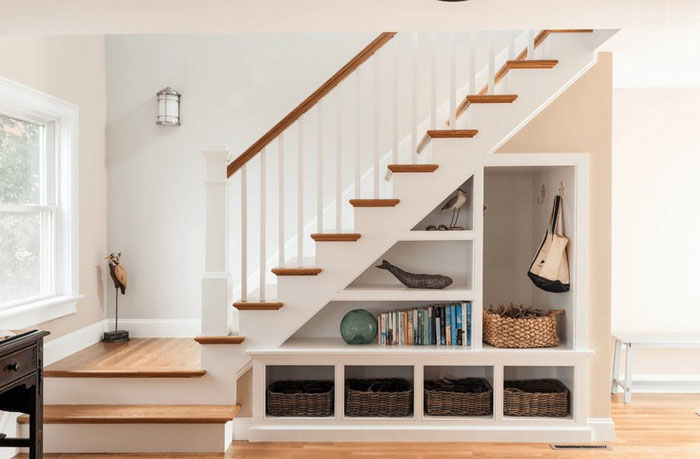
The idea is to have the new staircase follow up the side of the front bedroom wall (this room will later become part of our living room), beginning with a slight turn upward, and then continuing up in a straight path. This will give us a longer, more gradual stairway, and allow us to have more room to work with upstairs, eliminating a lot of dead space.

Our house also lacks quality closet space, and the current staircase intrudes into our bedroom closet at an angle, cutting off the otherwise usable top right corner and leaving us with an awkward, two-thirds of a closet. So, when we close it up during the new staircase build-out, we are also thinking of re-purposing the current staircase entryway into a walk-in closet, or into built-ins. 

IMG_4394.jpg

This major project will not only prevent injury or death to us and our guests, but open up the room, creating a very welcoming appearance (see inspiration photos above), and instantly adding major value to our home. Win-win! We are currently waiting for drawings to finalize with our engineer and are on the books for a mid-to-late April start! Can't wait to update with progress soon!

Inspiration photos 1 / 2 / 3 / 4 

Special THANKS to Bonney Johnson (aka prettygoodpdx) for letting me use her photos of her beautiful staircase - our major inspiration. 

Follow

DIY MID CENTURY INSPIRED HOOP LOG HOLDER

 
IMG_4072.JPG

Now that Danny and I have a fireplace, and actually have weather where it's practical to use it, we have been accumulating tons of firewood and not really having a decent place to put it in the house. So, I have been searching for cute, mid-century-esqe log holders, and, of course, I found one, and, of course, at a price that was NOT practical. So, I did some digging to try and re-create my own.

What you will need:

Steel Log Hoop
Brass Spray Paint
Twine or yarn
Steel wool
Microfiber cloth
Gloves (optional)


IMG_5526.jpg

Place iron hoop on a surface outside that you can get messy. Using a steel wool pad, brush over the hoop to smooth out any bumps or imperfections. Then, wipe down with a microfiber cloth to remove any dust or debris. Make sure your hoop is dry before spray painting.

IMG_5550.jpg

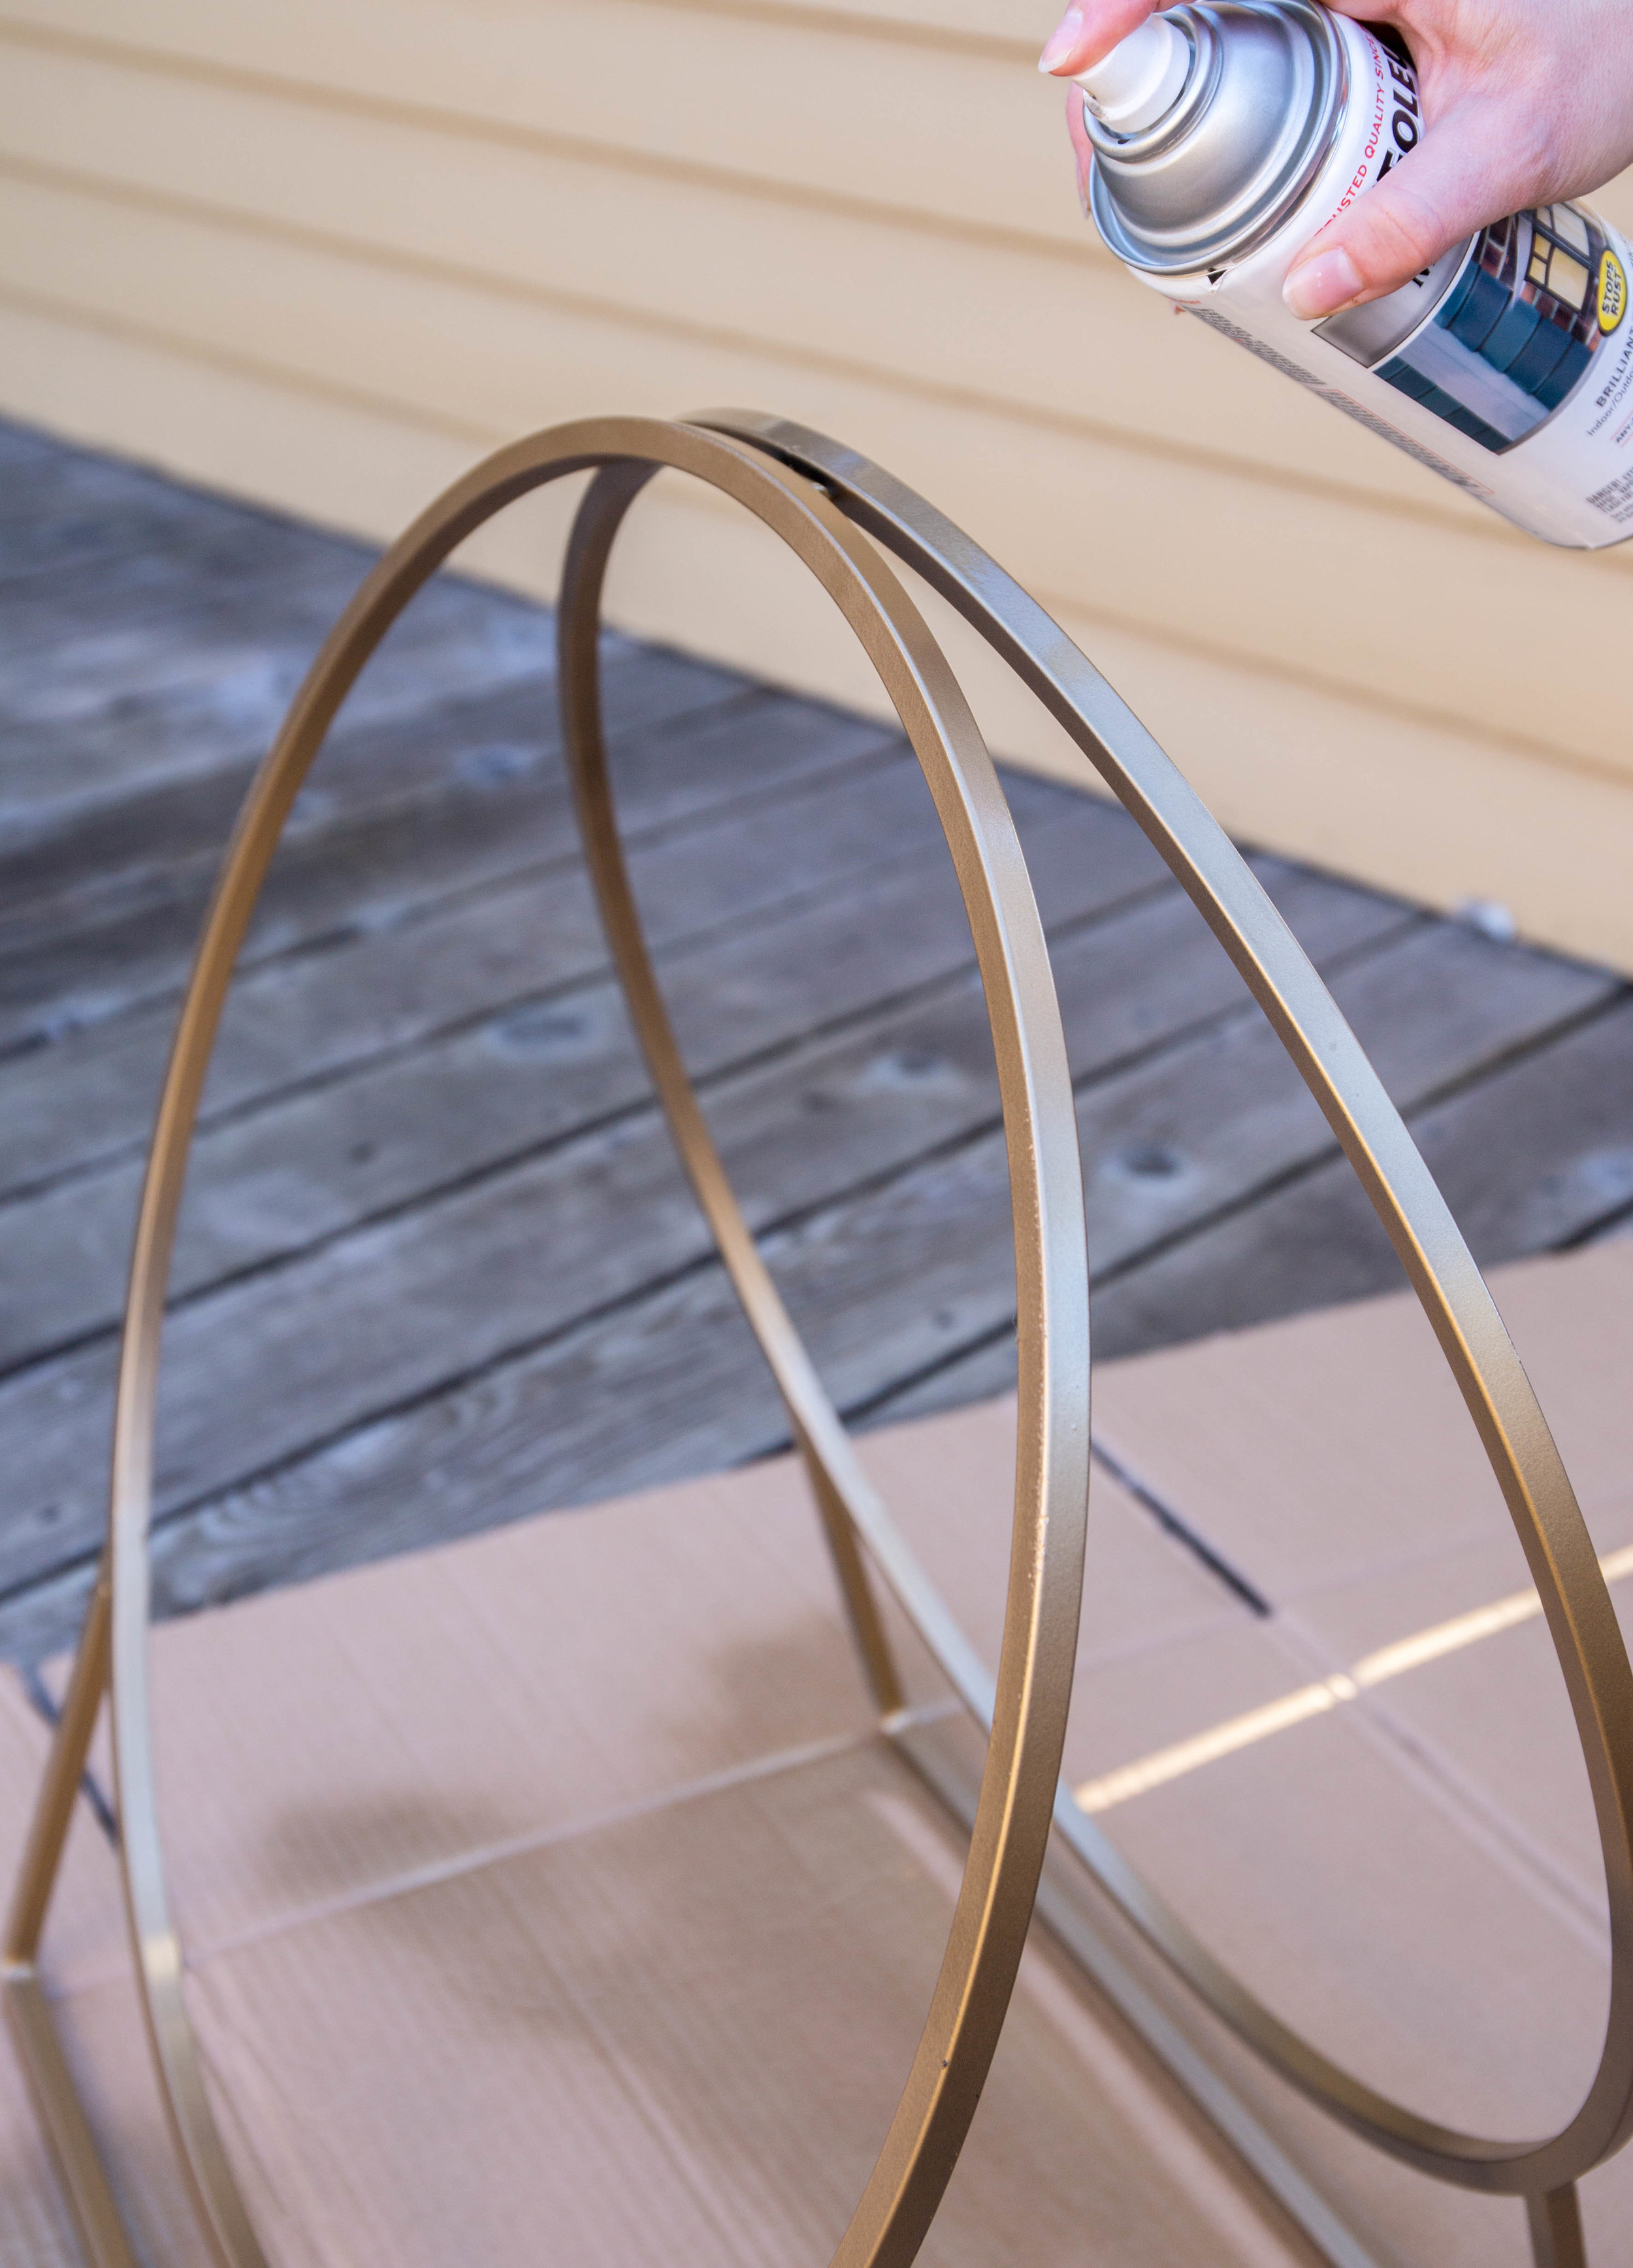
Then, smoothly and, in a steady left-to-right-right-to-left motion, paint the entirety of the hoop, holding the can far enough away from the hoop to avoid any patchiness and dripping. Let dry before flipping over to spay back side. 

IMG_5565.jpg

Once dry, wrap yard or twine around the bottom portion, creating a basket, and secure with small knots on each side.

IMG_5581.jpg
Snapseed.jpg

Wrap a small amount around the handle to tie in the basket design and...

_MG_5604.jpg
_MG_5623.jpg


Look at that! Your own DIY mid-century inspired hoop log holder! 

_MG_5624.2.jpg
_MG_5629.2.jpg
_MG_5634.jpg

Follow