CHOCOLATELY-PEANUTBUTTERY BANANA BREAD

 
IMG_1696.jpg

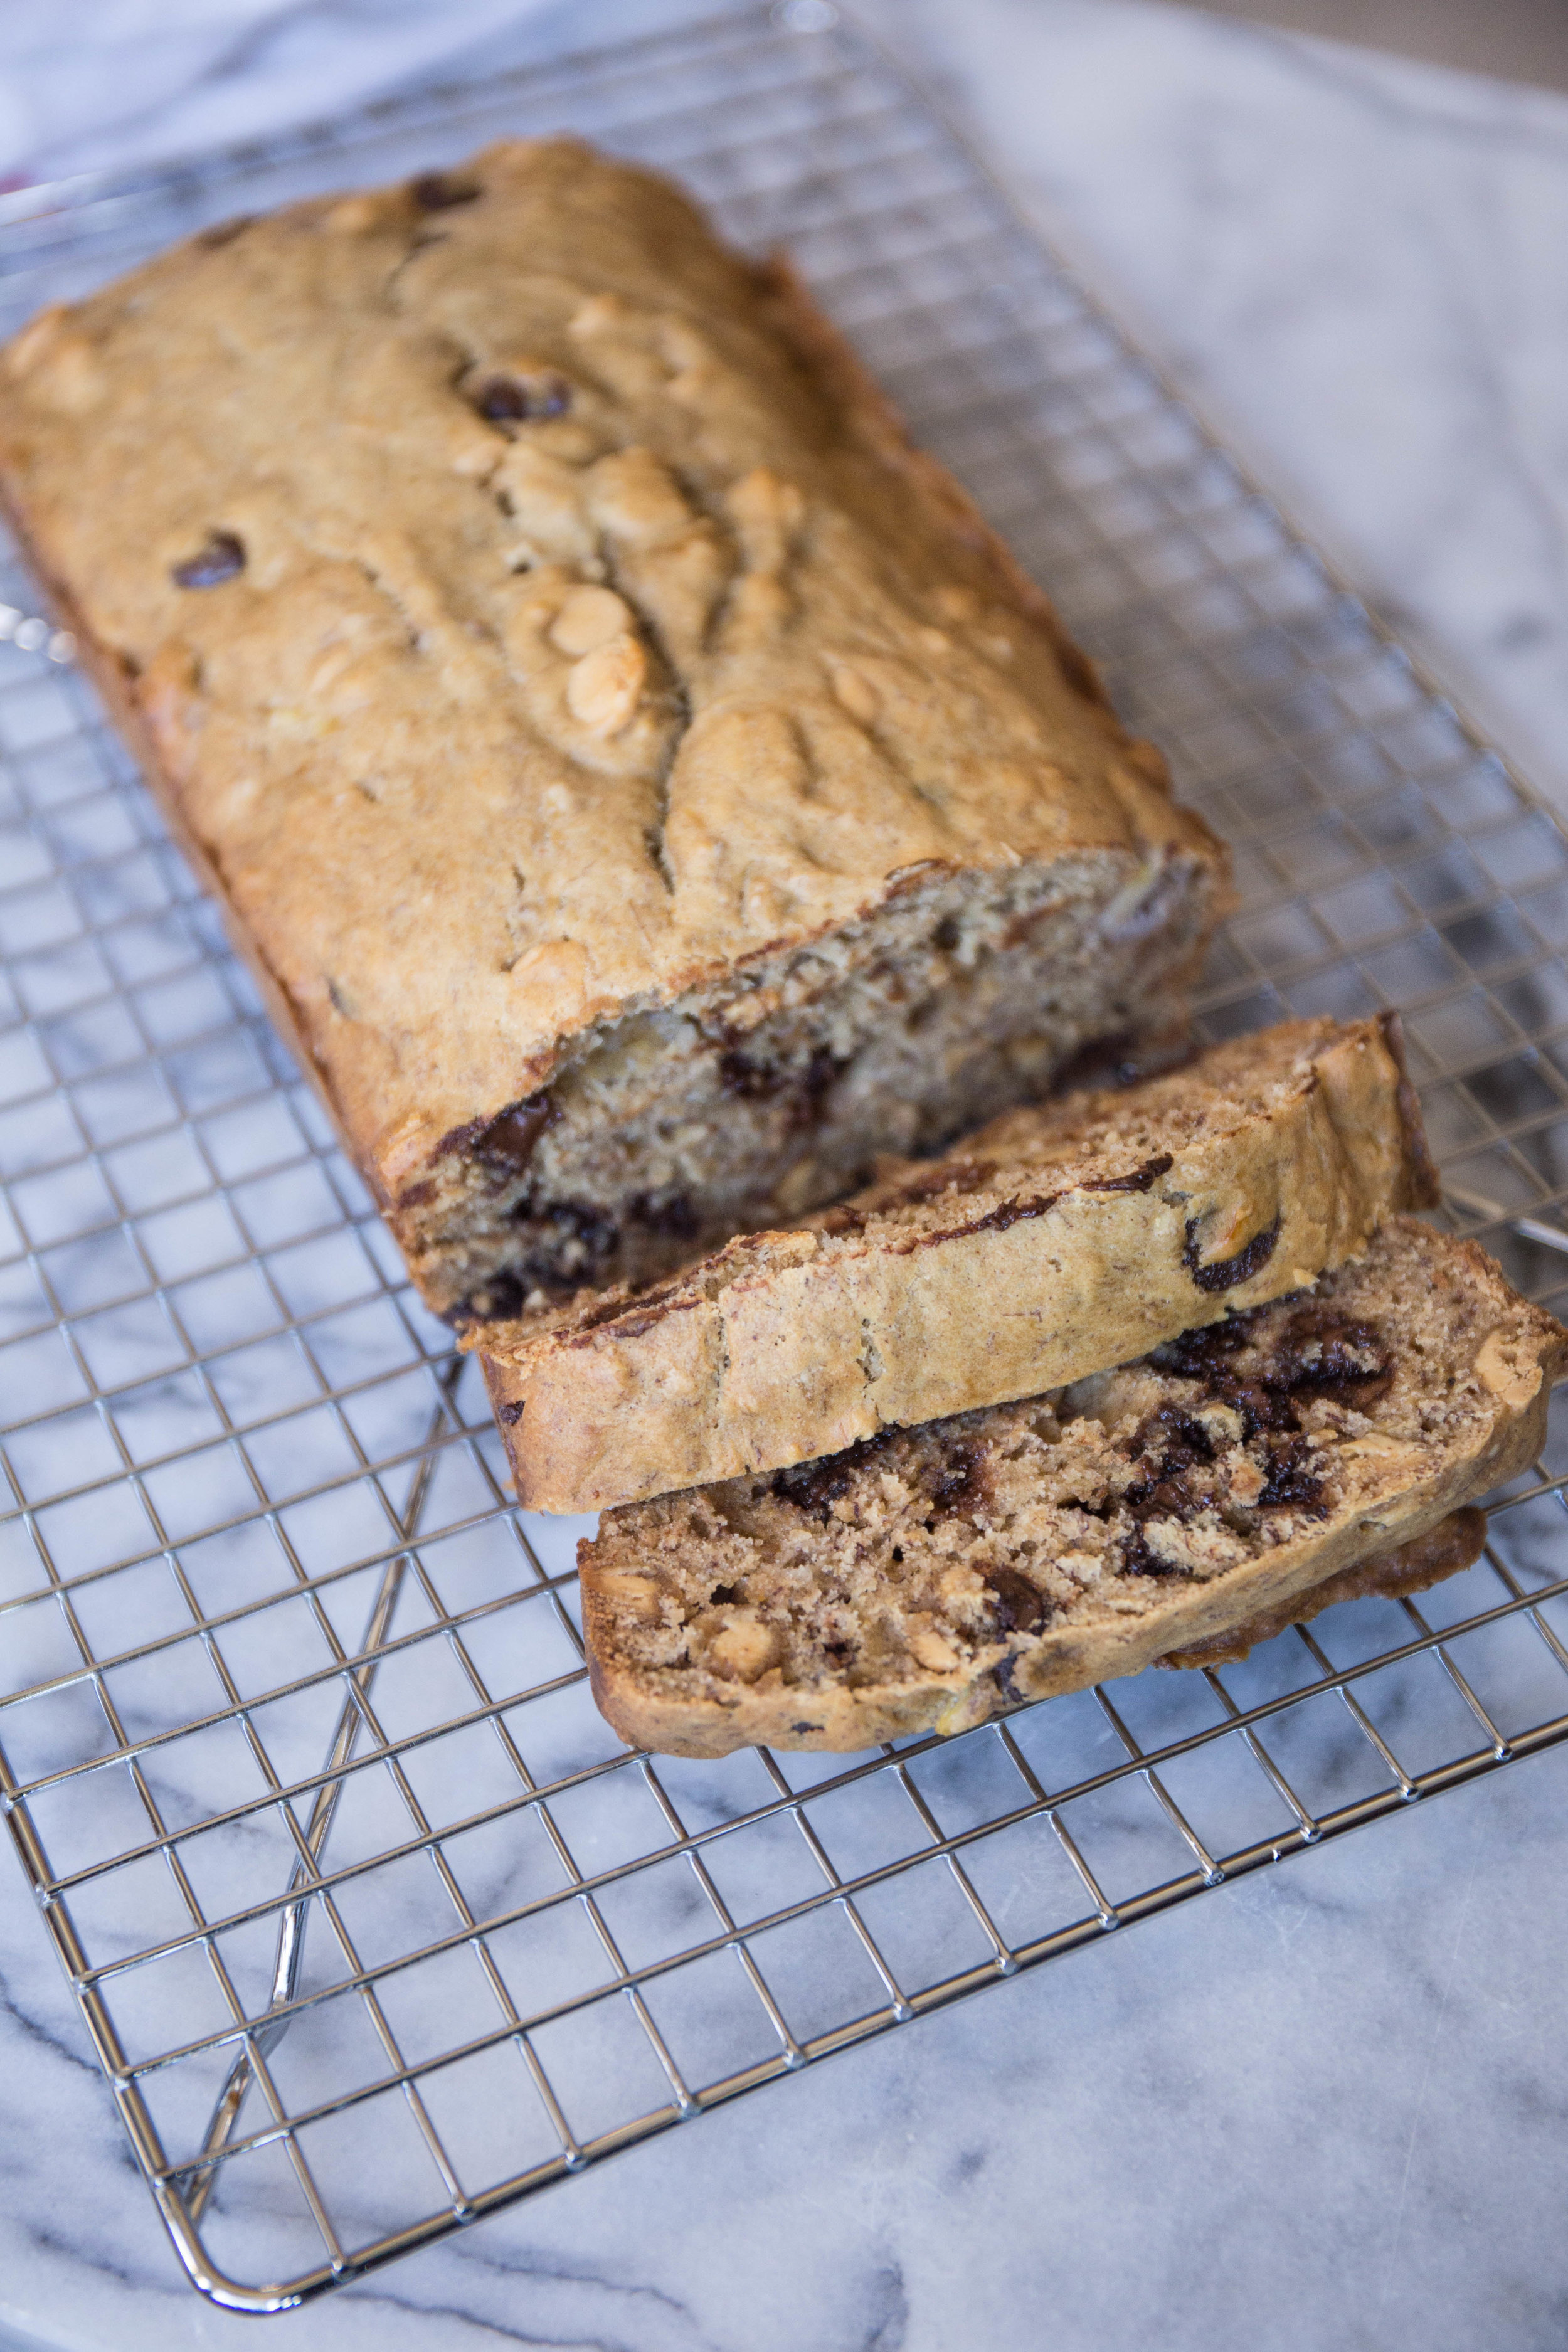
It's almost fall which means baking weather! Well, do you really need an excuse to make banana bread? Nah.
I made this bread a few weeks ago due to having too may over-ripe bananas laying around and brought some into work to share with my friends. They loved it and were asking me about the recipe and seeing how I haven't posted in what feels like forever (thanks home renovations), thought this would be a time. Thanks, Hannah & Casey, you girls are the best.

What you'll Need:
3-4 Ripe Bananas
1/3 cup melted butter
3/4 cup brown sugar
1 egg - beaten
1 tsp vanilla extract
1 tsp baking soda
1 tsp ground cinnamon
1 tsp nutmeg
pinch ground cloves
pinch of salt
1 1/2 c flour
Chocolate and peanut butter chips

What to do:
Preheat oven to 350
Smash bananas in a large bowel with a wooden spoon.

_MG_7859.jpg


Mix butter into bananas.
Mix in sugar, egg, vanilla, cinnamon and cloves.
Sprinkle in baking soda and flour and mix as you go. Do not over mix.
Add in chocolate and peanut butter chips.
Pour into pan and bake for 50-60 min until the center is set.

IMG_1698.JPG
_MG_7869.jpg

Let cool and share with your friends.
As always, tastes better with some extra butter on top!

_MG_7874.jpg

Follow

OUR STAIRCASE : THE RENOVATION // WEEK FIVE

 
_MG_7250.jpg

Here we are at the end of week five and wow have we made progress!

_MG_7141.jpg

Once demo was done, the new stairs were up in just a couple of days! 
We still can't believe the transformation of the space. It doesn't even feel like the same house!
Our contractor did an awesome job at creating the winder that we wanted, too. 

_MG_7145.jpg
_MG_7146.jpg
_MG_7152.jpg

Of course, it wasn't until the drywall went up that we could really see our vision being pulled together. It looks soooo Scandinavian and modern right now without the newel, railing, trim, stain, paint, yada yada.. I kinda love it!
We are also really excited for our new casement window! Since we eventually want to replace all the windows, we styled this one as a model for the rest and to match the original 1920's style of the house. Can't wait to see it!

_MG_7271.jpg
_MG_7246-2.jpg
_MG_7249-3.jpg

Since our home is almost 100 years old, things aren't exactly straight and a tad slanty, leaving the opening square didn't seem like the best idea. To help with the visuals, we added an arch in place of where the old wall was and it's so beautiful and more than we imagined! I want to arch every opening now!
(Also, our contractor is a saint for being so patient with our house and working extra hard to make things straight.)

_MG_7255-2.jpg
_MG_7267.jpg

We have a few more weeks ahead of work before the plastic comes down and we can start painting and staining!
I look forward to sharing the finished project and to show you what we have in mind for the space!

Follow

OUR STAIRCASE : THE RENOVATION // WEEK ONE

 
IMG_6660.jpg

A little behind our original schedule, but: THE STAIRCASE RENOVATION HAS BEGUN! And, it has been moving quickly! Everyday now, I leave for work and come home to massive changes! It's so exciting!

THE PLAN:

Let's rewind a little.
As mentioned months ago, we thought the kitchen or bathroom would be the first thing to change, but after living in the house for a bit, we decided to do the biggest thing (besides the kitchen) first and not only fix the staircase, but actually re-structure it and change the angle. Crazy, right? In order to do this, we agreed to lose one of our bedrooms and also expand the living room (See more of the plan and inspo here).

Once our contractor approved the renderings from our engineer, we hit the ground running!

IMG_6813.JPG


BEFORE:

Here are some before photos. FIrst, from inside the front bedroom... and don't forget that half-assed closet in which the original staircase cut through...

IMG_6620.jpg
IMG_6625.jpg

And from the original living room looking towards the front bedroom where the new arch is going to be between the two spaces.

IMG_6637.jpg


BEGIN:

Day One: I left for work and when I got home the wall was gone! I was in complete awe. I know you see this kind of thing all the time on HGTV and how opening walls makes such an impact, but WOW it really does! I can't imagine the wall ever being back there! And the funny thing is, once our contractor started to tear down the wall, he found that there was originally an opening at some point that someone had the bright idea to close! Can you believe it?

IMG_6669.jpg
IMG_6670.jpg

A few days later they removed the old staircase and it got even crazier. We could walk inside the area and see the original lathe and plaster, and really smell the old house. Luckily, we haven't come across anything too weird in the walls, unlike the attic where Danny found a ton of treasures while clearing it out for our new electrical and insulation. 

Once the new stairs get put in, this left-over extra space will be a large closet - something we really lack in this house.

IMG_6675.jpg
IMG_6742.jpg
IMG_6743.jpg
IMG_6749.jpg

Looking in from the living room now is such a weird feeling considering we slept in the front room for the last six months! It honestly doesn't even feel like the same house, and in the best way. We have started playing around with different ideas of how we will designate the spaces now (living room, dining room, etc), but we are so early on that it's hard to even envision exactly what it will be like. We are waiting until the new stairs start going in, BUT we are thinking this will be the new dining room!

I am getting really excited to finally pick paint, trim, install new lighting, and - most importantly - to eventually bring home all of our furniture that has been sitting in storage since November! 

There is still a ton of work to be done, but jumping the hurdle to get the project started is done!
Another update in a few weeks!

Follow