OUR BACKYARD : NEW FENCE

 
52972CC6-7E52-4CA6-A39B-0B1642283A9B-9C61D2DB-C8A3-4779-BDA7-CC17B5AF81E7.JPG

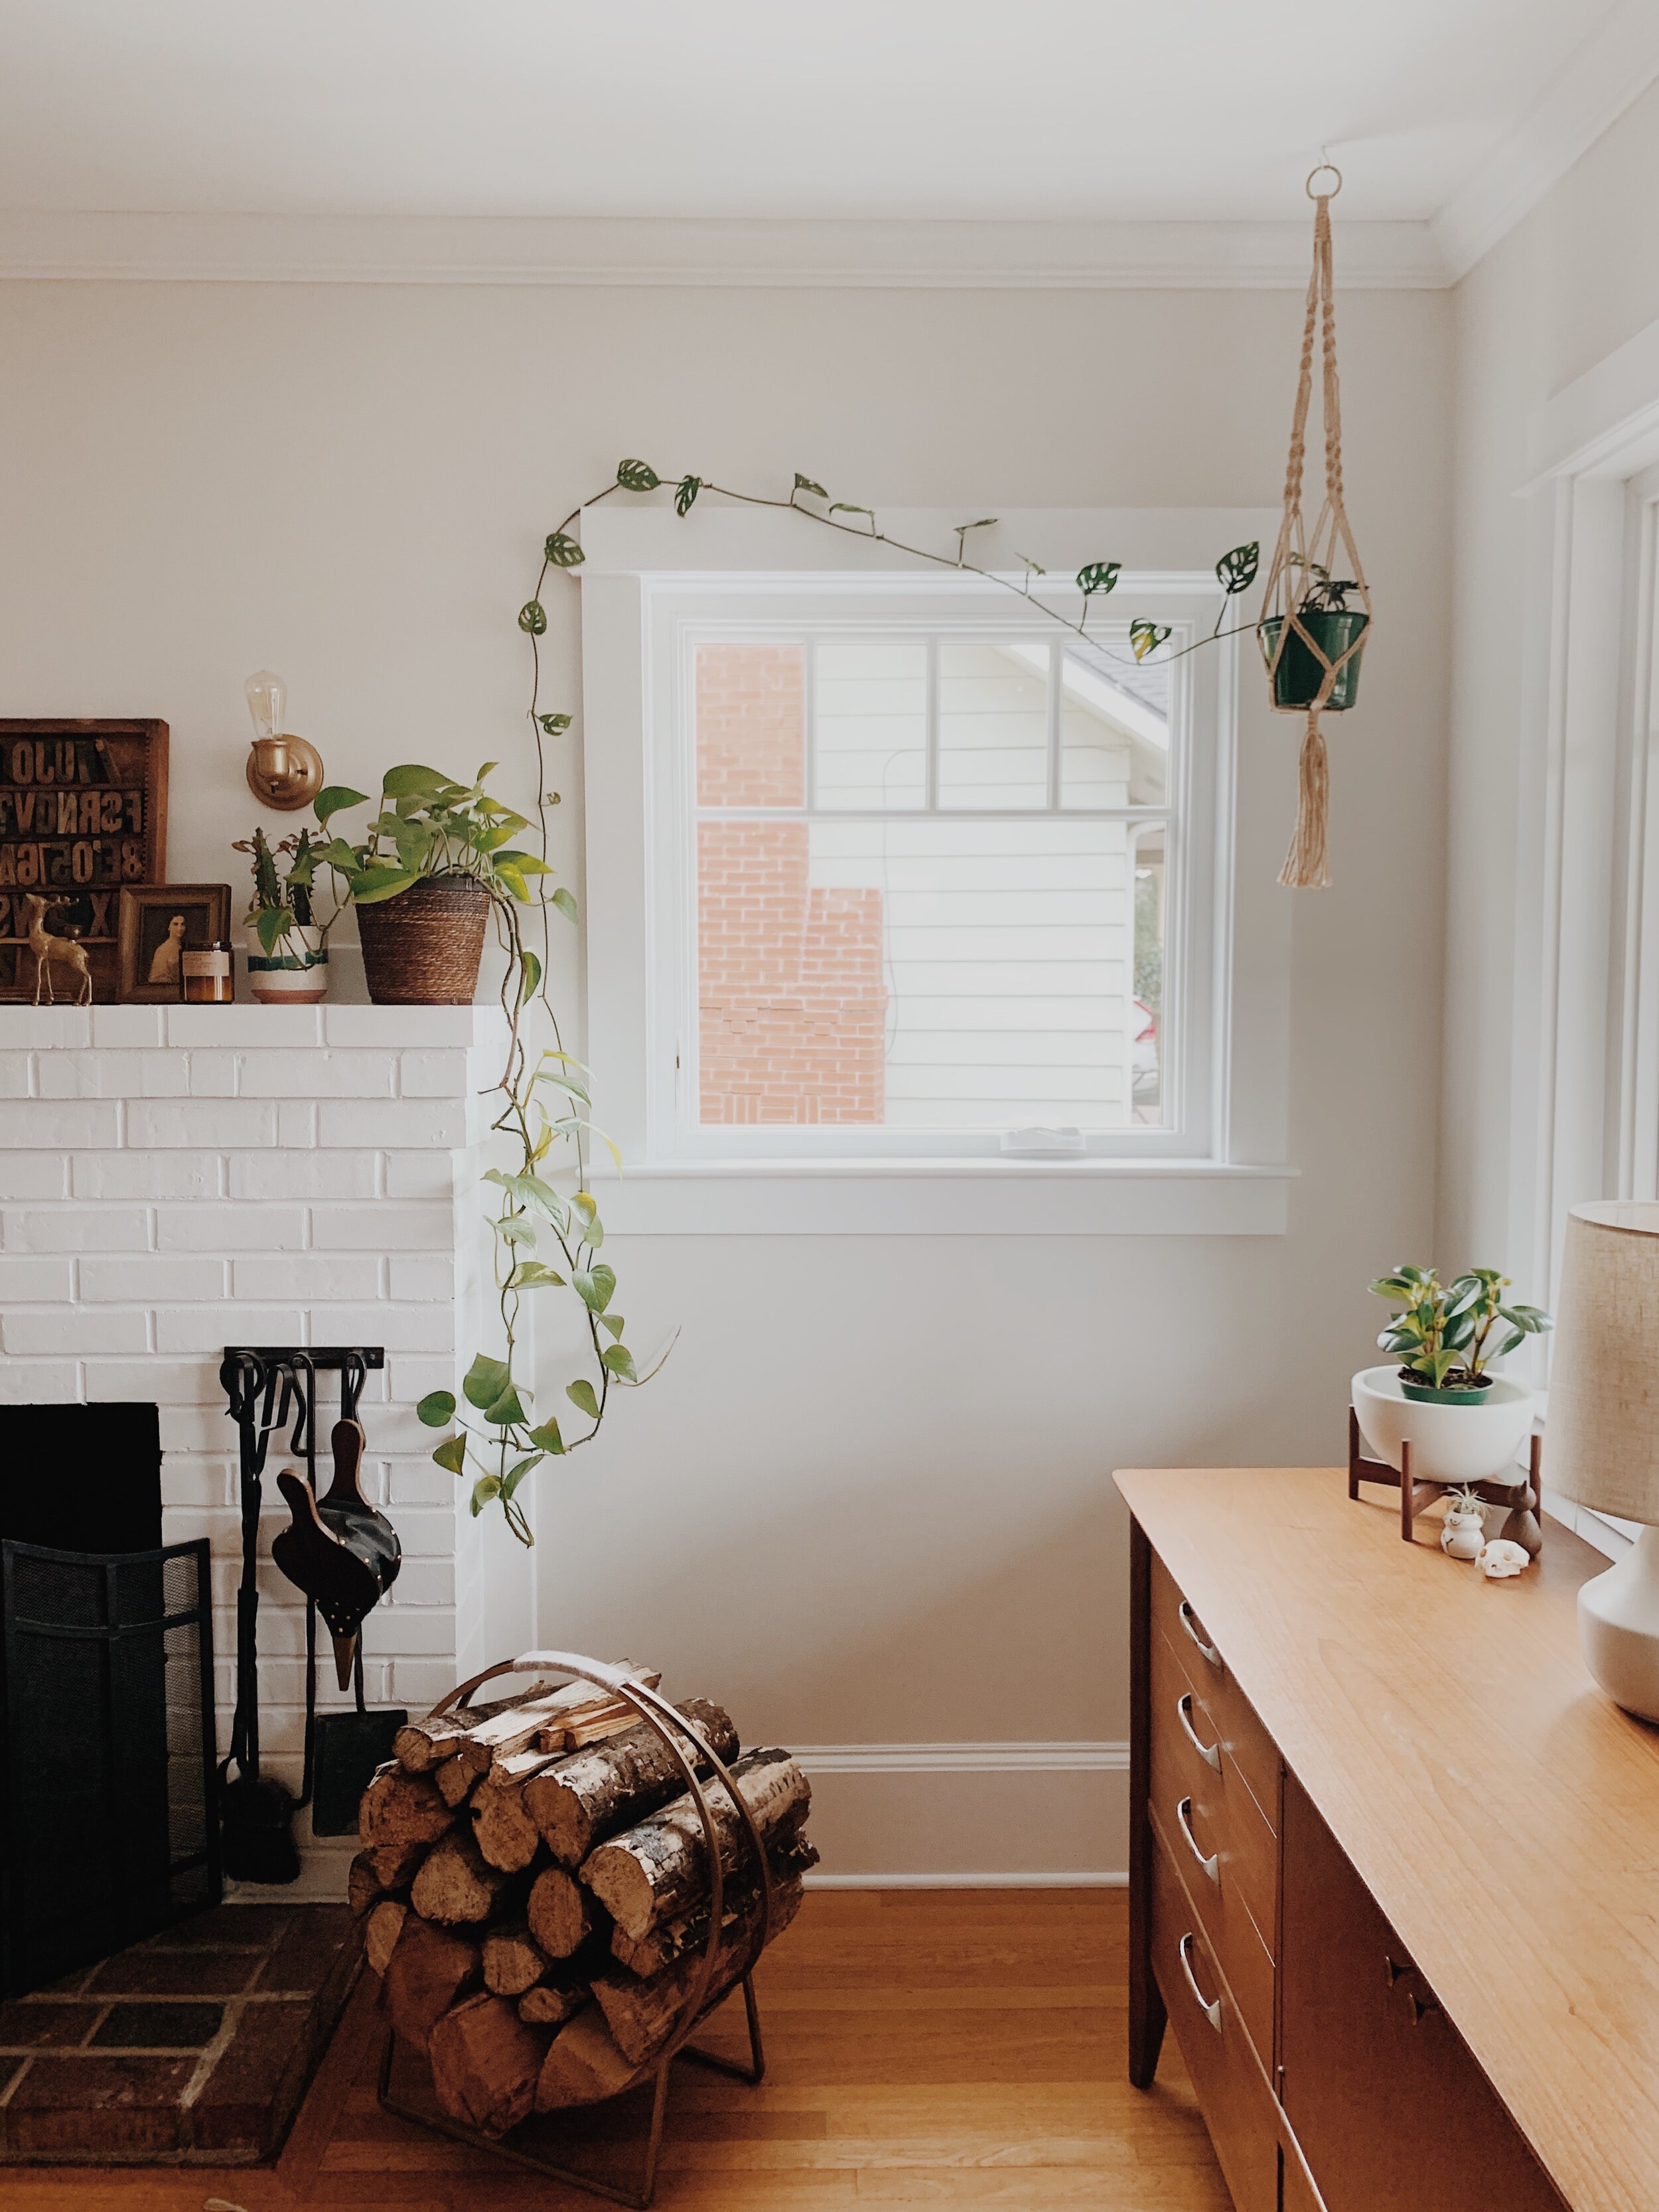
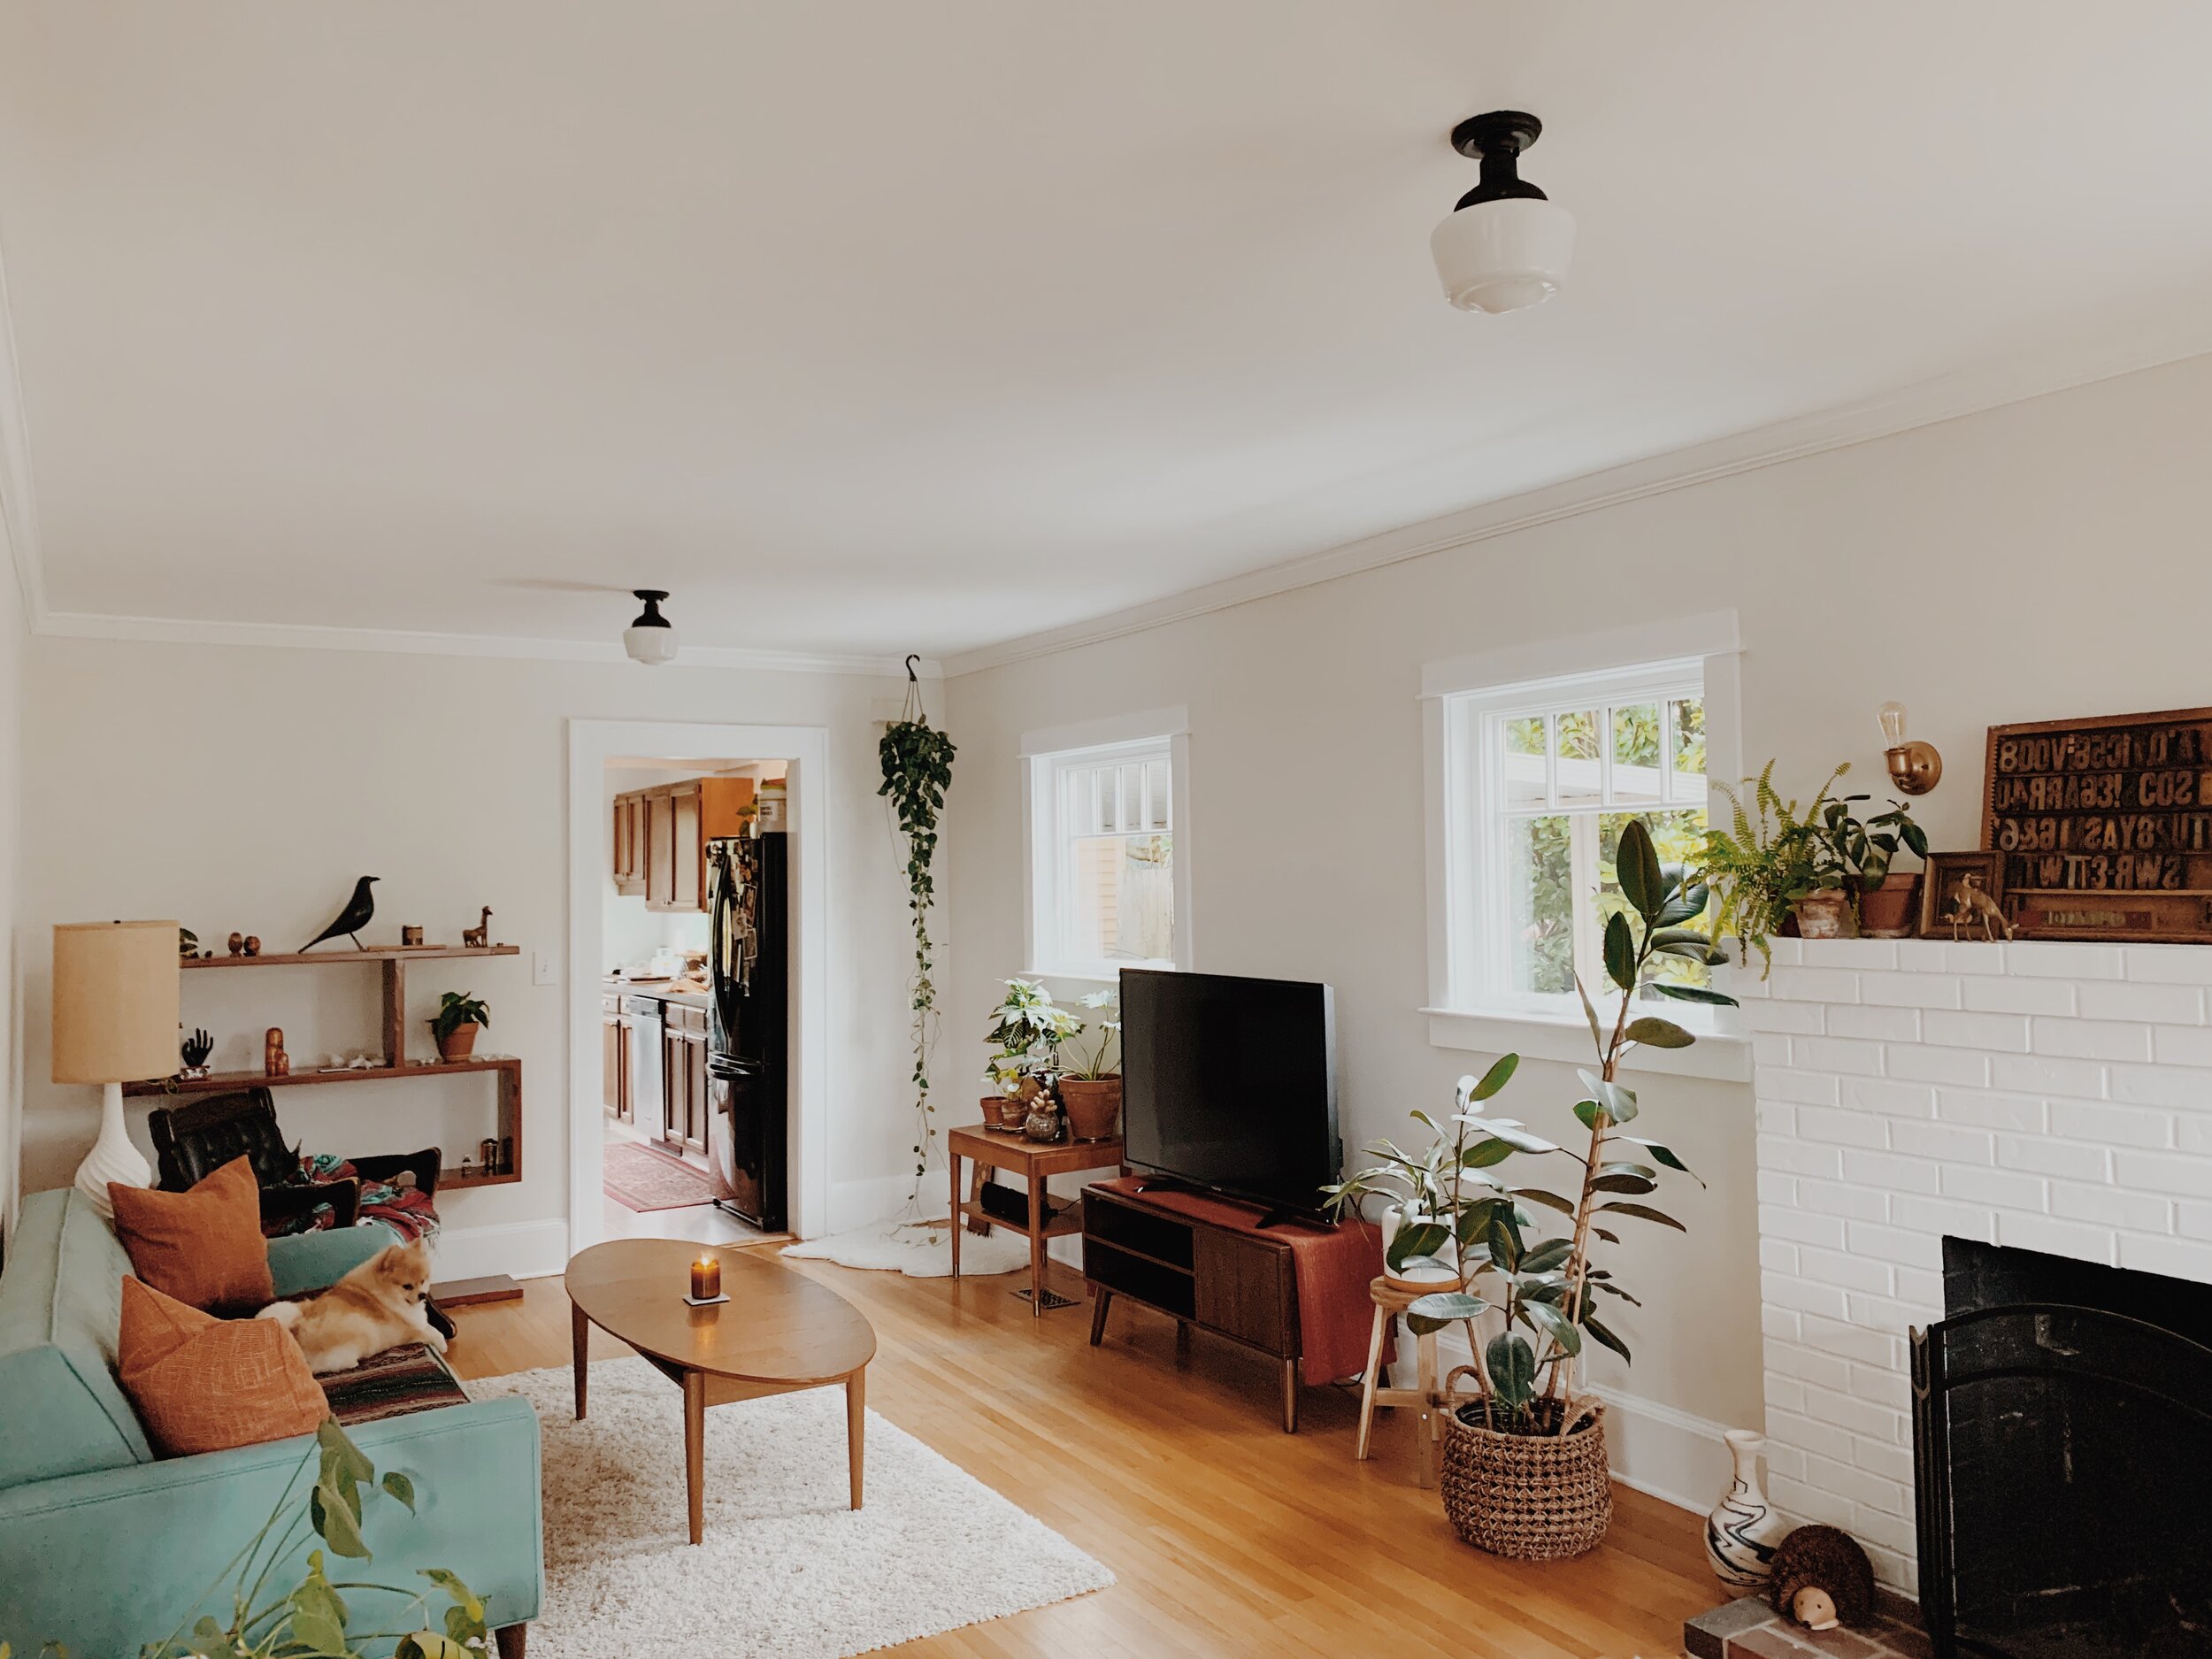
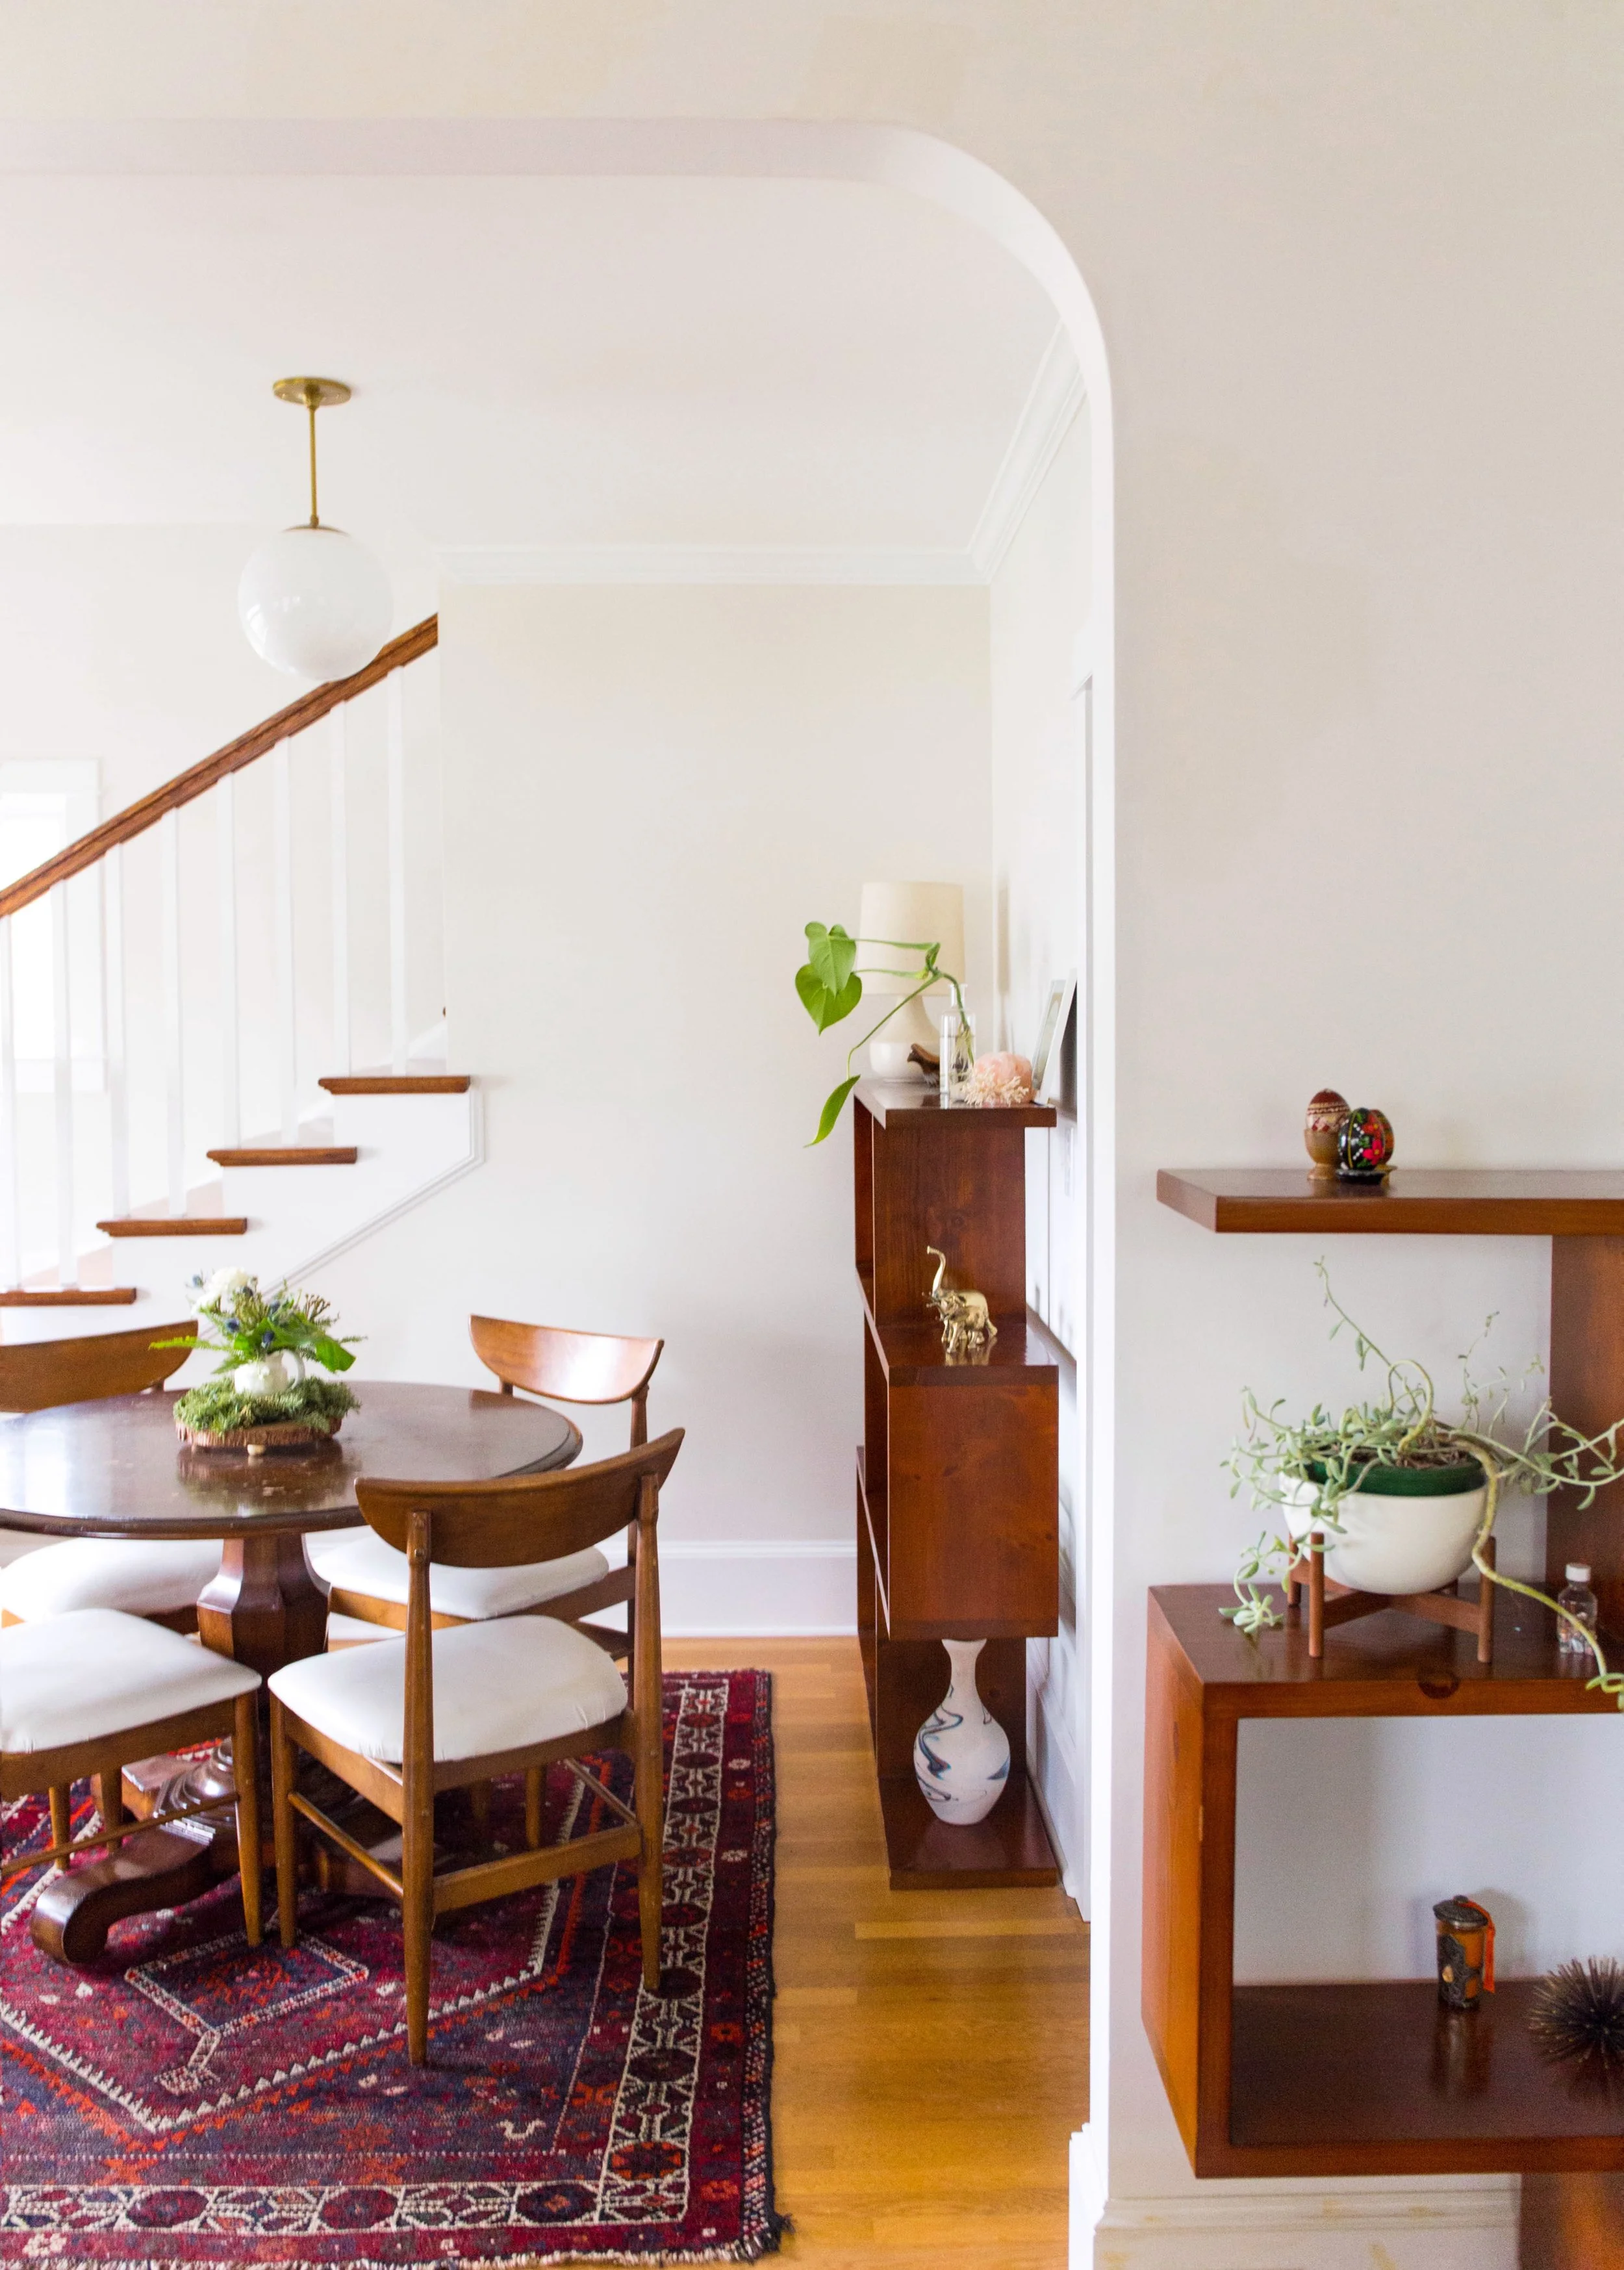
Here we are almost six months into COVID and I have barely posted ANYTHING. Even with the endless staying at home and eating-in that has taken place, you would think I would have had more fun recipes and projects to share, but the WFH life has proved to be more demanding and time consuming than being in office. Meetings. So many meetings and so much screen time. It’s been nice to unplug and read in the back and garden. That being said, we couldn’t stop thinking how we need to do some upgrades to our backyard. We currently have three different types of fences across our yard since our lot is angled and we touch five other properties: some long, some newer, some old, and then one that was about to fall apart. Luck would have it that the one literally rotting away belonged 100% to us - so we started there. This was kind of an unexpected upgrade this summer but WOW did we need it. It is literally what fence-dreams are made of!

Here’s a look at a look at the before…

766C28A4-D14F-4A5E-ACEF-4BD0E9462C9E-4EF81973-9B1A-4C08-91A1-D6EF79C12A3E.JPG
50A7D02C-3626-4DB4-8C51-A35C8FE804DD-E6F8B2C1-9090-466A-90F1-3992F873C110.JPG
BBD7F98E-0619-47F8-8D1E-7A9FE3642894-F63C4B3D-D951-4B81-9650-4B829F3E1E0C.JPG

This fence had to be least 30-40 years old! Super weathered and leaning in spots. Our first instinct was to only replace the existing fence - have it wrap around the desk as it was. But after what it felt like hours of Danny and I standing outside looking at it, we decided it would be great to extend it to wrap around the guest-room (aka now my official home office) window to create privacy and other security for when we egress the basement window underneath. Danny came up with an awesome design on the back of some mail (because that’s where the best ideas and notes are made) and we were ready to go!

Screen Shot 2020-09-01 at 10.42.07 AM.png


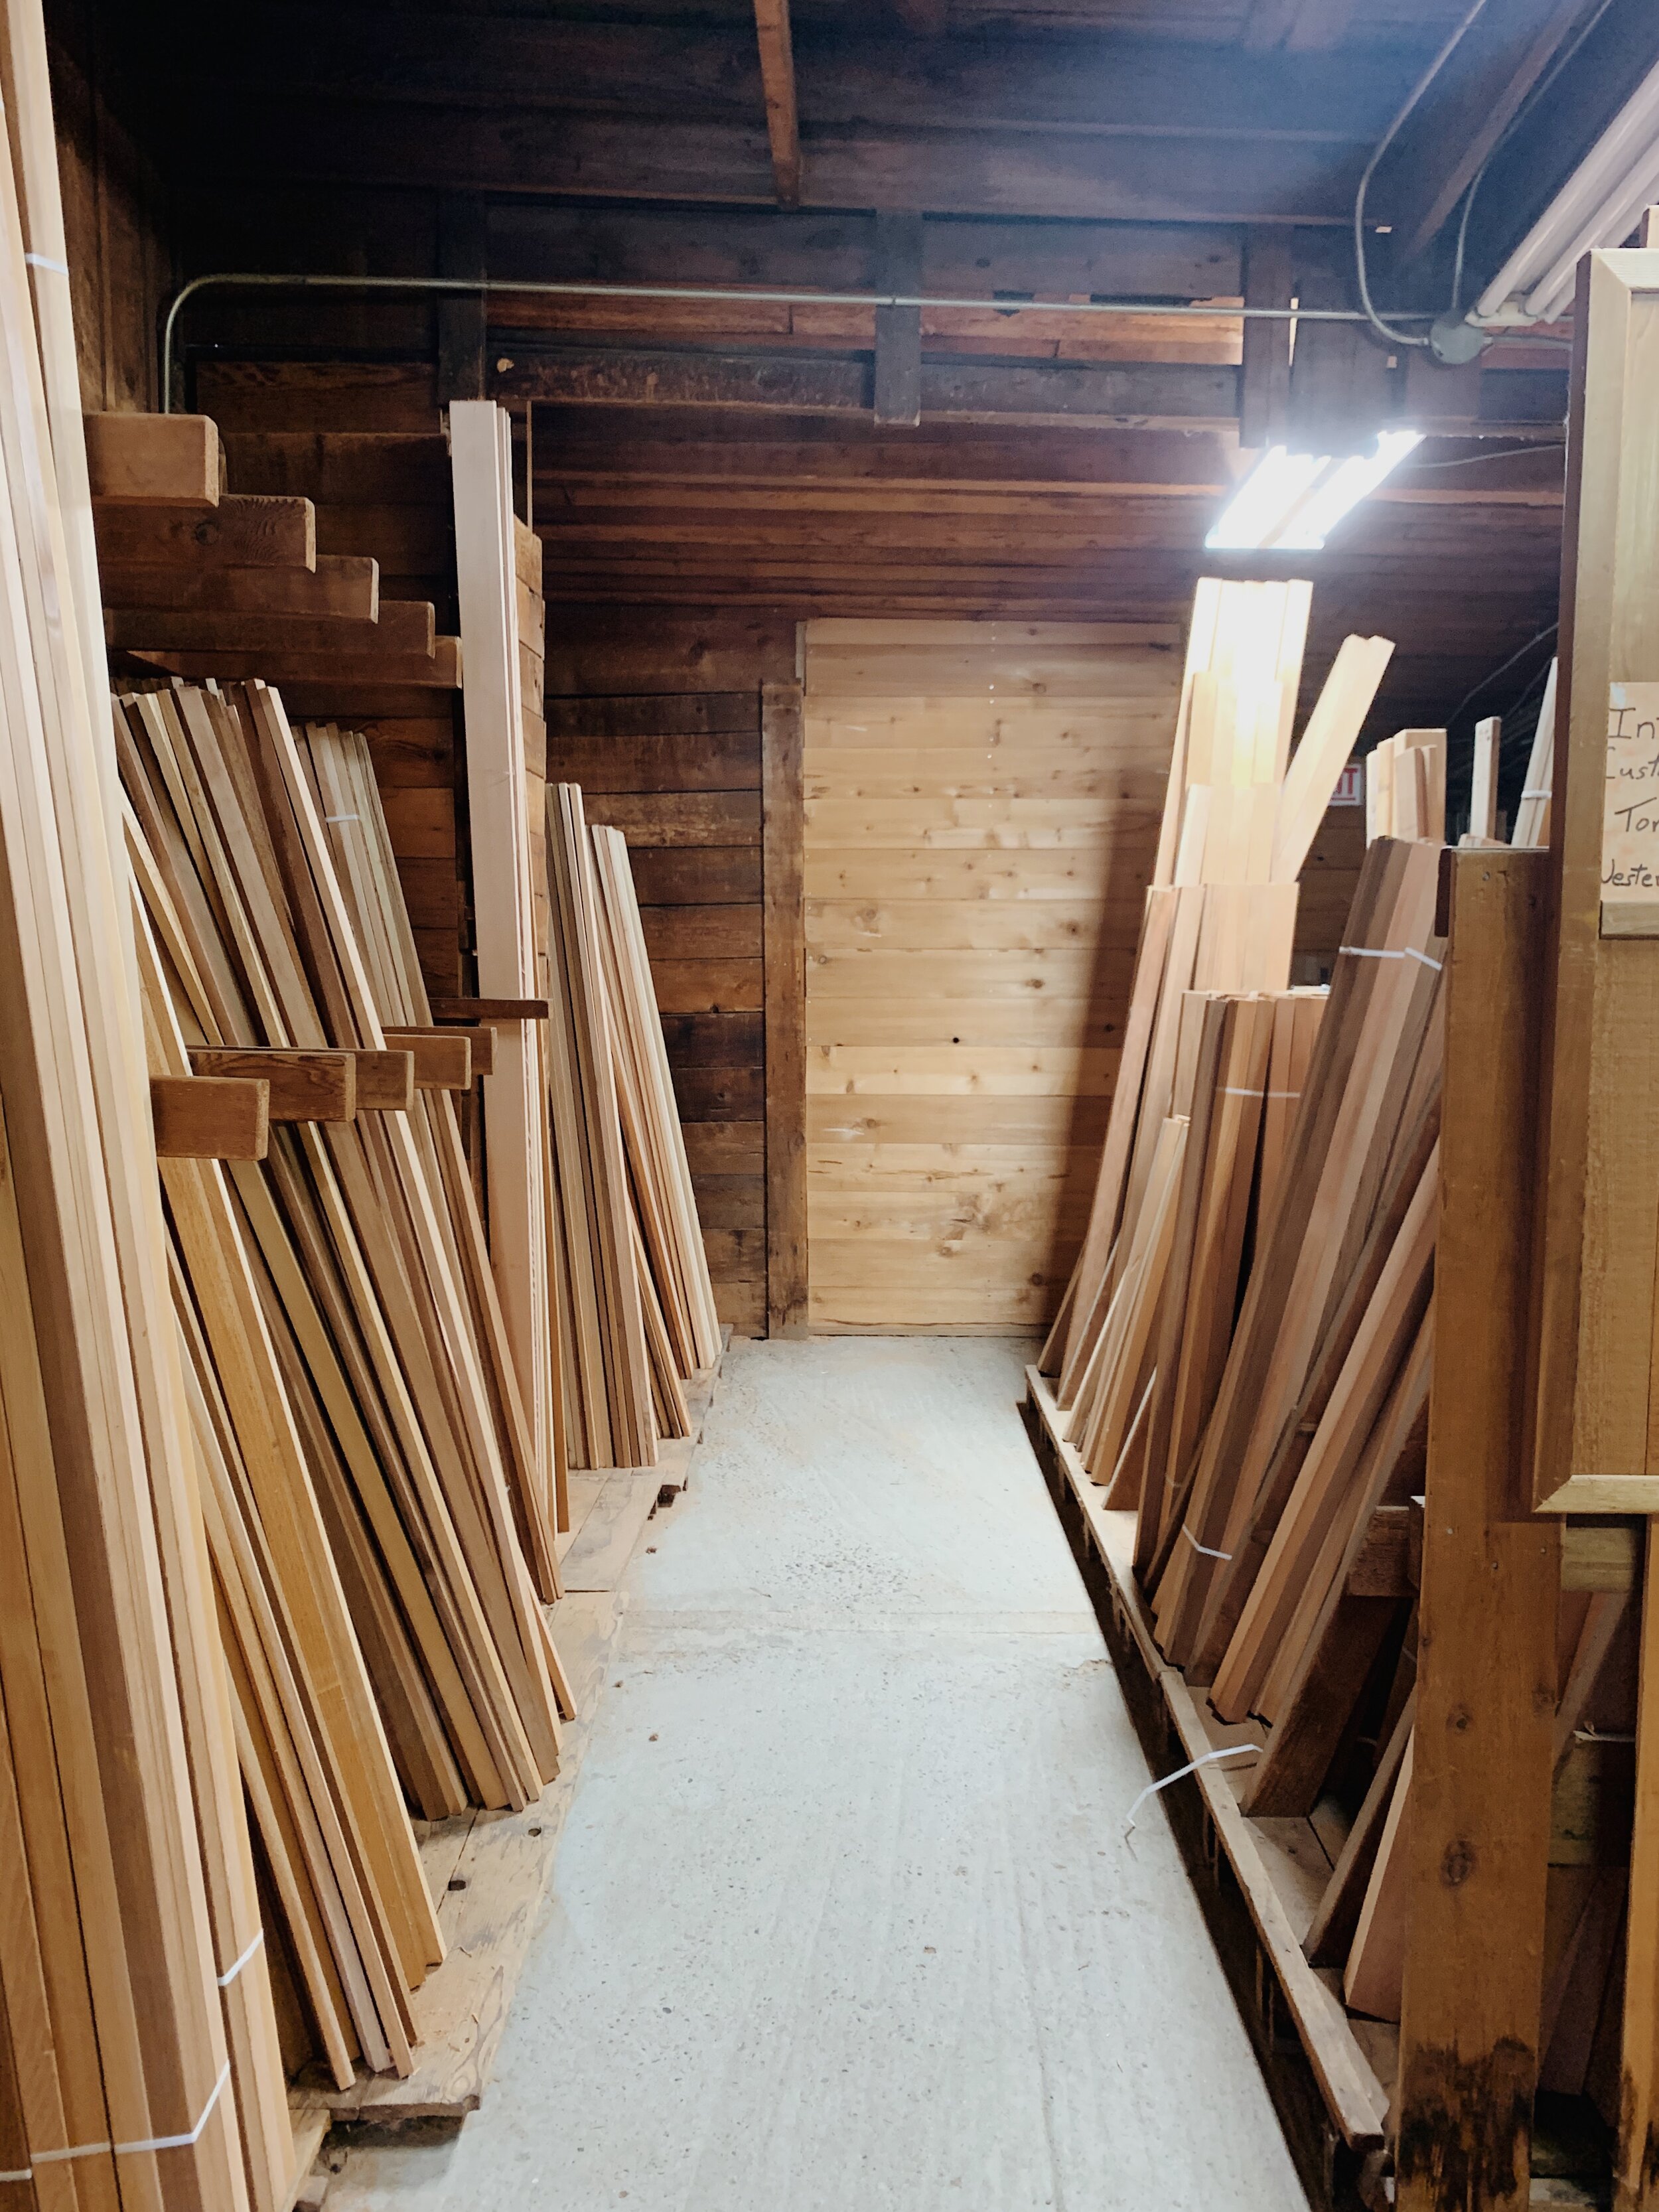
We worked with our cool-cat-carpenter friend (who also built our staircase as well as helped w other misc. projects) who took us to Custom Cedar Products here in Portland to look at cedar. This place has the most beautiful cedar with train tracks behind it where the wood directly comes from the source - VERY Twin Peaks! Staff was also super helpful in our selection and even recommended adding a “Catalina” Lattice on top to add height as well a decoration for vines to grow. Uh, yes please! Would 10/10 recommend this place and it smells go good!

E1584945-176F-4E77-B864-33F770303E68-69AEA595-8E76-420A-B4B7-850109B8FAE7.JPG

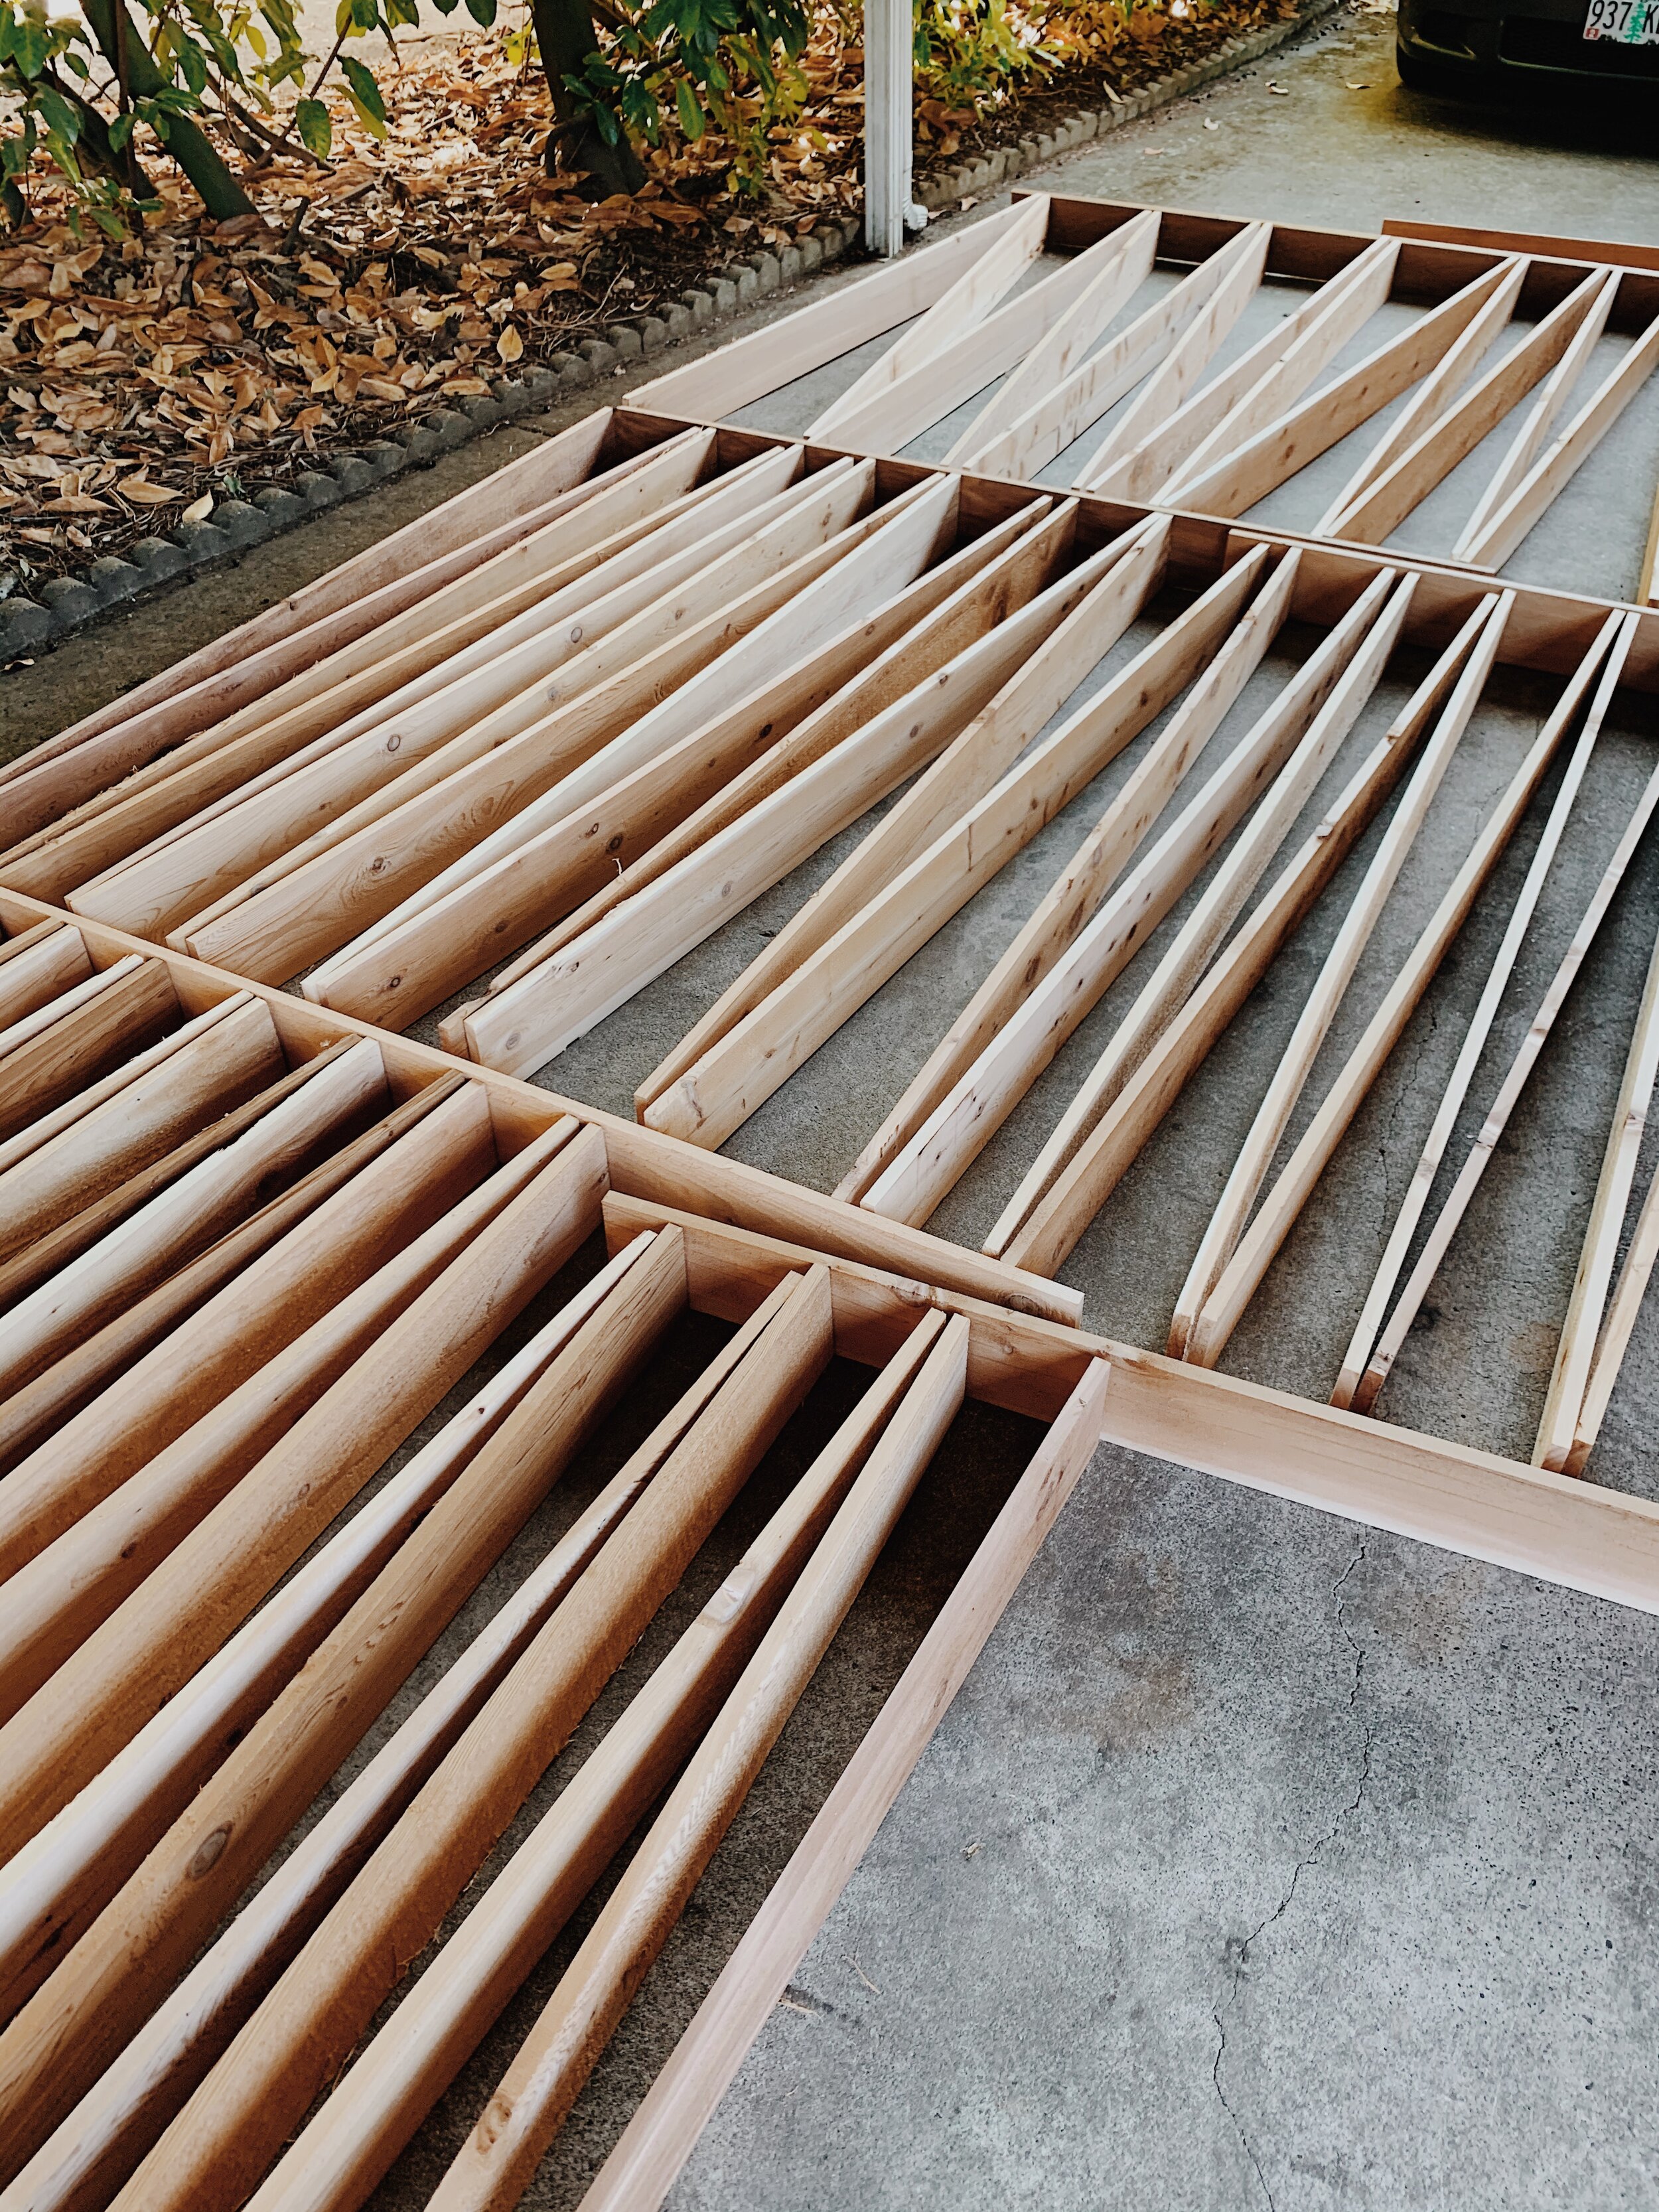
Since we decided to go with a “Good Neighbor” style fence that alternates board construction with decorative posts (kinda like the old one), we had a lot of prep staining to do first to the inner sides of the panels before we could kick down the old fence and get to building. Though fresh and natural cedar is gorgeous, we knew it would weather overtime and turn a grayish color and stain will also help protect and preserve the wood. We used Ready Seal’s Natural Cedar stain to match the other existing fence on this side of our property and man-oh-man did it bring out the rich color variants in the cedar! This stain was also so easy to use and “goof proof” meaning that it won’t get darker and darker in areas when gone over twice! Which is amazing if you’re not pro like myself. This really helps for bleeding on side and underneath the boards. I stood up the panels to dry over the old fence and it really gave us a great glimpse into what the final product would be.

A4330F93-C8D4-4FCC-A7C9-5133E5ADCBB2-AAC69290-DA42-49BD-91EE-483E2D7A29D8.JPG
4F537F81-6C3B-49E8-A345-523F372B0DD0.JPG

Next, came demoing! Which was super and fun and easy since this fence was partially rotted through. Even getting the old posts out wasn’t that hard. And we also removed this ridiculous, wild shrub that Danny described as an old giant TV on the side the house which constantly grew into our neighbors drive way. BYE.

5B85DFC4-CC3E-4844-935F-30344A632292.JPG
F1946C99-C66B-495E-8CFF-C82C3023D170.JPG

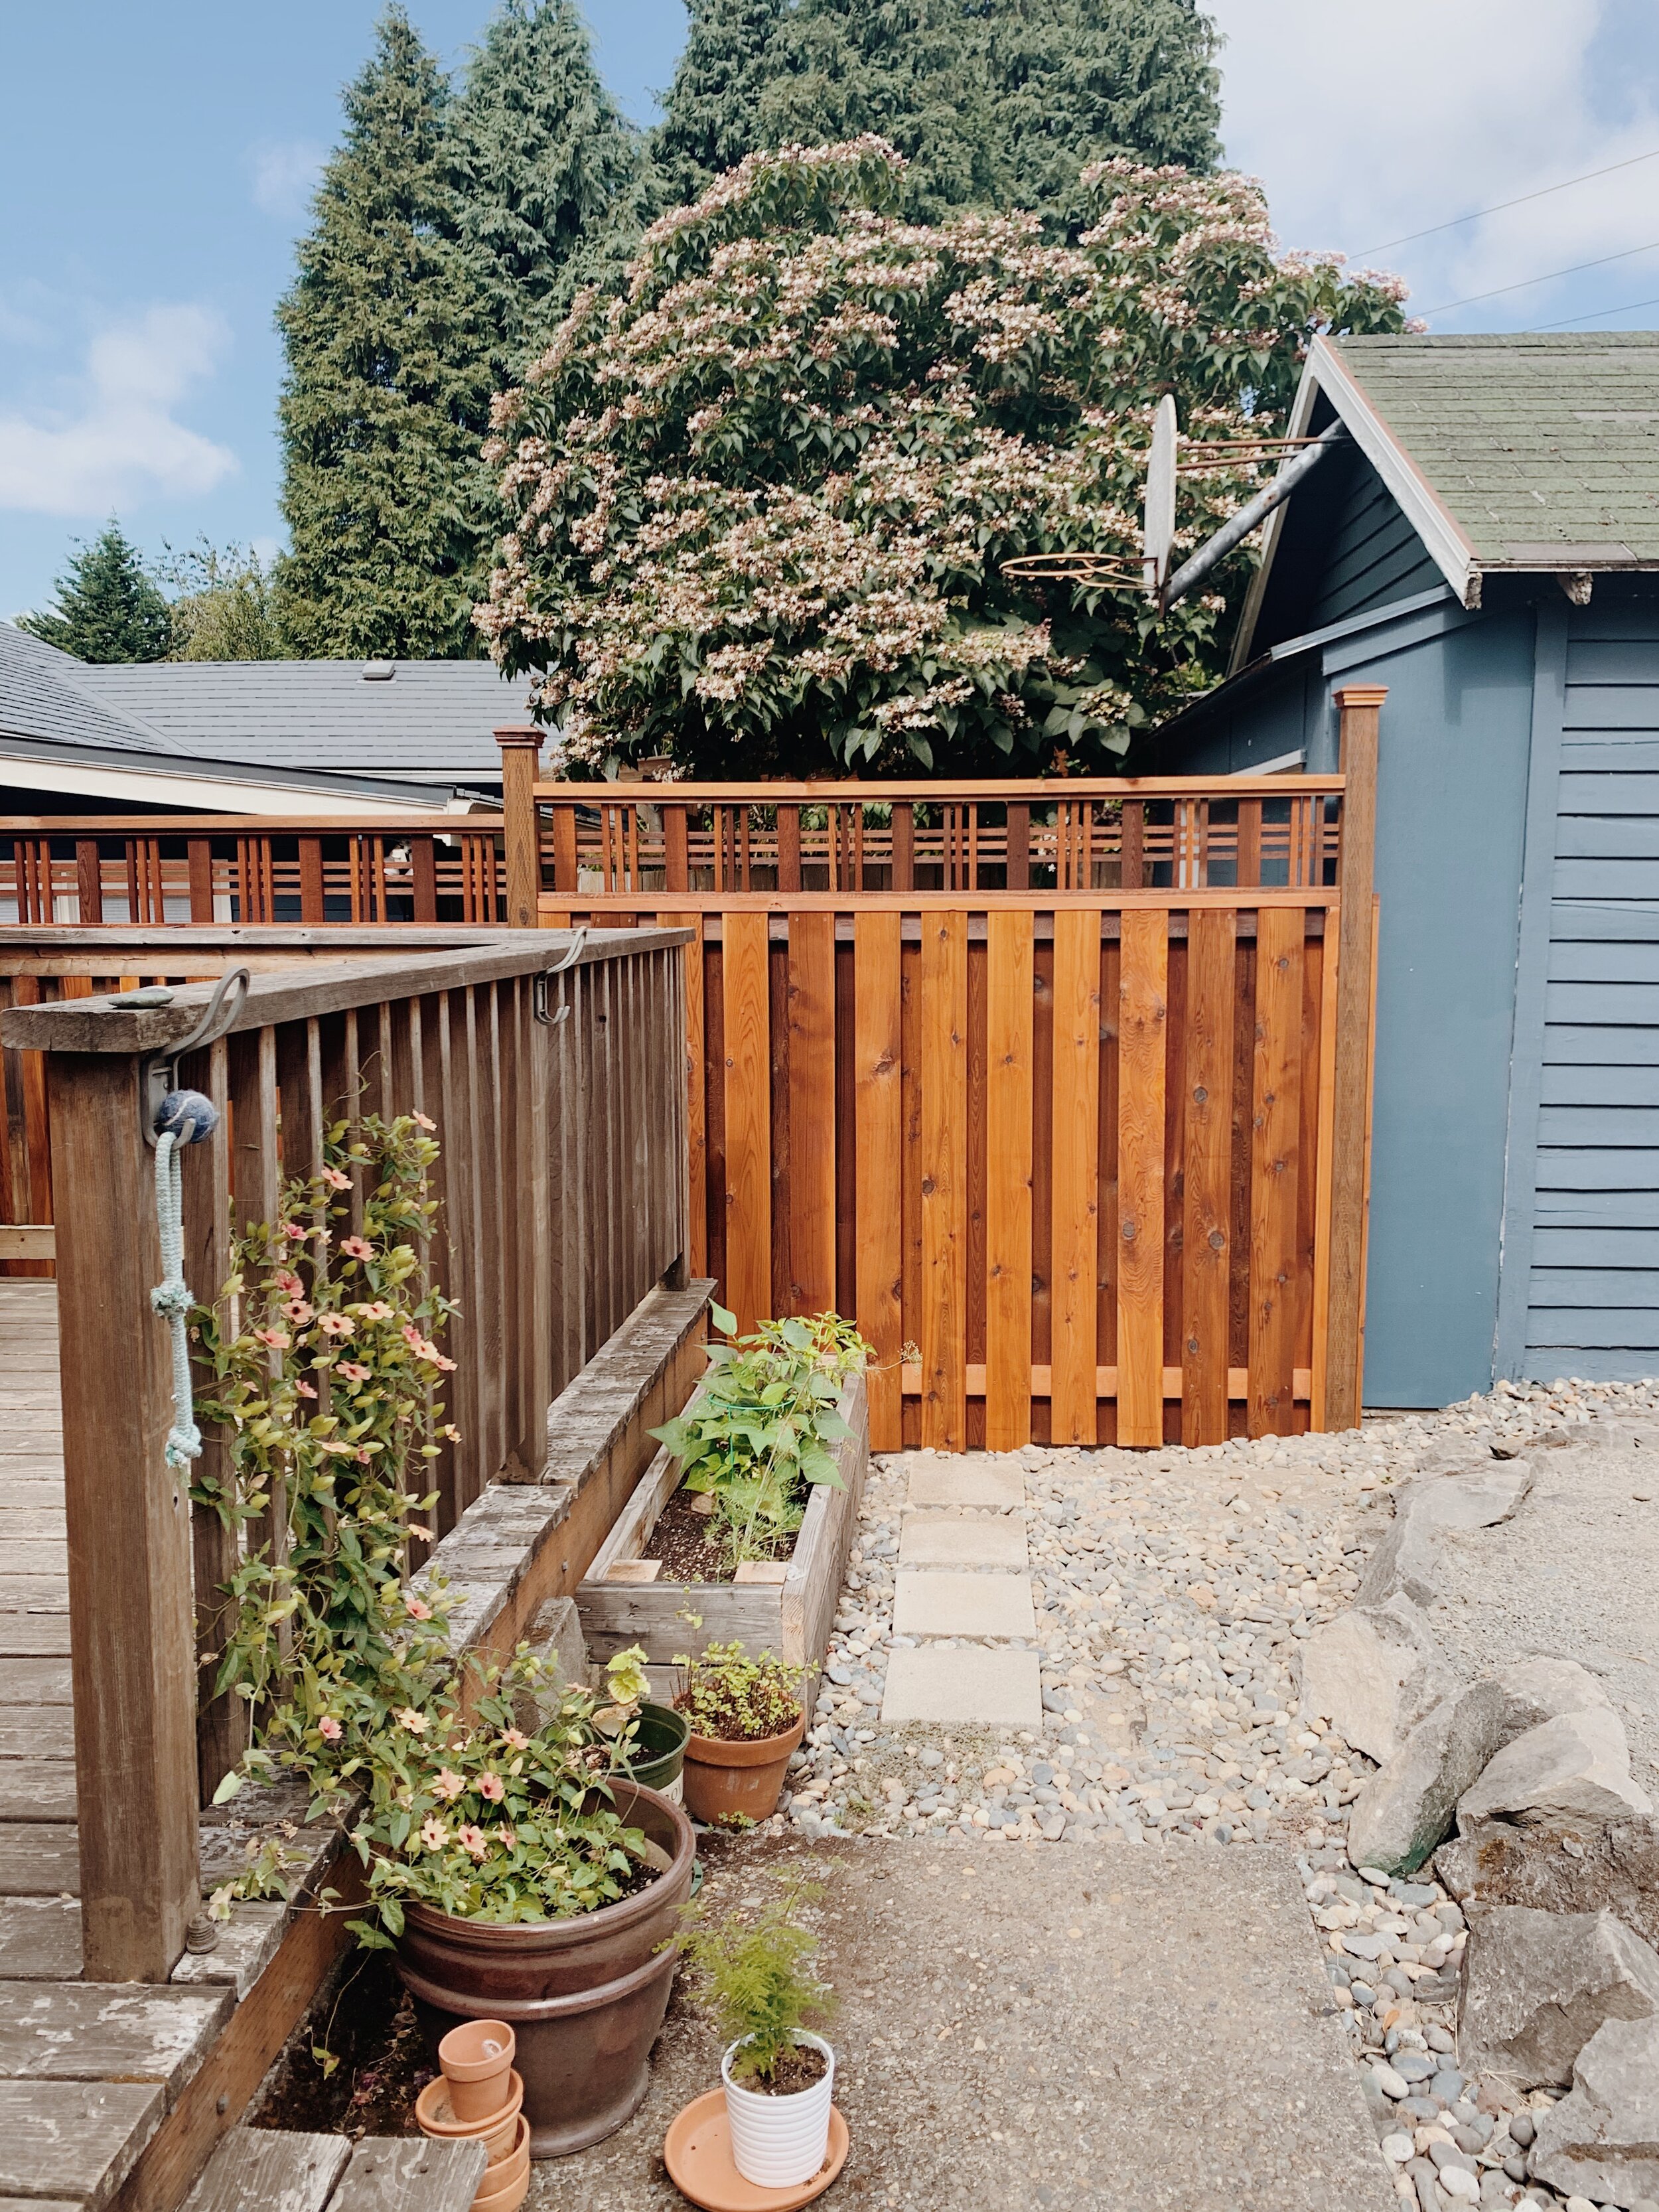
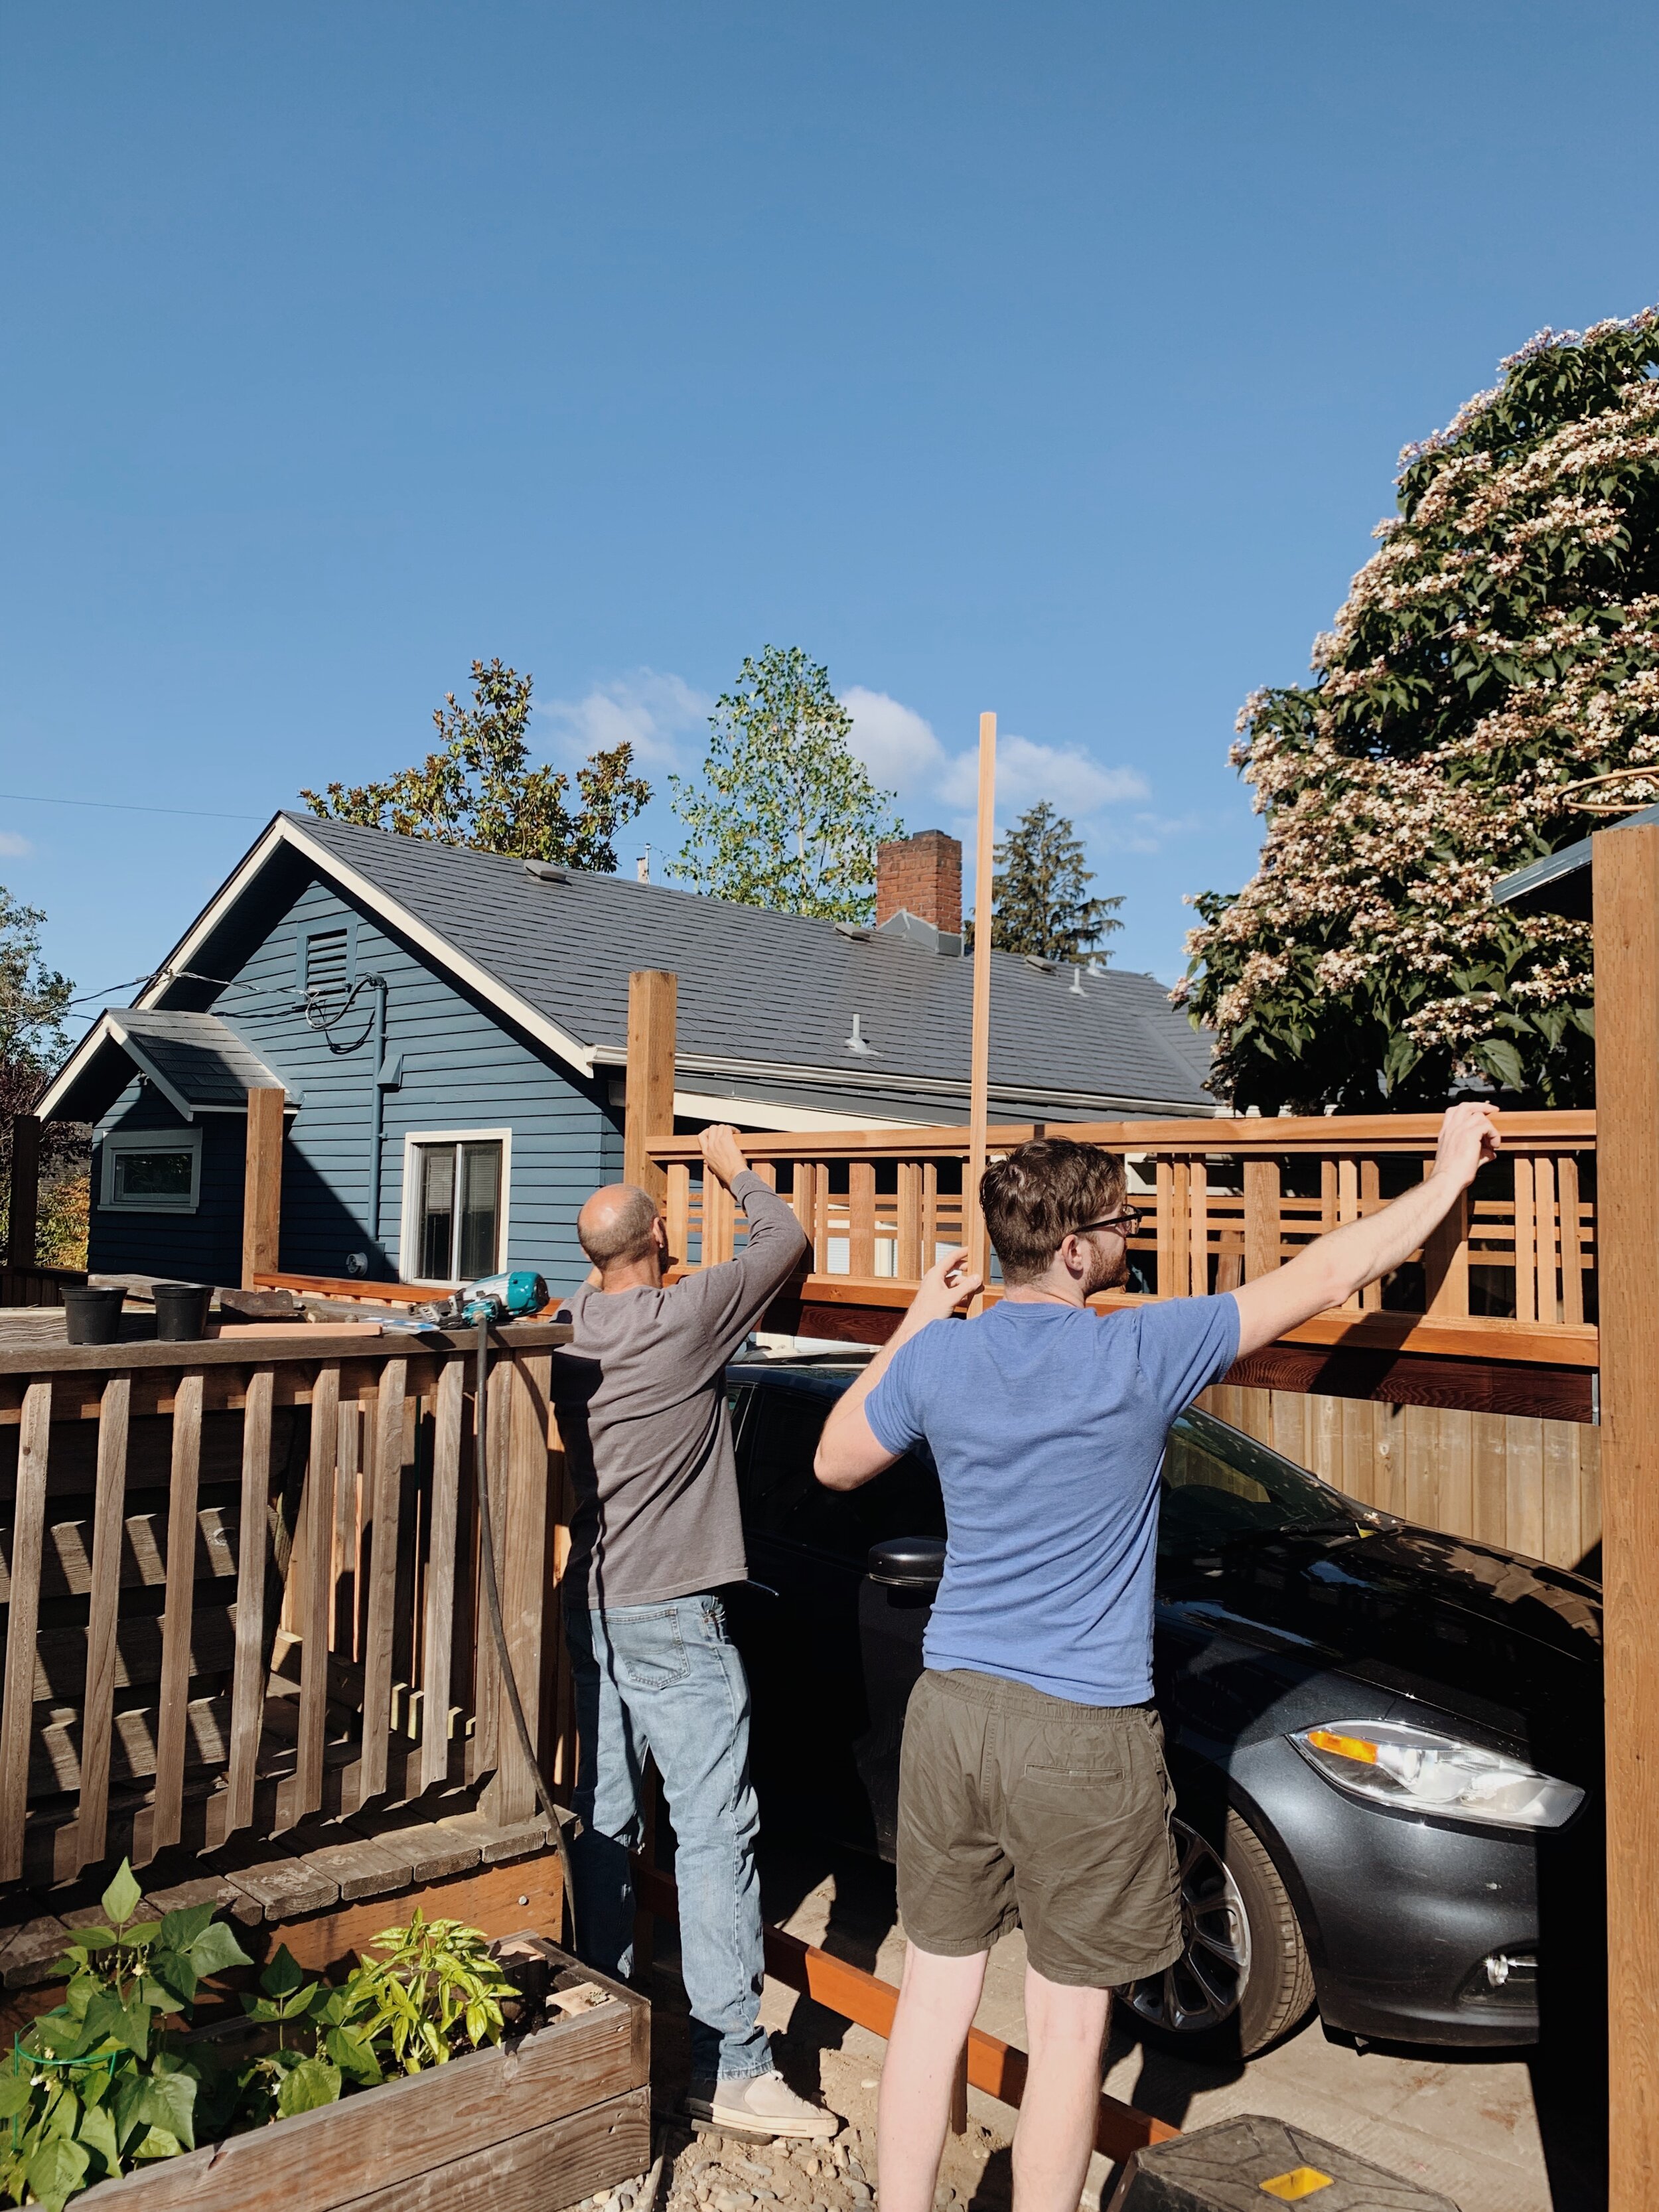
We got the new posts in smoothly and then let them set overnight before adding additional supports and panels. I even engraved “DAS” into the new cement but it got covered in dirt shortly after and now I can’t find it! At this point our design evolved a bit with adding in another step down from the original plan. The whole thing really came together when we added in the Catalina Lattice and the post caps!

10518B99-DCB7-420A-A1C5-5A15D57F9E5B-FCAE6BB0-95A9-44C2-8022-895A6D4D3F06.JPG
D5931C83-5BC0-49C7-87AC-269907874581.JPG

This is the point where we stopped and asked ourselves if we should put in a jacuzzi here.

B9C62464-E7EA-4210-91AC-86820C70F0CB-088FCD27-AF03-47C6-82FD-4B095C9C3E99.JPG
12D88A4A-F620-4DE6-99E6-42F98F474986.JPG

I was very surprised how quickly the entire project went! Before we knew it, we had a new and a beautiful fence for us and our next door neighbor! (Pro Tip: Use stainless Epoxy Screws to prevent black bleeding down the fence as it weathers.)

But the job wasn’t done yet: we still needed to stain the entire thing!
The initial plan was to spray it, but day-of was a bit breezy and we have never had great success spraying stain so we ended up hand applying it ALL. Danny and I both took a side and went for it. The lattice the took the longest by far and then we were able to roll on the rest. This took just over eight overs! Coming in at total of about 20 hours of staining including prep work and just shy of three gallons! Ooof. But we got it done and the results are worth the hard work!

6C66DFB4-A0AA-41F8-876A-BD43CAF539EC-2805BD41-9C10-4112-9461-A2DFDC67BDE2.JPG
9C177B76-9C7D-4648-9A18-1448B5D00621-9BEC2EC3-0F44-40AD-BBAE-4AD93A6127E1.JPG

Danny ended up removing the deck railing because he said it was obstructing his view of the new fence from the kitchen and I love him for that.

A244A223-6856-466F-BFDA-422FCF56D21B-81EEC5B0-C383-4274-89D6-476F252DD683.JPG

We love this fence so much and are 100% happy with our spontaneous decision to change this out this summer! The old fence was so old and such an eyesore but I did not realize how to big of an impact it had on the look of our yard until this arrived. I planted a clematis the other day on the side outside the office window and fingers crossed it grows quickly so we can have beautiful blooms within the next year or so!

Now we want to remodel this entire deck! Maybe next summer!

More home updates coming soon!

LINKS
Cedar Wood
Catalina Lattice
Stain - Ready Seal Natural Cedar
Post Caps


Follow

OUR LIVING ROOM : UPDATES

 
3E9AC02C-CD1D-436B-8149-E41C70CB31E9.JPG

So it’s been about six months since I have posted any updates on our house. And mostly because it has been that long since we have gotten around to making any changes. Here we go!

WINDOWS

OMFG THE WINDOWS. The most anticipated thing of 2019! For the past year I have felt like a broken record about these! After what seemed like it was never going to happen when with our devastating breakup with our previous contractor: They are in! And they are beautiful!

Snapseed.jpg
96D1E922-0649-474C-B8BF-08E13DE7EA17.JPG

Why was this such a big deal? The windows that came with the house were from the 70’s with aluminum framing that let cold air in and were so fogged in places from moisture getting between the panes that they were worthless. I got some mixed opinions about removing the garden windows but I honestly hated them (believe it or not) and am so happy they are gone!

040B325B-0999-4CB8-BC81-5B37875BFA32.JPG
0417C377-A7CB-4D10-B854-D0A7AE8E829D.JPG

The third window on our main living room wall was the biggest change. It was different size than the other two so we decided to shorten it a bit so they are aligned. I struggled with this idea at first because being in Portland, you want as much a light as you could get. But turned out to be just fine - just as Danny reassured me. The fun part about this was that since we were going to re-frame this window we got to demo the wall for new dry wall. And it’s a good thing we did, too because once we got in there we discovered that there wasn’t an insulation! Again, and another reason why our house always seemed cold and drafty. AND we found the ORIGINAL deed for the house in the wall! It was pretty damaged but were able to make out the original sale price of $4900 in 1924. So cool! I hope we find more hidden things in the walls later and I don’t mean bones. Where’s my can of cash???

437C23FA-E052-4DB1-93E8-D8DED505E974.JPG
9926D174-9E7F-41EF-B6D1-346326D24CD8.JPG
82215810-152D-4063-A4B1-6AE41EBEFD5A.jpg
ED902AAE-FA1D-4CFE-875D-802CE5B0E8D3.JPG
AAD36678-DA3F-4B73-B550-C62F36A364E3.jpg


We matched the new windows with little stair window from Marvin through Parr Lumber and they are a dream! Since we are working on having the house match its 1920’s origin while modernizing, we picked the divided lights to be real wood on the inside and the fiber glass on the outside for weathering. And in the original style, we have the two front to just be non-functional picture windows, then the two flanking the fireplace to be opposing casements and lastly the one near the kitchen to be an awning which I think is so fun. Now, I can’t wait till warmer weather and to have all the windows open! Plus the plants are going love it!

C321DA45-21F4-4226-8B67-A9AA7531DA94.JPG

CEILING

Say what you want about older homes but I cannot stand textured ceilings. Since we are not in Los Angeles anymore, I am not talking about the awful popcorn ceilings either but this kind of rough texture like cream cheese spread on a bagel. I get it: it hides imperfections. But it also absorbs depth and I find them to be dingy looking. So: we smoothed the ceilings! Which in the process discovered the the ceiling were not level (you seen see the blue chalk line across showing the difference) so we fixed that too.

8.13-10.jpg
F59A62EA-08AB-4ABE-81BB-3FD4D7CE6CDB.JPG
0258667B-810B-46B7-BC88-F4F694604874.jpg

Earlier this year when we removed the divider we discovered the ceiling was two different heights from the “two rooms.” So instead of demoing and starting over we were able to add a carefully cut piece of dry wall and then skim coated the rest. I can’t put into words how much I love it. It’s so nice to stand in the dining room and see that now these two rooms are finally consistent with each other!

Here is the living room from the listing on the house when we bought it:

house old.jpg

And NOW!

60E6CEF9-D9EC-4295-B2BE-1383F72086A2.JPG
C5223984-0186-402D-8494-04EF2754AF2E.JPG

More of the process…

68C04283-9884-45FE-A671-FB3CBB6C3F79.JPG
B56C84C2-D916-4A9E-A627-83C680052317.JPG

TRIM, BASEBOARDS, MOLDING, AND ALL THE PAINTING

Ahhh and of course a room is not complete without proper trim! Each window now has the beautiful but simple craftsman style trim, 9” baseboards across the room and classic crown molding from McCoy Millwork. Besides all the dust from the new drywall, the painting was the most painstaking part of it all. It takes so long and there were so many steps with all the trim and different paints. We painted the room to match the dining room in Benjamin Moore Cloud Cover in Eggshell, the trim is pure white in satin, and the ceiling in a flat white. The room looks so classic, light, & airy considering it’s such a small space (25’ x 11’). We cannot thank our beautiful friend, Nikole, for taking so much time out of her life so constantly help us with painting and am forever grateful for her and her steady hand.

E86F6DA2-45D5-48BF-B172-57D42BB88653.JPG
945A7F6F-42CC-4E5C-848B-45B1E43A3054.JPG

We finally moved all our furniture back in just in time for the long MLK weekend and my birthday. We haven’t hung our window coverings back up yet but I am okay with that. I love being able to sit back on the sofa with some coffee (or wine) and admire all the natural light. P.F. Candle Co. was also so kind to send us some goods including their new scent, Sunbloom, which smell like a dream and brings back memories our hometown in California! It makes our space feel even more welcoming and warm - eps on these dreary winter days (Thank you!).

I was hoping with this renovation I would be able to find new sconces but I had no luck finding ones I loved with a rotary switch without costing a ton. We don’t use them that often so I didn’t want us to go through the hassle of re-wiring them to the switch either. So I spray painted them using the same color I used for the hoop log holder a few years ago and I think they turned out awesome. And it literally costed us nothing.

B545A94C-74A6-45E3-9195-564088ABE548.JPG
86BC2866-3B02-407E-87D2-6F96D954FE48.JPG
D0D1BE97-75F8-47DD-963C-20C0E0C03D17.JPG
C4518C10-B311-43EB-B9D2-2B9AF3D348A0.JPG
CFDD40E1-5086-4F92-93FA-D26B2FA3F937.jpg
85D4D377-F856-47ED-9A19-0256BF3BDBAE.jpg

We will likely be taking 2020 off from any major renovations to save for the main bathroom remodel as well as fresh the hallway and guest-room/office with matching ceilings and windows and maybe actually take an actual vacation! And maybe this year we will get a new sectional sofa, coffee table, and lights but for now this is great. I am finally feeling like this little house of ours is becoming exactly what we envisioned. This house has definitely taught us (and mostly me) patience and how to manage realistic expectations.


Follow

OUR STAIRCASE : THE REVEAL

 
_MG_8633 2.jpg

OUR STAIRS ARE DONE!!! Finally! From, start to finish it took approx. six months! But as my husband likes to say: the turtle always beats the hare. And yes, patience definitely paid off! They are beautiful and exactly what we wanted!


If you dare to look back at the before (and progress from week one and week five) these new stairs have completely transformed our home. It’s so airy, and natural light pours in - which is really important in Portland. It definitely makes for a great entrance into the house.

_MG_8606.jpg
srnrisersbs.jpg
_MG_8665.jpg
_MG_8658.jpg

Not only did the stairs turn out better than we thought, but our contractor gave our home a big upgrade with his awesome craftsmanship in the trim and moulding. We went with a base-trim to return the home back to it’s era after numerous previous owners did their own “upgrades.” In this he also added a very simple but very appropriate frame around our new window which I love so much! Eventually every window and door frame will have the same details. It ties in our mid-century style so well. The new window is also going to be our new standard for the house with the craftsman divided lights. We also replaced all of our floor registers from the dingy ones that were left behind that help tie in our vintage look with an antique brass finish.

_MG_8663.jpg
SRsbs.jpg

Picking the right paint and stain was probably one of the most difficult decisions we had to make in this project. Our treads are a gorgeous White Oak but we quickly found out do it’s absorbent nature we would need to use a gel stain that would give us the color we wanted while keeping the integrity of the grain while still being durable. We ended up going with a color called Candlelite that gives a rich tone without being too warm (and it matches our furniture!). Only downside is, gel stains take about five days to dry so prepared for that.
Then, I really struggled with the color, because I wanted all white walls, but Danny wanted a contrast between the walls and the trim so we compromised and went with Benjamin Moore’s “Cloud Cover”. It looks more like a Vintage White, and goes nicely with the all the wood. We had originally thought we would do all the painting and staining on our own to save money, but after we realized how tedious it was going to be, we decided to hire out the job - and it was worth every penny spent. The whole process took about a month.

_MG_8671 2.jpg

After the initial build was complete, Danny and I talked about what the functionality of this room would be besides just the stairs, since it was previously a bedroom. We never envisioned this room to be our dining room, but after placing our table in there while moving the rest of the furniture in from it’s hiatus in storage, it just made sense. The rest of our existing furniture then fit in perfectly, as if it was meant to be. But, the room really came together with the gorgeous light fixture from Schoolhouse Electric. Biggest plus side, now we have a great view of the fireplace while we have dinner or play games with family and friends.

_MG_8622.jpg

We are beyond pleased with how everything came out and could not be more grateful having met the people we did who made this all happen. Now to get some more plants and finish decorating!

Thank you so much David & Bryan, Nikole & Tom Peña, Bonnie Johnson, and Emily Moran. You dudes are the best. Xo.

Stair Newel - McCoy Millwork
Window - Milgard via Parr Lumbar
Paint - Benjamin Moore, Cloud Cover
Stain - General Finishes, Candlelite
Floor Registers - Home Depot
Lighting - Schoolhouse Electric
Rug - Vintage from PCC Flea Market
Chairs - Craigslist
Table - Goodwill
Bookshelves - Salvation Army
Flowers - Knot & Fern


Follow